13 - 6
Charging Batteries
New batteries should be charged fully before first use. The life and capacity of a Lithium Ion battery pack can vary significantly
depending on the discharge current and the environment in which it is used.
When a battery is placed in a charging pocket, the battery charger begins charging the battery. There is a slight delay while the
charger evaluates the condition of the battery (ambient temperature, remaining charge, etc.) before charging begins.
As with all batteries, expect to see a reduction in the total number of operations a fully charged battery pack can deliver as it
ages. When the battery reaches end of life (end-of-life occurs after 500 charge/discharge cycles) it must be replaced.
Battery packs do not need to be fully discharged between charge cycles.
While charging, the charger and battery pack will generate enough heat to feel warm. This is normal and does not indicate a
problem.
Inserting a Battery into the Charging Pocket
It is important that battery packs are inserted into the charging pocket correctly. Inserting the battery incorrectly could result
in damage to the battery pack or the charger.
Caution! Do not “slam” the battery pack into the charging pocket. Damage may result.
When preparing the battery pack for insertion into the battery charging pocket, hold the battery with its four charging con-
tacts in line with the charging contacts in the charging pocket. Aim the retaining catch towards the back of the charger.
Tilt the front end (without the latch) of the battery pack into the front end of the battery charging pocket, and firmly press the
other end (with the latch) until it is fully inserted into the battery charging pocket. Push down on the battery pack until the
retaining clip on the battery catches on the retaining bracket in the pocket.
Remove the Battery from the Charging Pocket
Push the latch toward the battery and, grasping the battery and latch firmly, take the battery out of the charging pocket.
Interpreting the Charging Pocket LEDs
The status of the charge operation is indicated by the color of the LED for each charging pocket.
RED Continuous - on any charge pocket
Continuous red means the battery pack is charging.
RED FLASHING - on any charge pocket
Battery pack fault or failure.
RED FLASHING - on all charge pockets
Battery charger fault or failure.
Battery pack fault or failure or a battery charger timeout period expiration.
GREEN - on any charge pocket
Continuous green means the battery pack charge is complete - Battery is Ready.
YELLOW - on any charge pocket
Continuous yellow / amber means the battery pack temperature is out of range. The charging pocket is in standby mode
while the pocket waits for the battery pack to warm up or cool down.
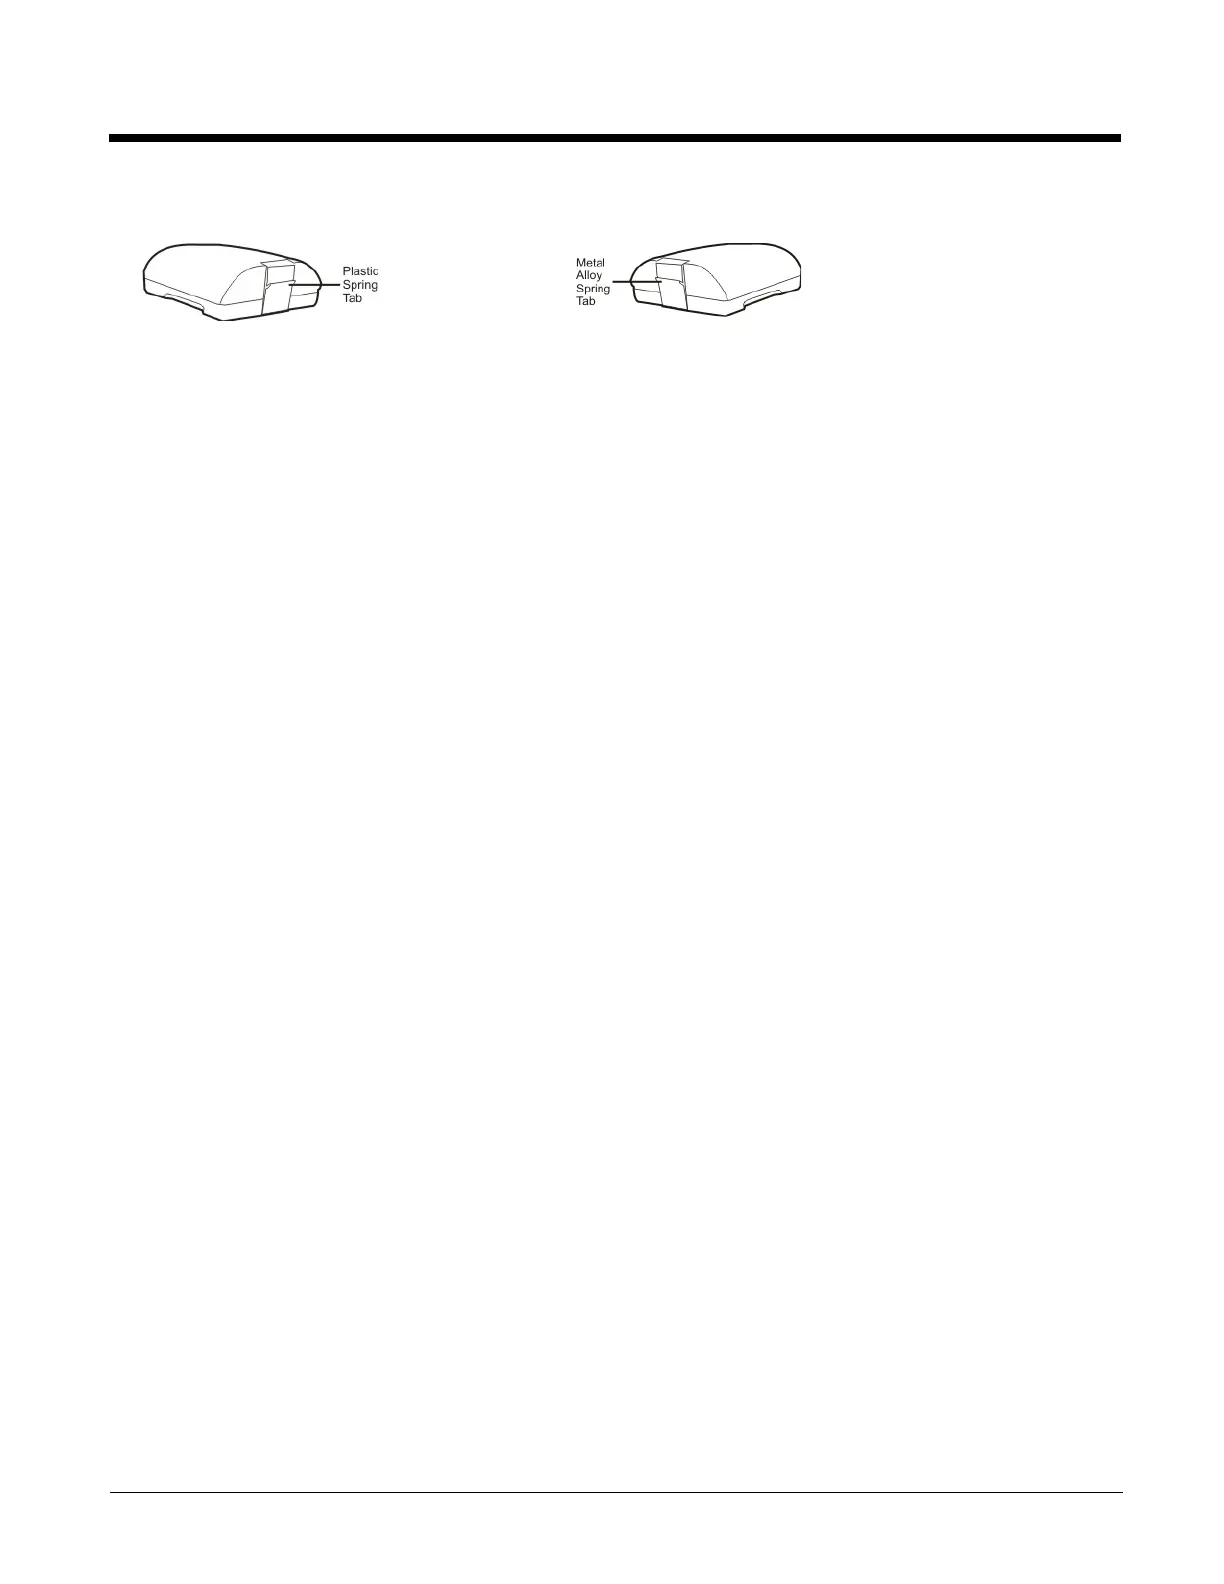
MX7A380BATT / MX7A381BATT
MX7392BATT / MX7393BATT / MX7396BATTERY