2 - 20
Assembling the Carry Case
Note: Accessory installation or removal should be performed on a clean, well-lit surface. When necessary, protect the work
surface, the MX7 Tecton, and components from electrostatic discharge.
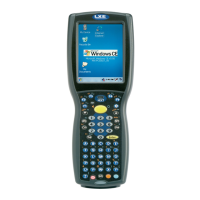
The main battery can be removed and inserted without taking the MX7 Tecton out of the carry case.
1. Remove any cables connected to the I/O port at the bottom of the MX7 Tecton.
2. Remove the rubber boot from the MX7 Tecton.
3. Separate the hook and loop fabric on the carry case without removing the hook and loop fabric from the carry case.
4. Slip the removable, clear plastic protector for the keypad and touch screen into the case. Position it against the openings for
the keypad and touch screen in the carry case. The voice case does not require the clear plastic protector.
5. Slide the MX7 Tecton into the case, making sure the touch screen and keypad (including the Scan LED) are visible and
accessible through the front openings of the case.
6. Securely tether the stylus to the case, if necessary. Place the stylus in the stylus holder on the handstrap or in the trigger
handle.
7. Loosen then tighten the handstrap (on cases without a trigger handle opening) until the carry case assembly is secure in
your hand.
8. When a shoulder strap is available, secure the clips at each end of the shoulder strap to the D rings on either side of the
carry case. The shoulder strap allows the MX7 Tecton to hang upside down until needed.
Carry Case with Metal Snaps
The metal snap has a bulge in the lip and a dot indentation on the opposite side. To close the carry case, tuck the lip bulge
under the snap lip and press on the dot to snap closed.
Pull the snap up to open the carry case.
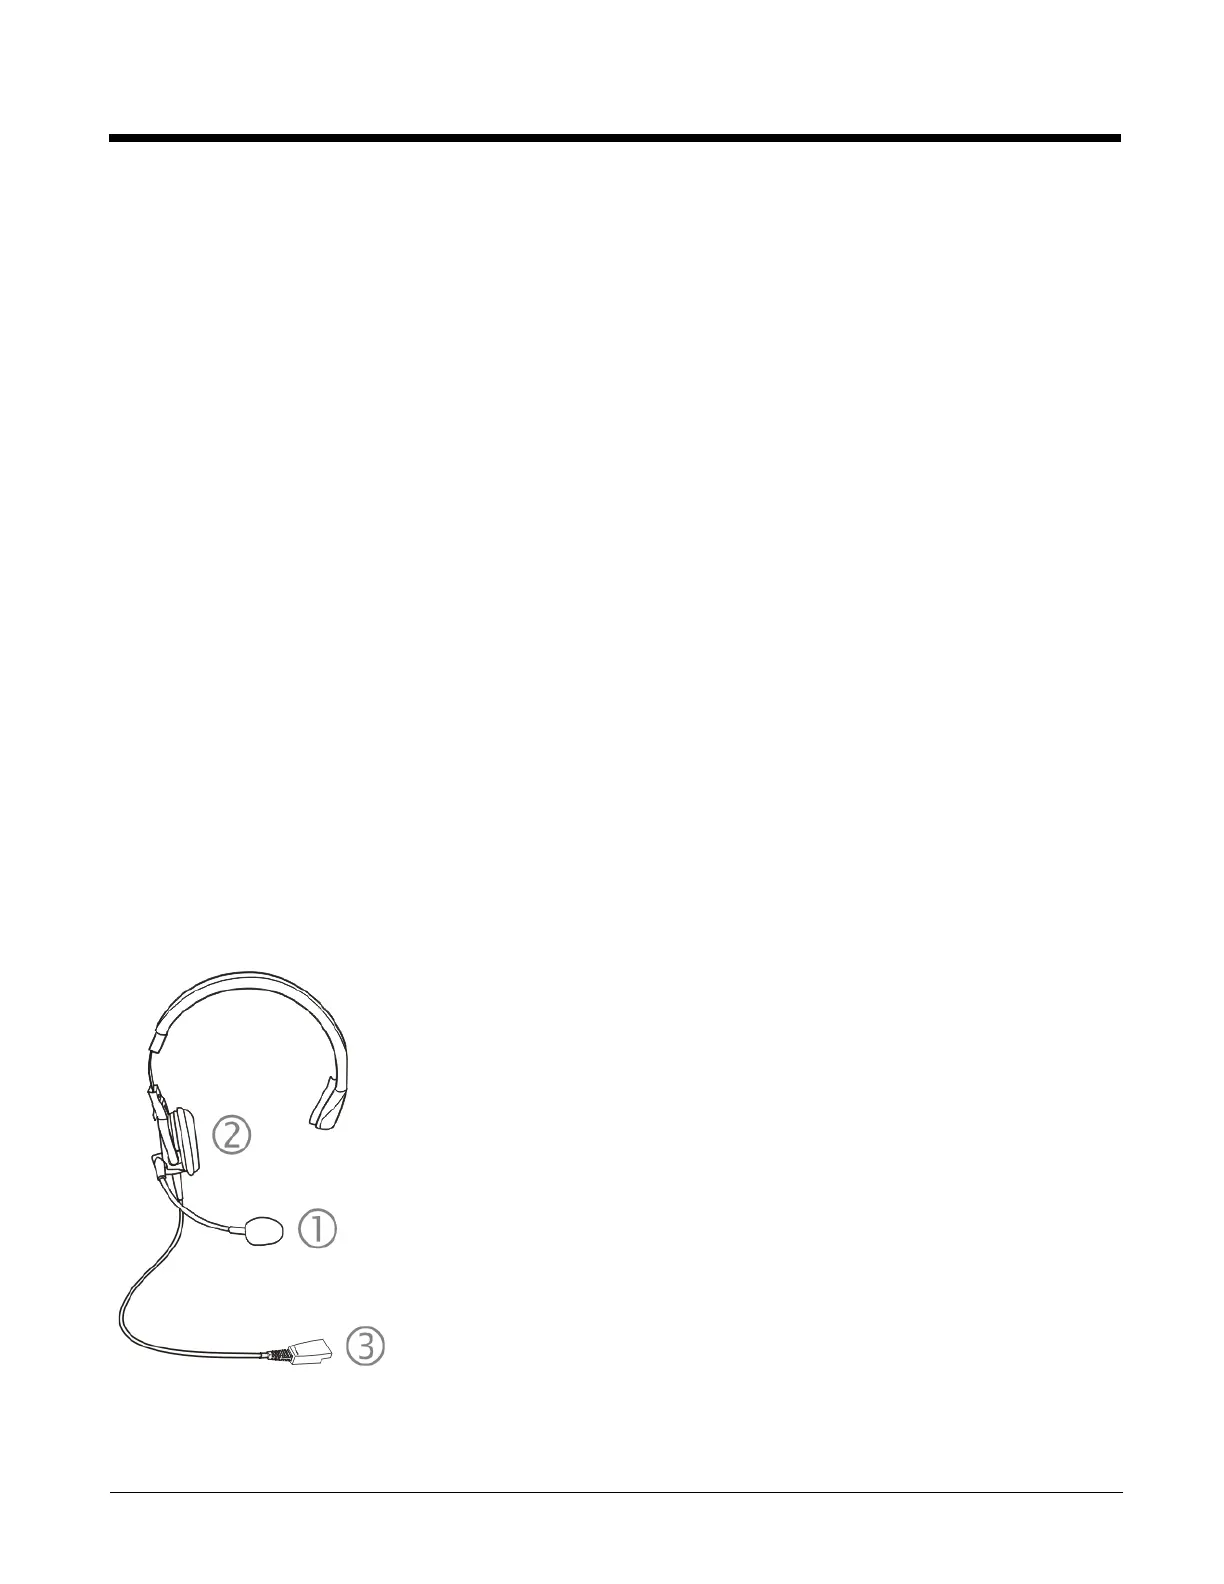
Connecting a Headset Cable
The headset consists of an earpiece, a microphone, a clothing clip and a cable. The headset attaches to the audio cable end of
the voice cable which attaches to the MX7 Tecton.
When the headset is cabled to the MX7 Tecton, the microphone and speaker on the front of the device are automatically dis-
abled.
1. Microphone
2. Headphones
3. Connects to voice cable end of voice
cable