14 - 11
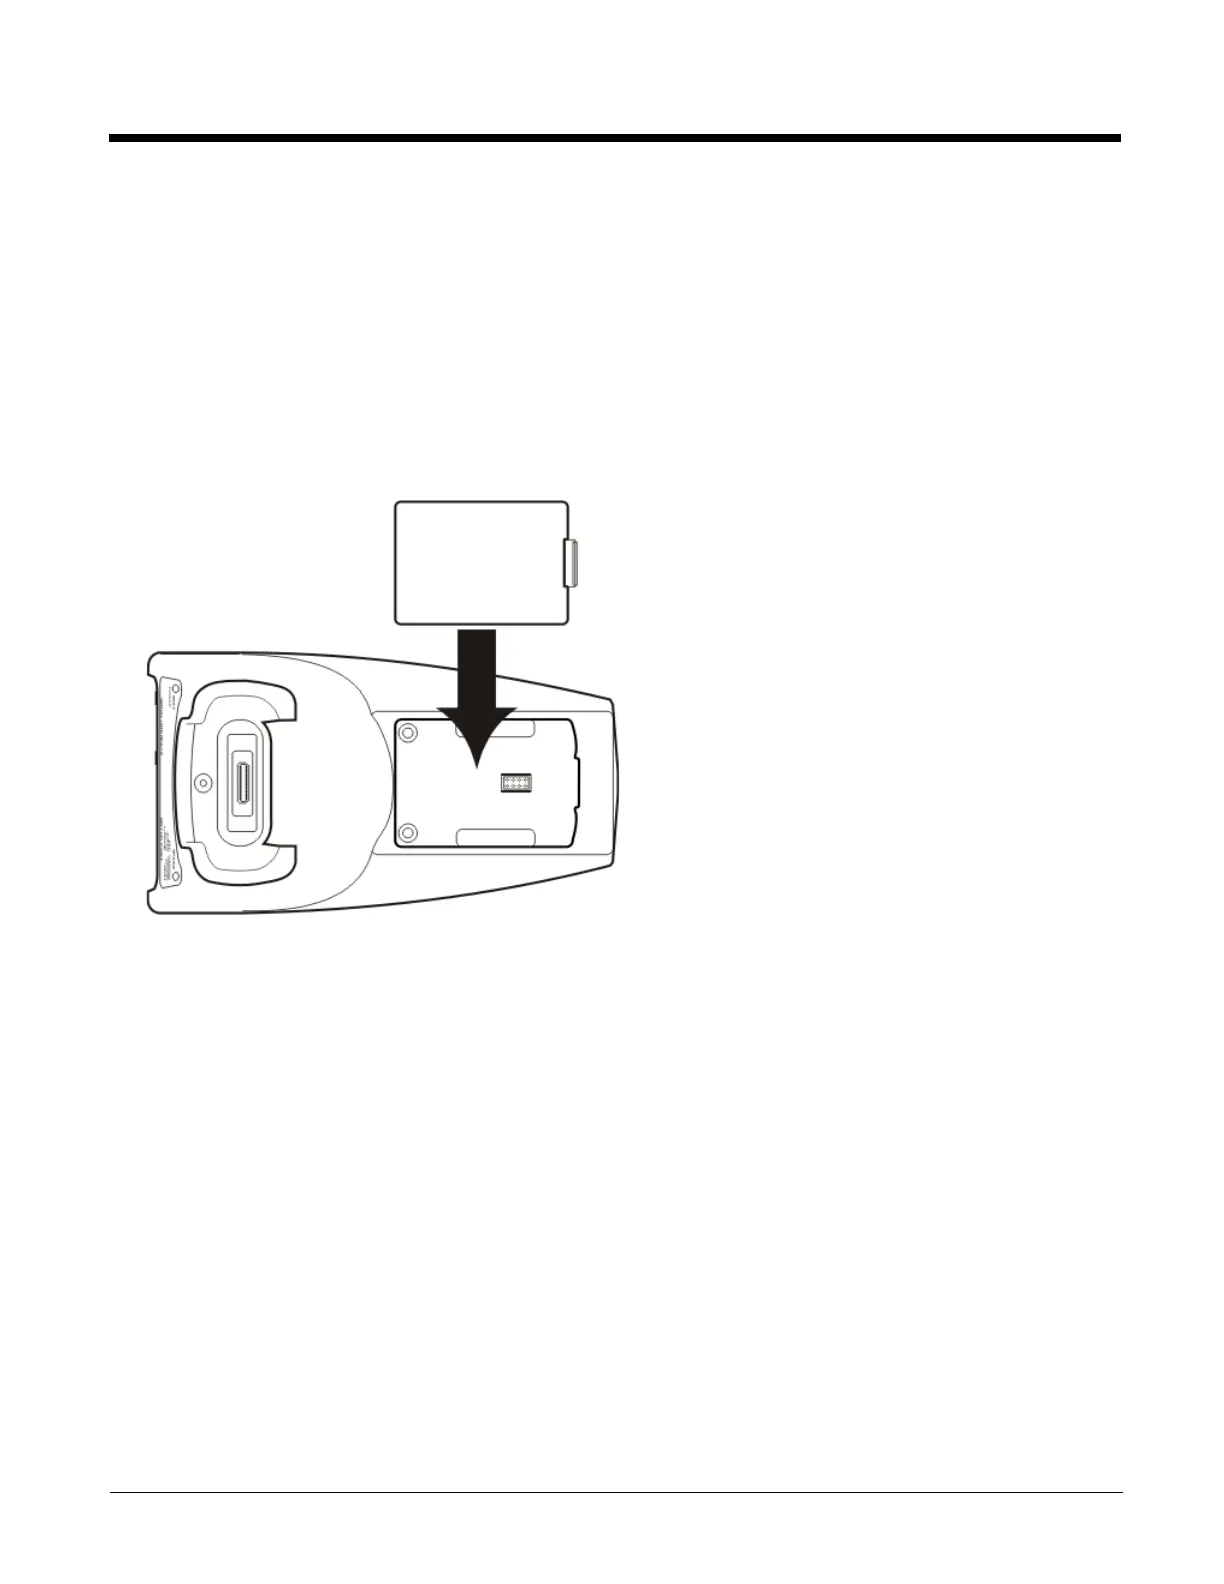
Inserting / Removing a Spare Battery from the Desktop Cradle
Prerequisites: The steps outlined in Assemble/Attach the AC Power Adapter (page 14-8) have been completed and the
cradle has a dependable power source. The cradle has been bolted to a stable surface, if desired.
Note: Do not drop or slam the spare battery into the charging pocket. Damage may result.
A fully depleted spare battery recharges in approximately four hours in the MX7 Tecton powered cradle. Charging time may
take longer if a tethered scanner, connected to the Serial port and drawing power from the cradle, is used.
The spare battery well is molded in the shape of the MX7 Tecton main battery. The spare battery can be inserted in the
battery well in only one direction. When there is an MX7 Tecton, with or without a handle, docked in the cradle, a spare
battery can still be inserted in the charging bay. You do not need to undock the MX7 Tecton before inserting or removing a
spare battery in the cradle.
Stabilize the cradle with one hand when inserting/removing the spare battery, if necessary.
Inserting a Spare Battery
1. Hold the battery with the charging terminals facing down, toward the charging pocket.
2. Tilt the end (without the latch) of the spare battery pack into the upper end of the battery charging pocket, and firmly
press down on the other end (with the latch) until the battery is fully inserted into the battery well.
3. Push down on the spare battery until the catch clicks into place, securing the spare battery in the battery bay. This
will ensure the charging contacts on the spare battery connect with the re-charging contacts in the battery bay.
The Spare charging bay LED illuminates indicating the battery is properly seated in the charging bay.
Removing a Spare Battery
A green Spare battery LED signifies the spare battery is charged.
Remove the Spare battery by pushing the latch toward the battery and pulling the Spare battery up, with a hinging
motion, and out of the charging bay. The Spare charging bay LED turns Off.
 Loading...
