Page 94 - CEAST 9340 - Instructions for Use and Maintenance 7510.000MN1r ed. 1 rev. 1
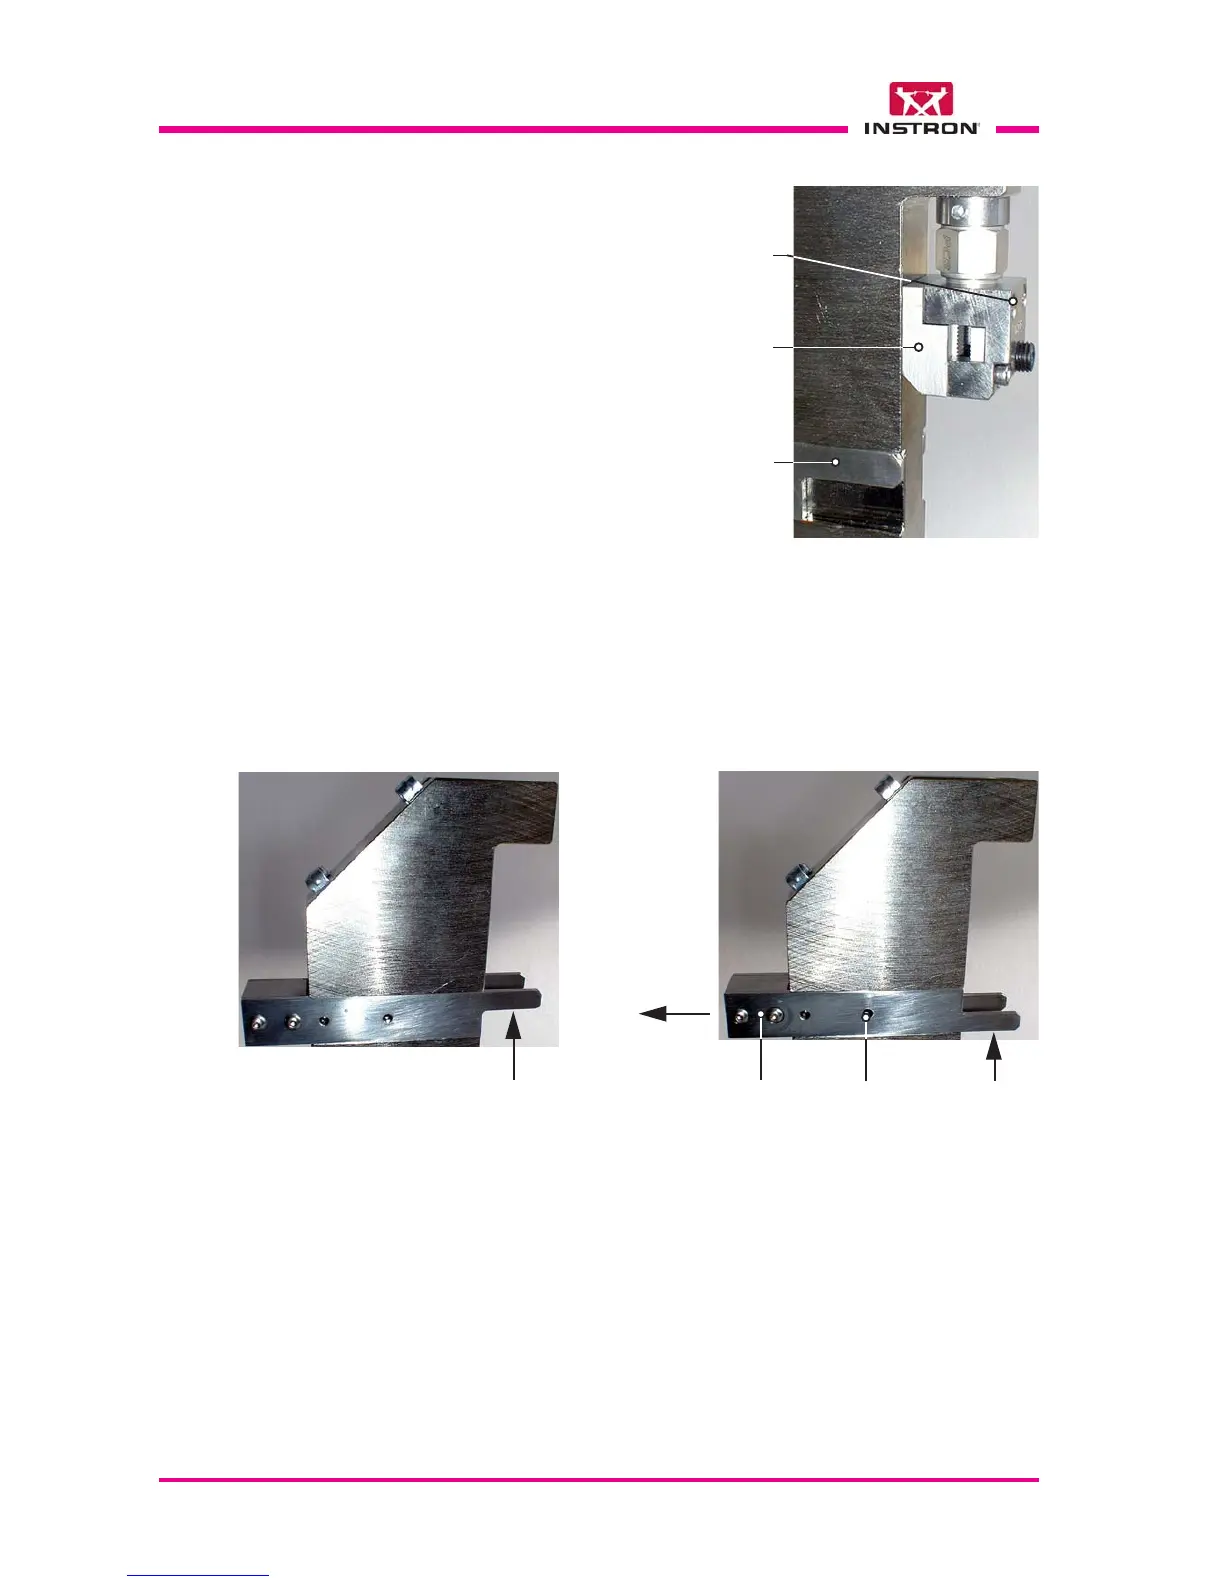
f) Place the sliding stop plate in the correct position according to the chosen speci-
mens type.
To change the plate position: remove the plate from the guide, overturn it and place
it in the new position.
X
Position for
specimens
type 2 and 4
Position for
specimens
type 1, 3 and 5
Sliding
stop plate
Springing
ball (2 for
each side)
Removal
direction
X
X
d) Insert the adapter C from downward
and fasten it with screws E.
e) Tighten the screws of the stop plates.
Sliding
stop plate
E
C