P/N 960-000164R_Rev. 3 {EDP #213631} © 2018, JAPAN CASH MACHINE CO., LTD.
iPRO-RC™ Series
Banknote Recycler
Section 6
This section provides Calibration and Performance
Testing instructions for the iPRO-RC™ Series
Banknote Recycler (iPRO-100-SH2-RC; iPRO-
RC™) Unit and contains the following
information:
• Download and Installation Workbench
Tool Requirements
• JCM Tool Suite Standard Edition Installation
• Firmware Download Procedure
• When to Calibrate
• Calibration Tool Requirement
• iPRO-RC Reference Paper
• Calibration and Testing Program
• Individual Calibration and Performance Test
• Performance Test without PC
Download and Installation
Workbench Tool Requirements
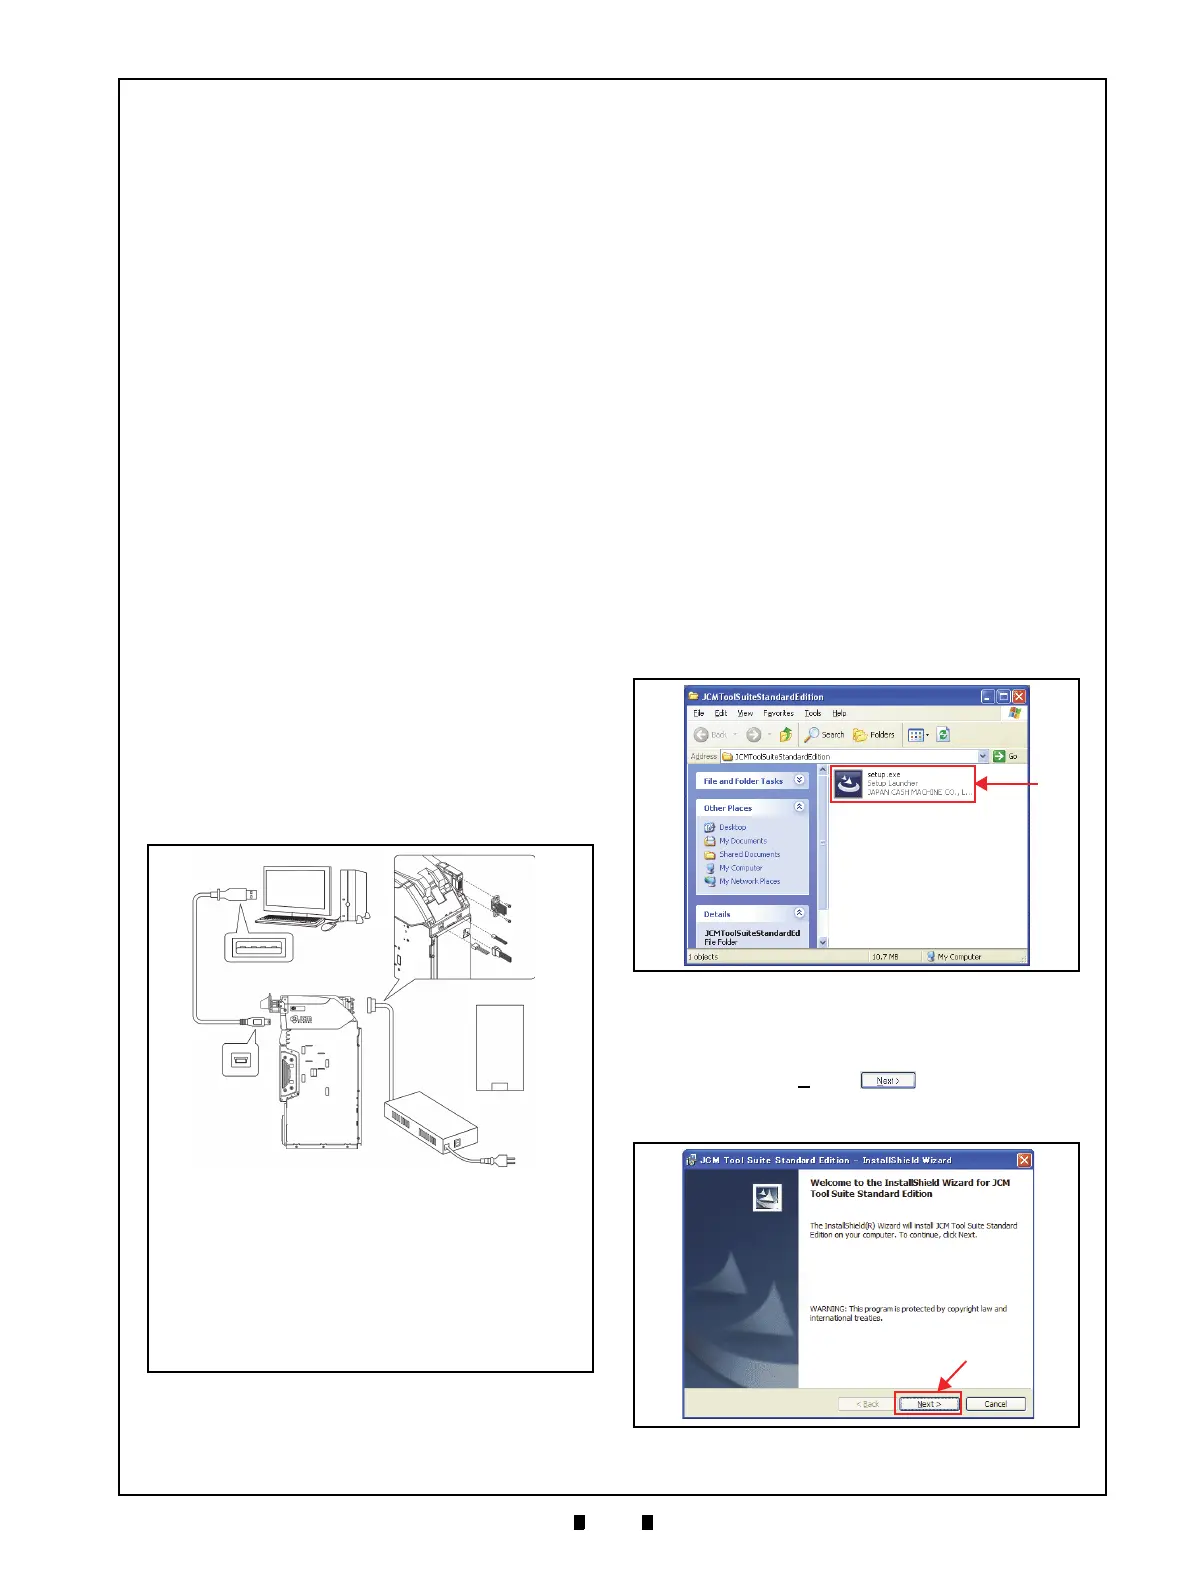
Figure 6-1 illustrates and identifies the tools and
equipment interconnects necessary to download
and install an iPRO-RC™ Recycler.
JCM Tool Suite Standard
Edition Installation
Perform the following steps to install the JCM Tool
Suite Standard Edition
(Refer to Figure 6-1 for the
necessary Tool Requirements and Harness
Connector locations). The Driver and Tools
required for the iPRO-RC™ Calibration are
installed on the PC once the
JCMToolSuite-
StandardEdition.exe
is installed.
To install the
JCMToolSuiteStandardEdition.exe,
proceed as follows:
1. Copy the JCMToolSuiteStandardEdition.zip File
and paste it in a related Folder on the PC desktop.
2. Extract the
JCMToolSuiteStandardEdition.zip
Files and Double-Click on the
setup.exe Appli-
cation in the extracted Folder (Figure 6-2 a).
3. The
JCM Tool Suite Standard Edition Install
Shield Wizard
Screen shown in Figure 6-3 will
appear.
4. Click on the “
Next>” Screen
Button (Figure 6-3 a) to beg
in installing the JCM
Tool Suite Standard Edition Program
.
Figure 6-1 Tool and Harness Connection
Figure 6-1 Tool and Harness Connection
a) iPRO-RC™ Recycler with iPRO™ Transport Unit
(User supplied)
b) Power Supply
c) PC (OS: Windows XP or later)
d) USB Cable
d-1) USB “A” Terminal Plug
d-2) USB “B” Terminal Plug
e) JCM Tool Suite
f) iPRO-RC™ Firmware
g) Reference Paper (KS-087)
a
d-1
d-2
e & f
c
b
g
Figure 6-2 setup.exe Location
Figure 6-2 setup.exe Location
Figure 6-3 Install Shield Wizard Screen
Figure 6-3 Install Shield Wizard Screen