1. Press the
MAIN
MENU
key to open the main menu.
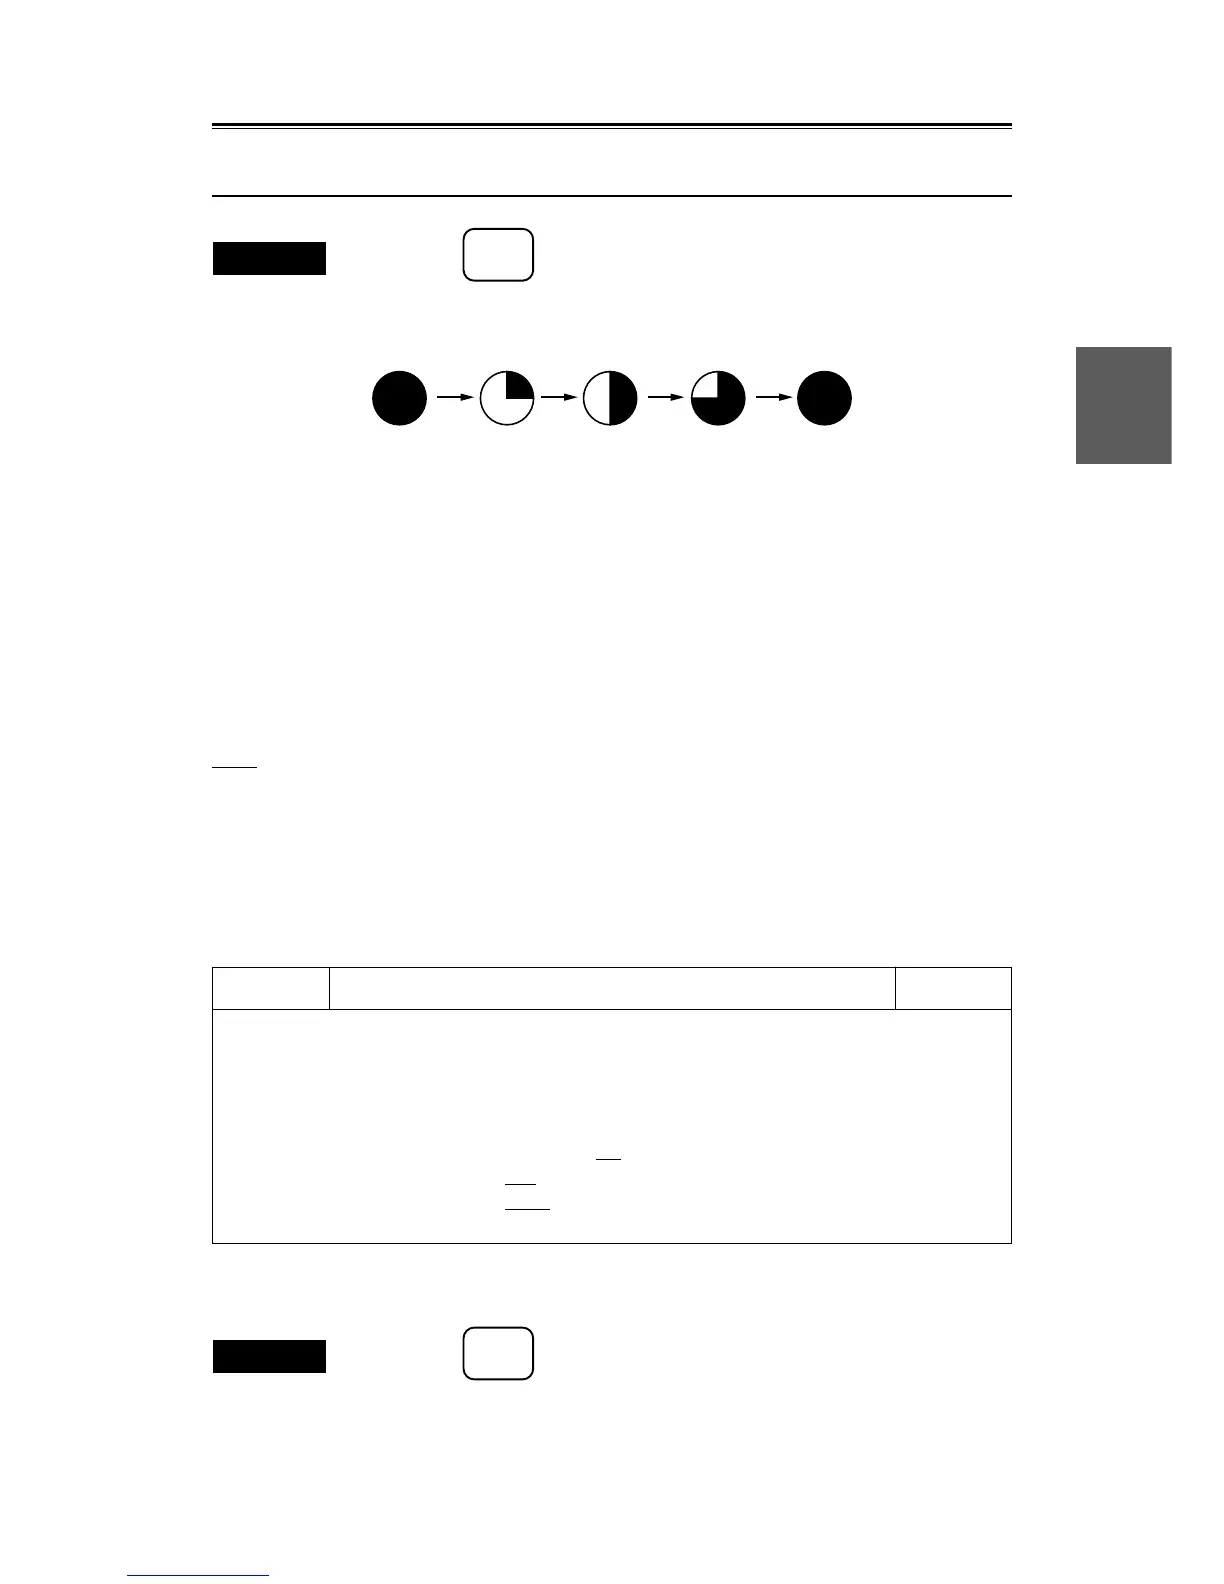
Brilliance increases in the four levels as shown below every time each setting key for adjusting brilliance is
pressed and pressing it again returns the system to the original status.
z
[RADAR / TRACK BRILL]: Adjusts brilliance of radar video.
x
[RR / VRM / EBL BRILL]: Adjusts brilliance of the fixed range scale, variable range scales (VRMs1
and 2) and electronic cursors (EBLs1 and 2).
c
[ATA BRILL]: Adjusts brilliance of the ATA symbol vector.
It is used to adjust brilliance of the symbol vector of the electronic plot
(EPA) when the ATA is not added (This system mounts the ATA as
standard equipment, so this function is usually not available.)
v
[GRAPHIC DATA BRILL]: Adjusts brilliance of the letters outside the fixed bearing range, of the
cursor inside the fixed bearing range, of the HL, of the mark line, of the
own ship track, of the other ship track, and of the coast line.
Note
● The red and white marks, lines, and tracks change by "3. ATA BRILL".
By brilliance adjustment of radar videos, only the gamma correction value changes and the maximum brilliance
remains unchanged. (The radar signal brilliance of a strong level remains unchanged and the radar signal
brilliance of a weak level changes.)
Main menu
1. RADAR / TRAIL BRILL ● [DAY1]
2. RR / VRM / EBL BRILL ● [DAY1]
3. ATA BRILL ● [DAY1]
4. GRAPHIC DATA BRILL ● [DAY1]
5. PROCESS OFF PROC1 PROC2 PROC3
6. IR OFF
IR1 IR2 IR3
7. FLOATING EBL
OFF ON
8. VECTOR
TRUE RELATIVE
9. GRAPHIC DATA DISP OFF
Brilliance, once adjusted, is stored depending on the selected day/night mode (refer to subsection “3.2.7
Selecting DAY / NIGHT Modes [DAY / NIGHT]”).
Exit

 Loading...