Chapter 9: Qualification Study
ValProbe RT User Manual 87
Figure 112: Insufficient Battery Prompt
When all Loggers have been selected select Mapping Sensors.
Mapping Sensors
In the Setup, the number, type (Temp, Press), label, and description of each Logger is
defined, however the configuration is not tied to a specific Logger serial number or sensor.
Before starting a qualification, select Loggers and then map or link the specific Logger and
sensor to the Logger types defined in the Setup.
On the Mapping Sensors screen, the blue tile above the overlay diagram represents the
different groups assigned in the Setup. If defined in the Setup, each selected group displays a
layout diagram.
The sensors pane on the right displays sensors from the Loggers that have been previously
selected. To map the serial number of the Logger sensor to the configured sensors, drag the
serial number over the sensor label location. The Logger label is then tied to the serial number
of the Logger sensor. Continue until all sensors have been assigned or mapped. As each
sensor serial number is mapped, the color of the sensor serial number changes from white to
black. Above the group tile, “Unassigned Sensors” displays the number of sensors yet to be
assigned or mapped.
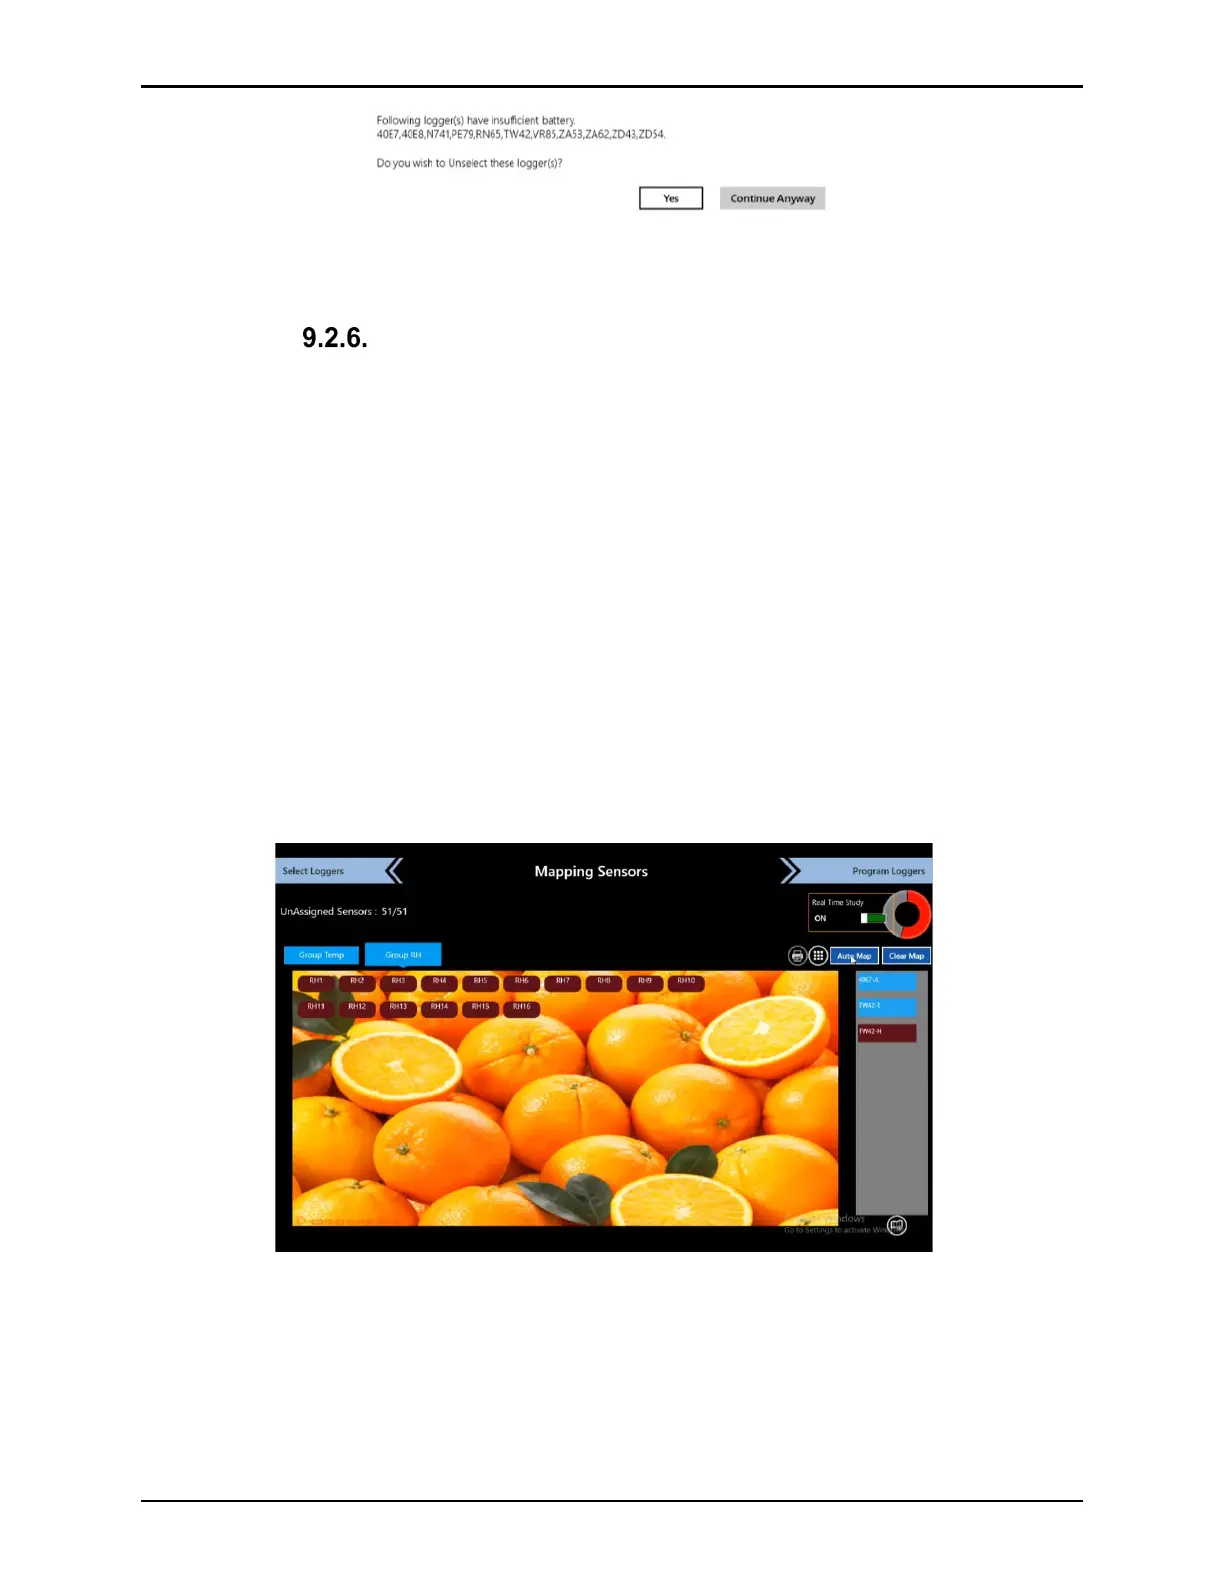
Figure 113: Mapping Loggers - Overlay
To move sensor layout positions, drag each label to the new position. If no Overlay picture
was created in the Setup, select the icon below the sensor pane and import a new picture or
use the camera to take a picture.
Use the Clear Map button to clear all group mapping and restart the process. Double select
any sensor to open a Clear button, select Clear to remove the mapping for the selected
sensor.