bizhub C652/C552 7-12
7.1 System Settings
7
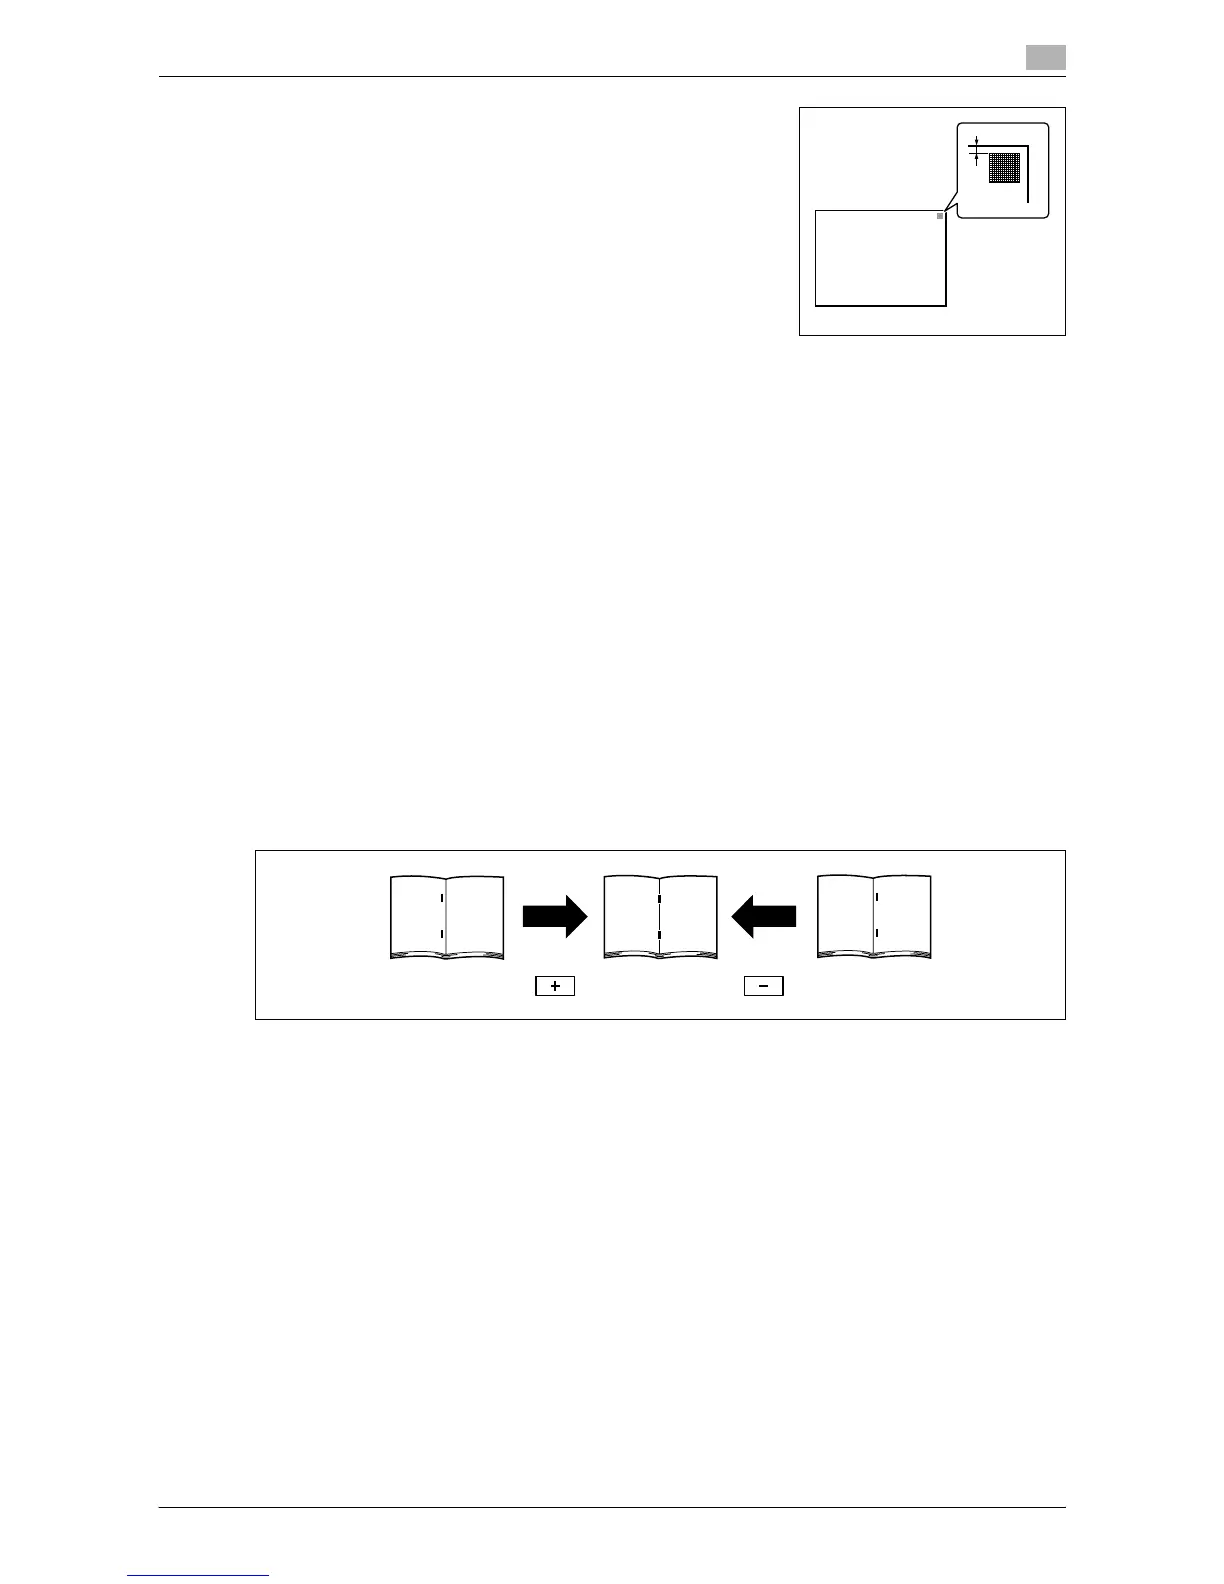
4 Check that the distance from the starting print position of the test
pattern to the left edge of the paper (b) is 3.0 mm (+/-0.5 mm).
% Press [+] or [-] to adjust the width.
Press the [Start] key to print a test pattern.
5 Press [OK].
Media Adjustment
Adjust defective print images caused by paper type features.
1 Press the [Utility/Counter] key ö [Administrator Settings] ö [System Settings] ö [Expert Adjustment]
ö [Printer Adjustment] ö [Media Adjustment].
2 Select a paper type to be adjusted.
% If defective images exist on the back side of 2-sided copy paper, select [2nd Side].
3 Press [+] or [-] to specify an adjusted value.
% If missing parts or white spots exist in print images, press [-]. If the surface of the print image is
rough, press [+].
4 Press [OK] ö [Close].
5 Copy, and then check the print image.
Center Staple Position
Adjust the stapling position for each paper size when printing with the center staple function.
0 Adjust the half-fold position before adjusting the center stapling position.
0 Before making any adjustments, create a sample using the center staple function. Adjust the center
staple position while checking the created sample.
0 It can be adjusted only when the finisher is installed.
0 When stapling in parallel with the left edge of paper, contact your service representative.
1 Press the [Utility/Counter] key ö [Administrator Settings] ö [System Settings] ö [Expert Adjustment]
ö [Finisher Adjustment] ö [Center Staple Position].
2 Select the size of paper of which the center staple position is adjusted.
3 Press [+] or [-] to adjust the staple position while checking the sample.
4 Press [OK].
5 Create a sample, and check the print result.
b
b:3.0mm±0.5mm