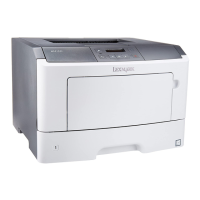
The report consists of four pages. The printer always uses media from Tray 1 to print this report. It will not prompt for
a change in media regardless of the media type in Tray 1.
Note: This test cannot be canceled after it has begun. If duplex is activated, then the report is printed in duplex.
To print the Print quality pages:
From the Diagnostics menu, navigate to Print Tests > Print Quality Pages.
Hardware Tests
If the hardware test fails, replace the failing part.
Panel Test
This test verifies the control panel display function.
To run the Panel test:
1 From the Diagnostics menu, navigate to:
Hardware Tests > Panel Test
2 Press X to exit the test.
Button Test
This verifies the control panel button function except for the Sleep button.
To run the Button test:
1 From the Diagnostics menu, navigate to:
Hardware Tests > Button Test
2 Press count: 0 appears.
3 Press each control panel button one at a time. Each time a button is pressed, the press count increments by 1.
4 Press X to exit the test.
DRAM Test
This test checks the validity of DRAM, both standard and optional. The test repeatedly writes patterns of data to the
DRAM to verify that each bit in the memory can be set and read correctly.
To run the DRAM test:
1 From the Diagnostics menu, navigate to:
Hardware Tests > DRAM Test
2 Testing… appears, followed by Resetting the Printer.
3 After the printer resets, the results of the test appear: DRAM Test [x] P:###### F:######.
• [x]—Represents the size of the installed DRAM.
• P:######—Represents the number of times the memory test has passed and finished successfully, with the
maximum pass count being 999,999.
4514-420, -430
Service menus
111

 Loading...