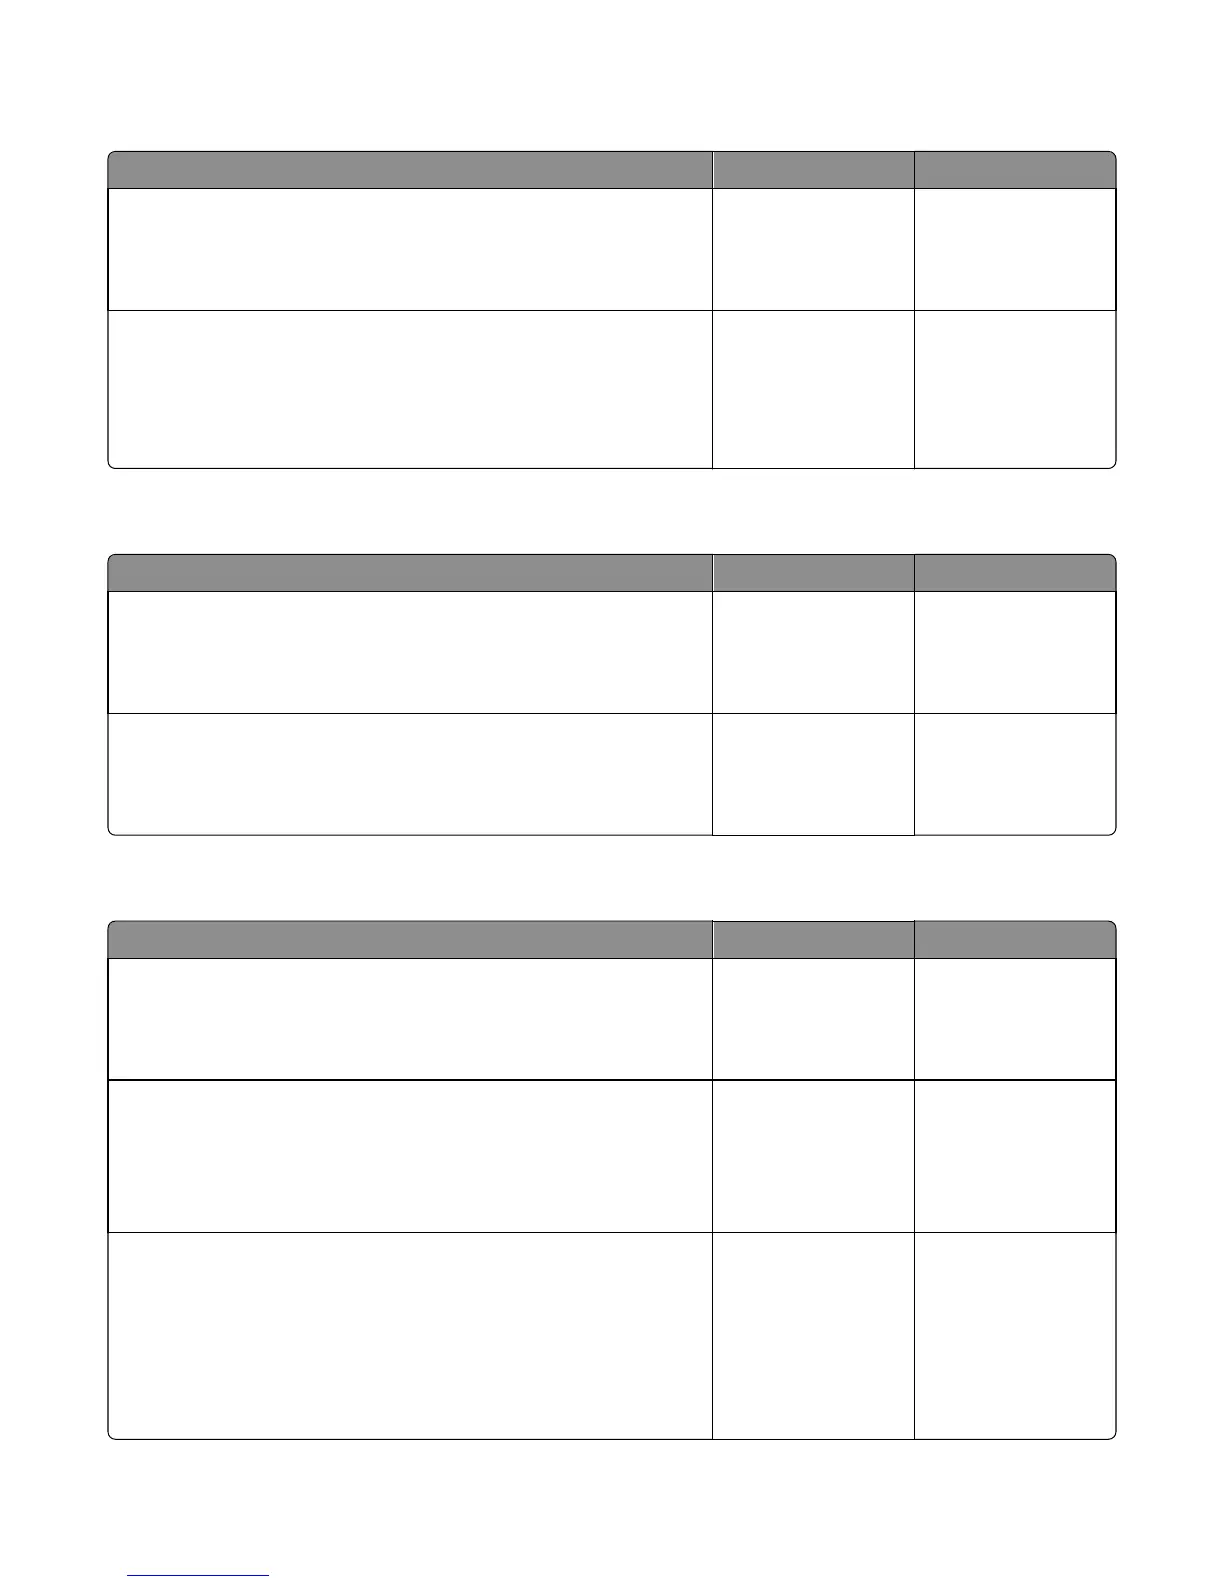
Toner cartridge smart chip contact service check
Action Yes No
Step 1
Check the cable JARW1 for proper connection to the controller board.
Is it properly connected?
Go to step 2. Reseat the cable.
Step 2
Check the toner cartridge smart chip contact for damaged pins.
Is it free of damage?
Replace the controller
board. See “Controller
board removal” on
page 164.
Replace the toner
cartridge smart chip
contact. See “Toner
cartridge smart chip
contact removal” on
page 165.
Imaging unit smart chip contact service check
Action Yes No
Step 1
Check the cable JARW2 for proper connection to the controller board.
Is it properly connected?
Go to step 2. Reseat the cables.
Step 2
Check the imaging unit smart chip contact for damaged pins.
Is it free of damage?
Replace the controller
board. See “Controller
board removal” on
page 164.
Replace the printer.
Media size mismatch service check
Action Yes No
Step 1
Check the input tray for damage.
Is it free of damage?
Go to step 2. Replace the input tray.
Step 2
a Make sure the trailing edge sensor is free of debris.
b Check it for damage.
Is it free of damage?
Go to step 3. Replace the trailing
edge sensor. See
“Trailing edge sensor
removal” on page
197.
Step 3
a Make sure the input sensor is free of debris.
b POR into the Diagnostics menu and perform a sensor test:
Diagnostics Menu > Base Sensor Test > Input
Does the sensor state on the control panel display change when it is
toggled?
Go to step 4. Replace the input
sensor. See “Duplex
sensor and input
sensor removal” on
page 194.
4514-420, -430
Diagnostic information
77
 Loading...


