BOOM 777 SERVICE MANUAL
4-18 Published 10-01-2012, Control # 045-08
6. Proper safety equipment for working at heights above
the ground.
7. Proper safety apparel.
8. Safe and proper hand tools (wire brush, clamps, grinder,
etc.).
9. Oxy-fuel cutting and preheating torch.
10. Heat resistant blankets for covering the weld repairs and
protecting the lattice section from sparks and spalls.
Repair Procedures and Processes
Manitowoc Crane Care will supply the following
documentation when required:
1. Welding instructions.
2. Modification drawings.
3. Non-destructive testing and inspection requirements.
4. Straightening requirements and processes.
5. Machining requirements.
6. Paint requirements and recommendations.
Lacing Replacement
1. The lacing/lacings will need to be identified prior to
removal. Do not remove more than one lacing at a time
on a panel to ensure straightness of the chords. Use a
fillet weld gauge to measure the toe/heel of the weld and
record the dimension for reference.
NOTE Always replace diagonal lacings first. Diagonal
lacings run from one corner to another (for
example, from upper left chord to lower right
chord).
Always replace the center lacing first in a series of
damaged lacings. This will assist in maintaining the
cross sectional dimensions of the section. Then
replace the remaining lacings, first on one side and
then on the other side of center.
Special instructions are provided starting on
page page 4-19 for removing:
• End lacing.
• Lacings on a tapered lattice section.
• Lacings on a lattice section with a bent or bowed
chord member.
2. Use a paint marker to reference the location of the
damaged lacing on the chord member (Figure 4-18).
Transfer the marks out of the repair area so they are not
removed during the lacing replacement process. These
marks will help locate the replacement lacing.
3. Use the following settings for the carbon arc electrode
size being used:
Table 1 Carbon Arc Parameters
4. Leave a minimum of 1/8” (3,2 mm) of material and grind
the remaining material to match the existing chord
profile. Take care not to damage the chord or reduce the
wall thickness.
5. A cutting torch may be used to remove the lacing. Leave
at least 1/4 in (6 mm) of material and grind the remaining
material to match the existing chord profile. Take care
not to overheat or gouge the chord when using a torch
for removal.
6. Gouge marks on the chord are unacceptable. Stop all
work if chord is damaged and contact Manitowoc
Crane Care via your Manitowoc Distributor.
7. M.T. or P.T. inspect the chord for soundness prior to
fitting the new lacing.
NOTE Manitowoc recommends the N.D.T personnel be
certified to A.S.N.T. Level ll.
8. Remove all grease, paint and oil from the weld zone on
the replacement lacing.
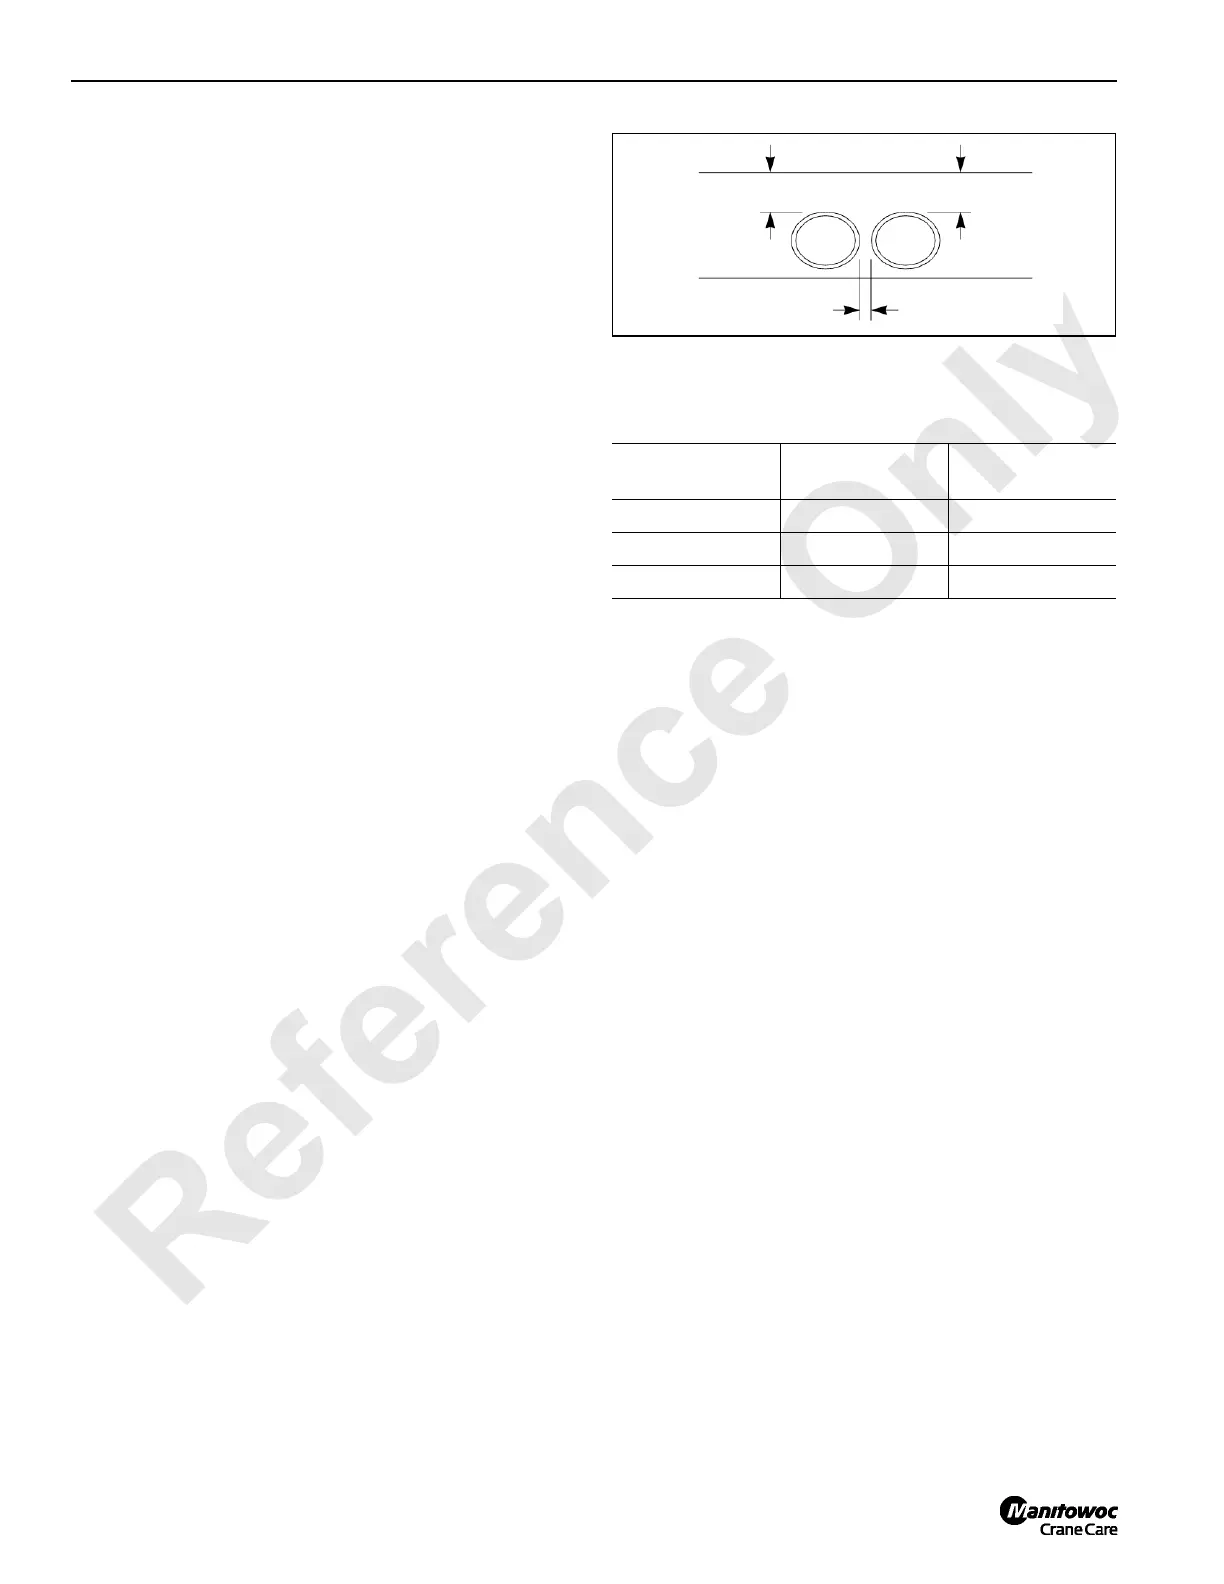
9. Fit and tack the new lacing using the reference marks
and existing lacings on both sides for location.
The gap between the chord and lacing must not exceed
1/16 in (1,6 mm) at either end.
10. Use S.M.A.W. for tacking (Figure 4-19). All tack welds
must be crack free and small enough to weld over. Use
3/32 in (2,4 mm) diameter stick electrode for tacking the
lacing.
• A total of two tack welds are to be made only in the
locations shown in Figure 4-19. Do not tack weld
toe or heel of lacing.
• The tacks should be 1-1/2 in (38,1 mm) long and
located on the sides of the lacing.
Electrode Size
Minimum
Amperage
Maximum
Amperage
5/32 in (4,0 mm) 90 amps 150 amps
3/16 in (4,8 mm) 200 amps 250 amps
1/4 in (6,4 mm) 300 amps 400 amps
FIGURE 4-18

 Loading...


