1
2
3
4
5
Specifying destinations 5-3
Specifying destinations
NOTE
•In the address book, an icon is displayed at the head of each destination, indicating
the type of destination that is registered.
: Fax number or fax number group
: E-mail address or e-mail address group
•If you enable the broadcast function in advance, you can specify multiple
destinations (page 2-16 and 3-6.)
Using the [Index] function
When there are many destinations registered, you can press [Index] to sort or filter the
displayed destinations.
[ABC] to [WXYZ]:
Others:
Group:
All:
Lists the destination names starting with the selected alpha characters.
Lists the destination names starting with a symbol or number.
Lists the registered group names.
Goes back to address book screen.
1
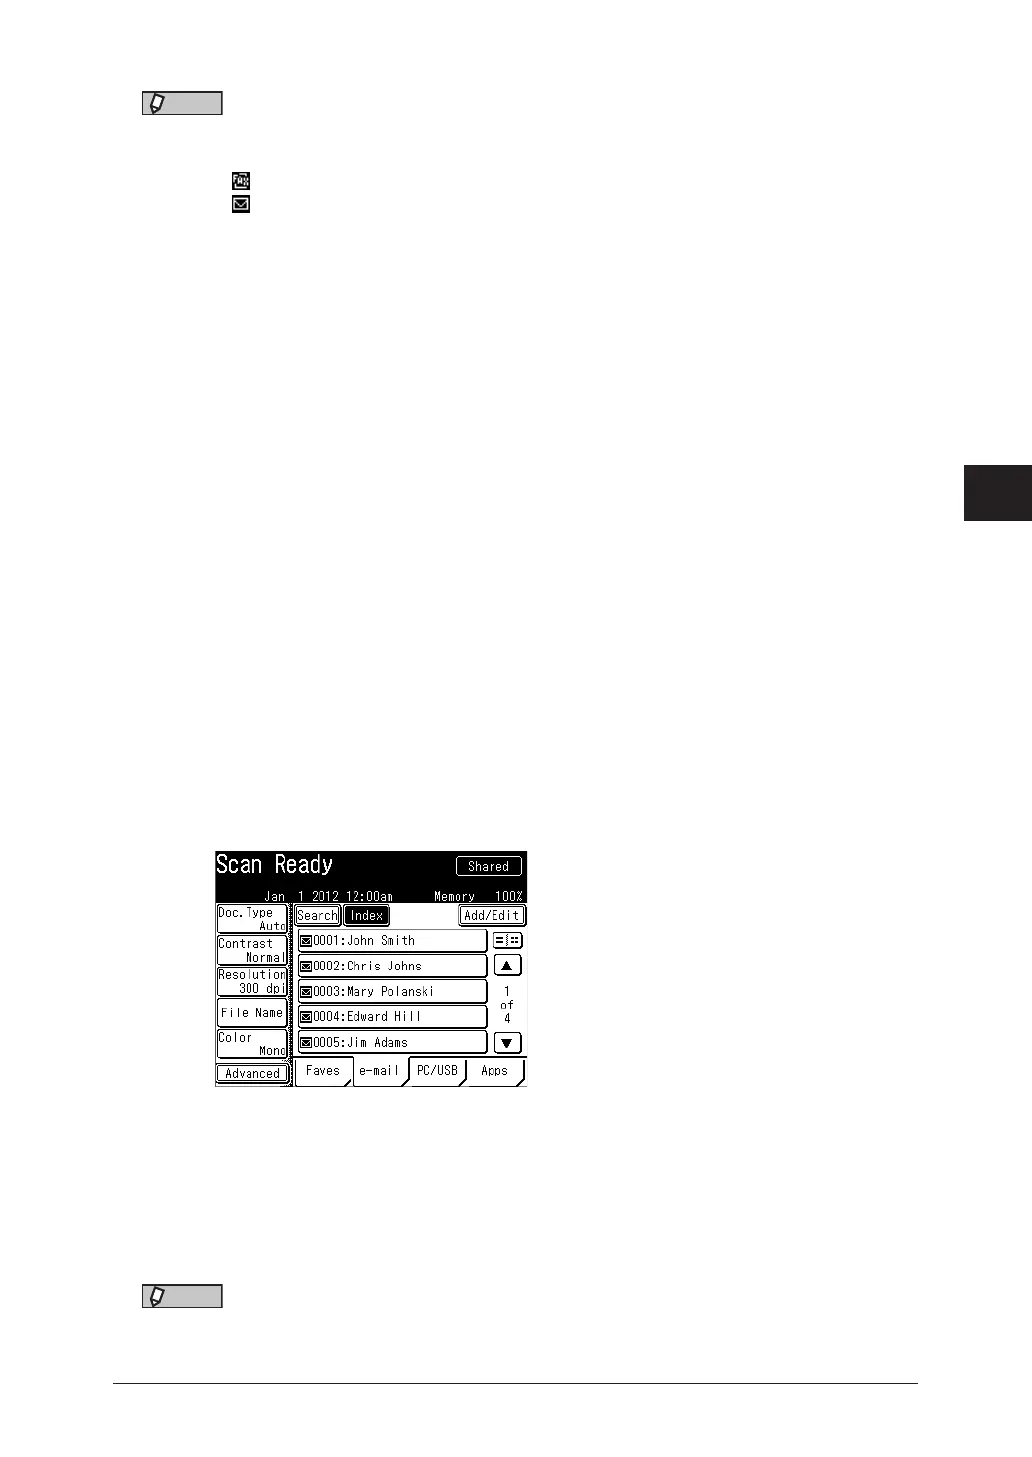
Press [Scan] or [Fax] on My MFP Menu screen.
If My MFP Menu screen is not displayed, press <Mode> repeatedly until “Scan Ready” or “Fax
Ready” screen is displayed.
2
To use the personal address book, log in to the machine.
For details on logging in, see chapter 1, “Logging in / Logging out” in the Administrator’s
Guide.
3
On scan ready screen, press [e-mail] to display the address book.
4
When you are logged in, press <Personal Mode> to switch the address book
between “Shared” and “Personal”.
5
Press [Index].
6
Press the desired button.
7
Select the destination.
•When you select a destination, scanning the document starts.
•When you are logged in, the address book switches between “Shared” and “Personal” each
time you press <Personal Mode>.
NOTE
If you enable the broadcast function in advance, you can specify multiple destinations
(page 2-16 and 3-6.)
 Loading...


