5-14 Specifying destinations
Using mail history
When transmitting using scan to e-mail, you can select a destination from the history of
the last 20 e-mail addresses entered. You can also edit the selected e-mail address before
using it as a destination.
NOTE
Transmission using destinations registered in the address book are not displayed in
the e-mail history.
1
Press [Scan] on My MFP Menu screen.
If My MFP Menu screen is not displayed, press <Mode> repeatedly until “Scan Ready” screen
is displayed.
2
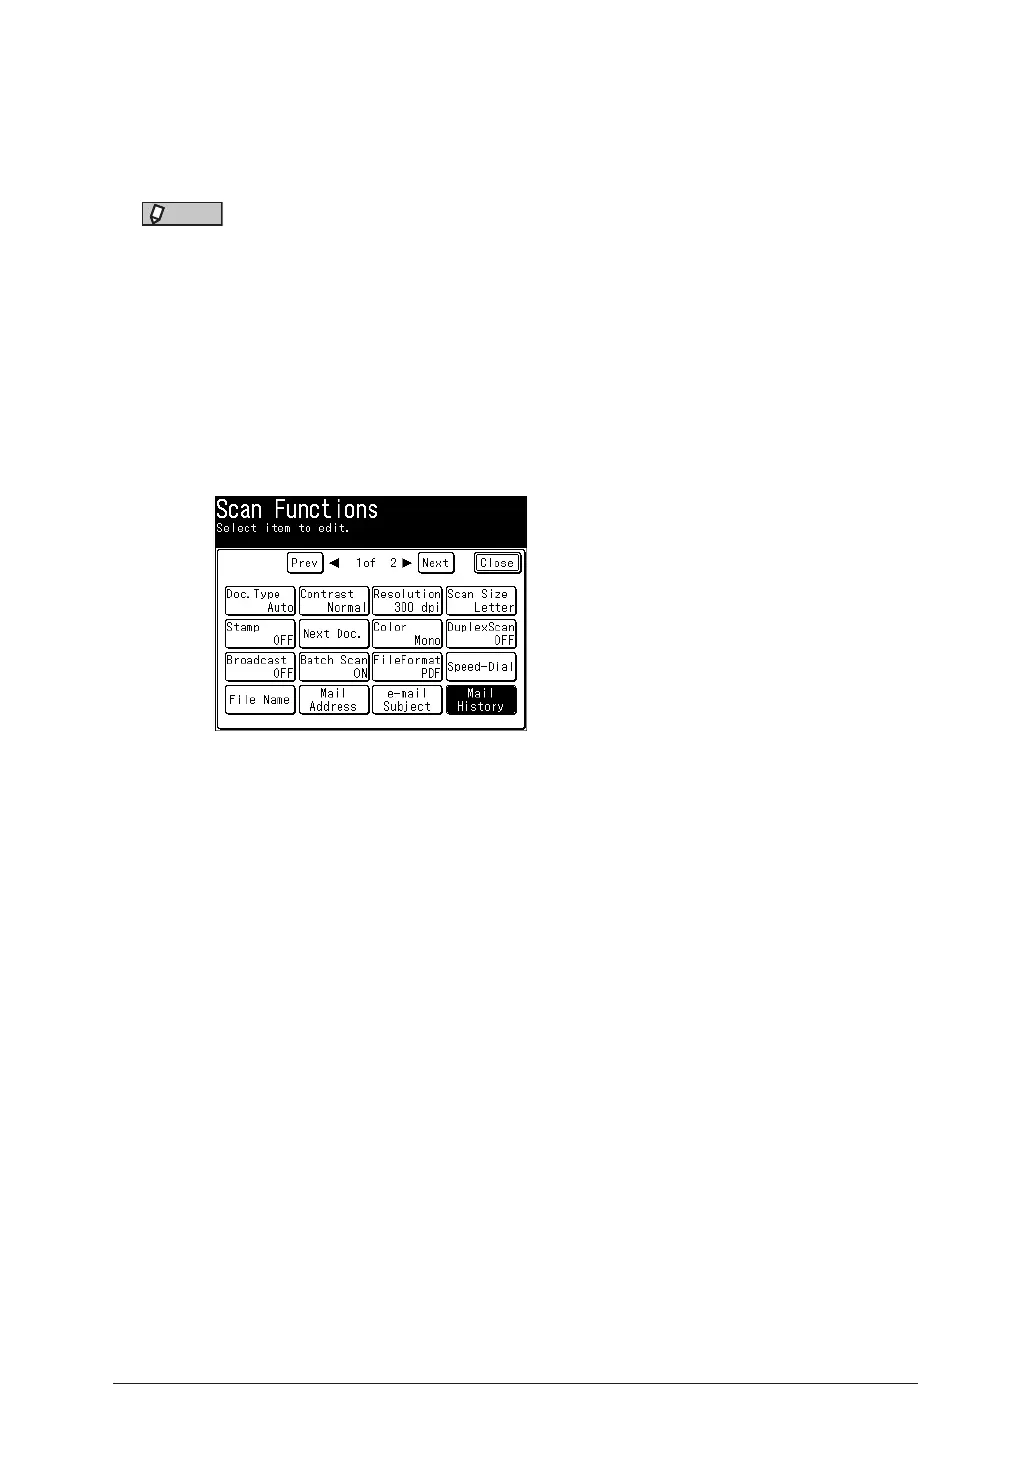
Press [Advanced].
3
Press [Mail History].
4
Select the destination you want to specify.
5
To change the e-mail address, edit the address, and press [Enter].
•To use the displayed e-mail address as it is, press [Enter] without editing it.
•For details on entering the characters, see chapter 1, “Entering characters” in the
Administrator’s Guide.
6
When there are multiple destinations, repeat the procedures from step 2.