7-14 Registering destinations
4
Press [Add].
To change a shortcut that is already registered, select the name of the shortcut you want to
change , and press [Edit].
5
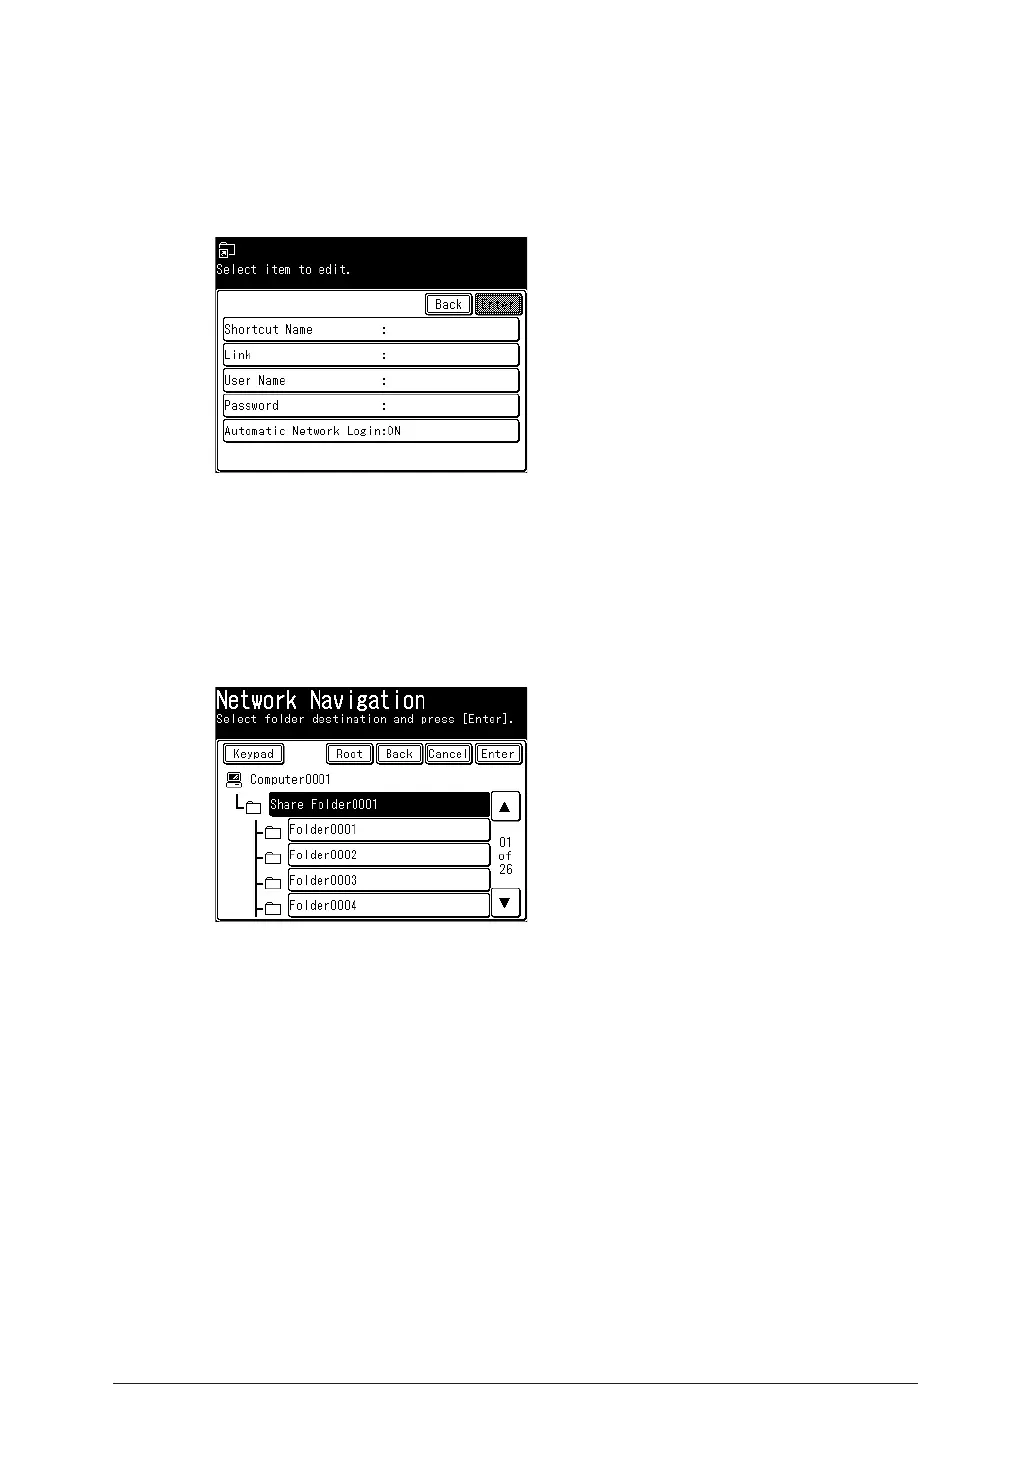
Press [Shortcut Name].
If you do not want to register or edit the shortcut name, proceed to step 7.
6
Register or edit the shortcut name, and press [Enter].
For details on entering characters, see chapter 1, “Entering characters” in the Administrator’s
Guide.
7
Press [Link].
8
Browse to the folder you want to register, specify the folder, and press [Enter].
•Press [Keypad] to manually enter or edit the link. After entry, press [Enter]. Start the link
with two slashes (“//”).
•Press [Root] to return to the list of computers or networks.
•Press [Back] to return to the previous screen.
9
Press [User Name].
If user name and password are not required, proceed to step 15.
10
Enter the user name, and press [Enter].
For details on entering characters, see chapter 1, “Entering characters” in the Administrator’s
Guide.
11
Press [Password].
12
Enter or edit the password, and press [Enter].
For details on entering characters, see chapter 1, “Entering characters” in the Administrator’s
Guide.
13
Press [Automatic Network Login].
 Loading...


