3. Identify the
USB port
number
• Identify the USB port number as described in How to identify the
USB port used by the printer.
4. Set the Port
of the pre-
installed
driver
• Open “Devices and Printers” on your PC (START > Control Panel >
Printer and Faxes).
• Choose the pre-installed printer driver and click on with the right
mouse button.
• Select “Properties” and select the tab “Ports”.
• Select the matching USB port number.
5. Test the
connection
• Select the printer driver in the “Devices and Printers” window.
• Unplug the USB cable. The status will change to “Offline”
• Plug the USB cable in again. The status will change to “Ready”
• Now the printer is ready to use together with this pre-installed
printer driver.
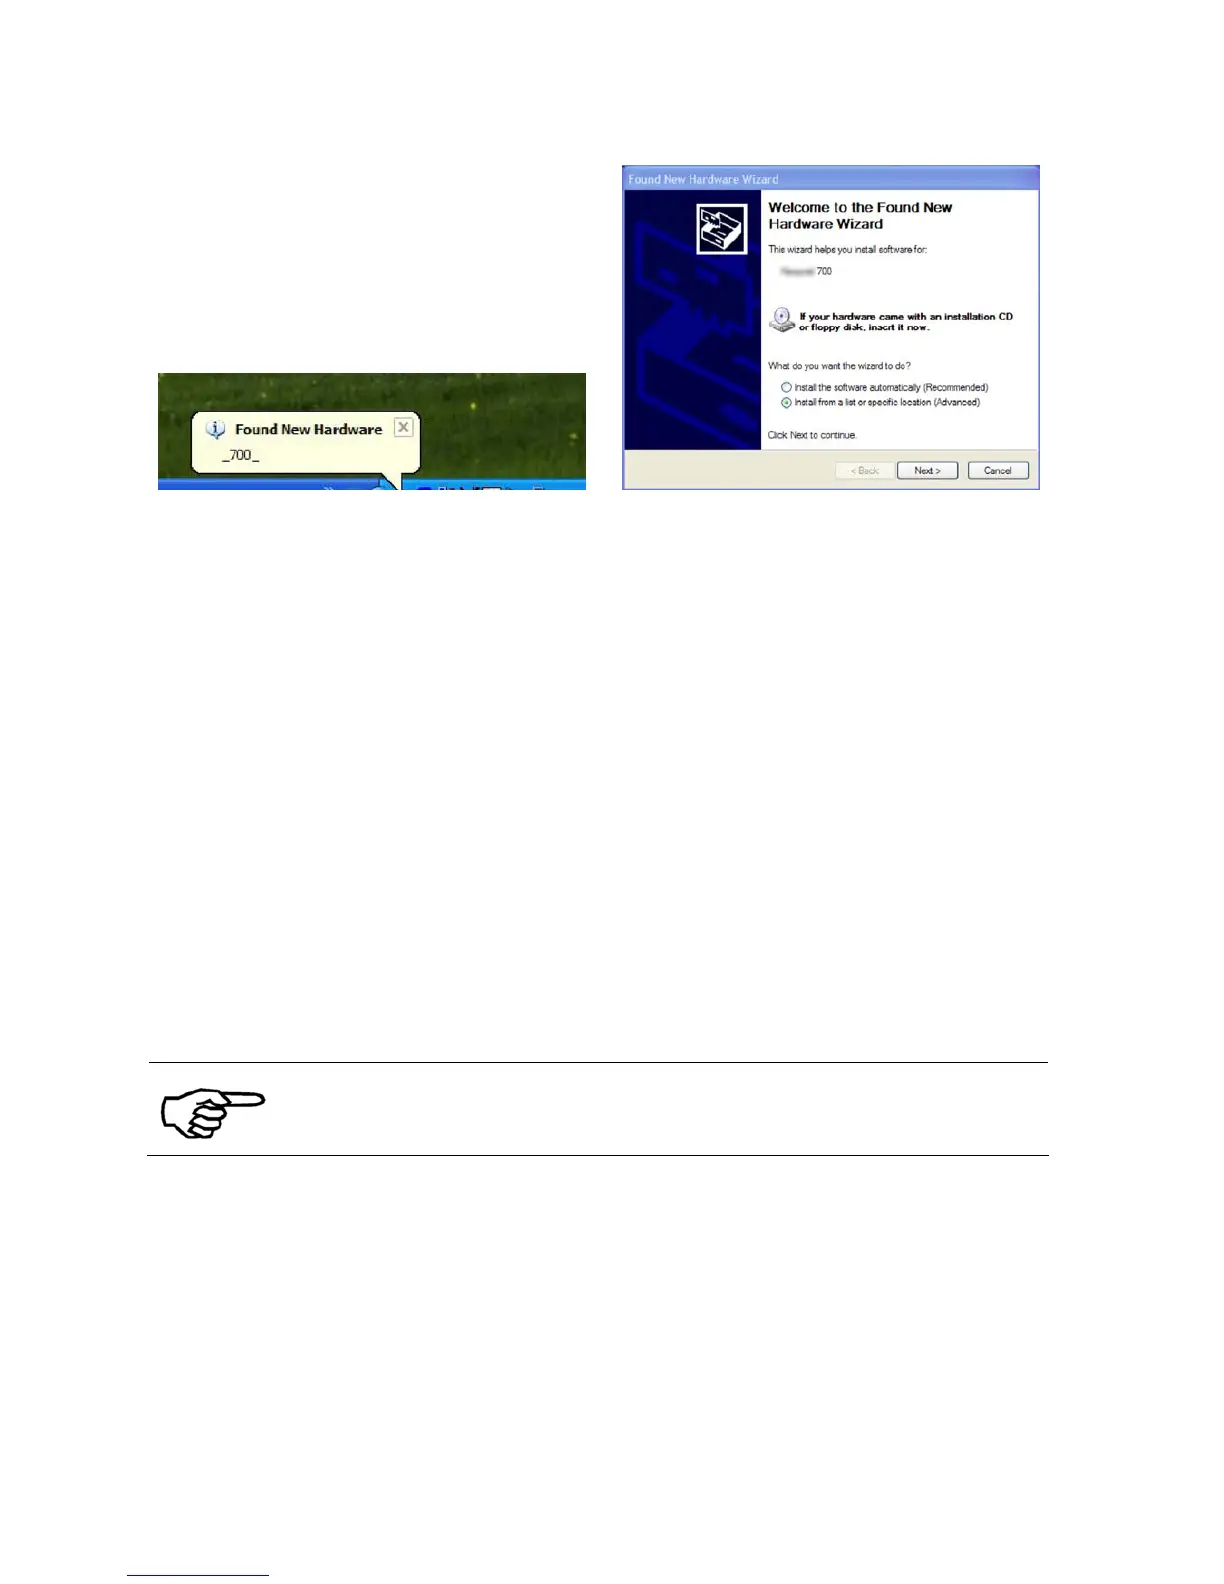
The „Found New Hardware Wizard“ (see Figure 57) will appear each
time the printer is turned on or plug into the PC. To avoid this you
have to install the printer driver version which is delivered together
with the printer.
11.3.2 Ethernet connection
1. Check the
installed
printer driver
• Make sure that the already installed printer driver is the correct
one for your new printer. For example the printer model AS-710
requires the printer driver for the AS-710.