96 User Manual Version 3.1
2. TCP/IP
interface
configuration
of the printer
• Open the main menu of the printer with the Home
key.
• Open the menu PRINTER CONFIG. > BOOT DEFAULTS >
COMMUNICATION > TCP/IP.
• In this menu select the setting fix IP. This is the required setting
for a direct Ethernet connection between printer and PC.
3. Enter/
change the
default
settings
• Set the values for Port Number, IP Address, Subnet Mask and
Gateway IP Address according to your needs or leave the default
values.
Port Number: 9100
IP Address: 192.168.50.180
Subnet Mask: 255.255.255.0
Gateway IP Address: 192.168.50.180
• Confirm any changes to the values by pressing the Ok
key. Now
press the Cancel
key until the main view is shown in the display.
• Press the Ok key to turn the printer online. The bottom line of
the display must now show: OnlinTCP
Changing the PC’s IP address
Please note all your network settings before performing the
configuration described below. When you want to use this PC in your
LAN again, the network settings of this PC have to be reconfigured.
4. Configure
the network
settings of the
PC
In order to use this connection you have to set a fixed IP address for
this PC.
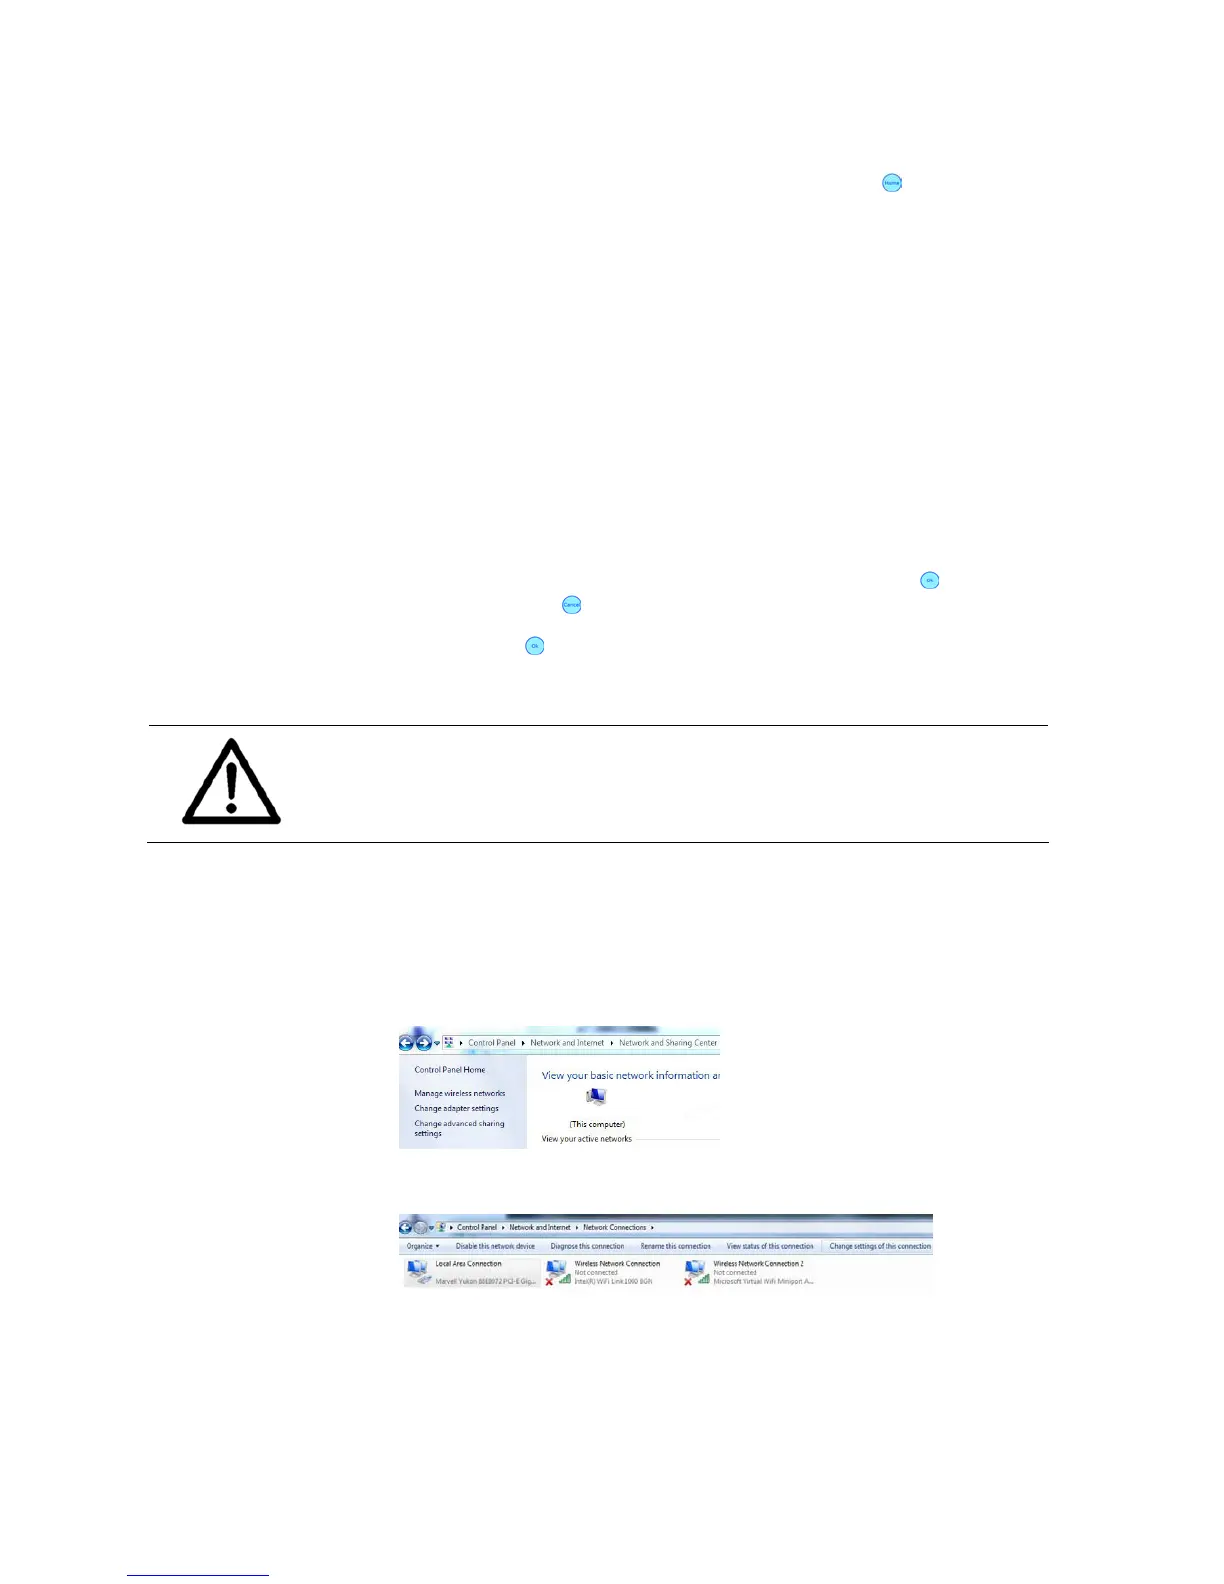
• Open the “Network and Sharing Center” on your PC (START >
Control Panel > Network and Internet).
• Click onto “Change adapter settings”.
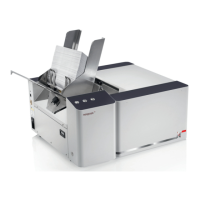
• Select the „Local Area Connection” and click onto “Change Settings
of this connection”.
• Deactivate the item “Internet Protocol Version 6 (TCP/IPv6)” and
then select the “Internet Protocol Version 4 (TCP/IPv4)” and click
onto “Properties” (see Figure 48)
• Select “Use the following IP address:” and enter the following
values (see Figure 49):