Page | 271
2. Refer to Section 16.4.1 for details of preparing the two TriCasters and enabling Remote Control.
A.1.8 INSERT/REMOVE A DRIVE FROM TRICASTER’S REMOVABLE DRIVE BAY
3. If TriCaster is running, and if applicable (not a TriCaster 410 feature) – Eject the hard drive you wish
to remove (see Section A.1.10).
4. Open TriCaster’s front panel.
5. Open the removable drive bay door.
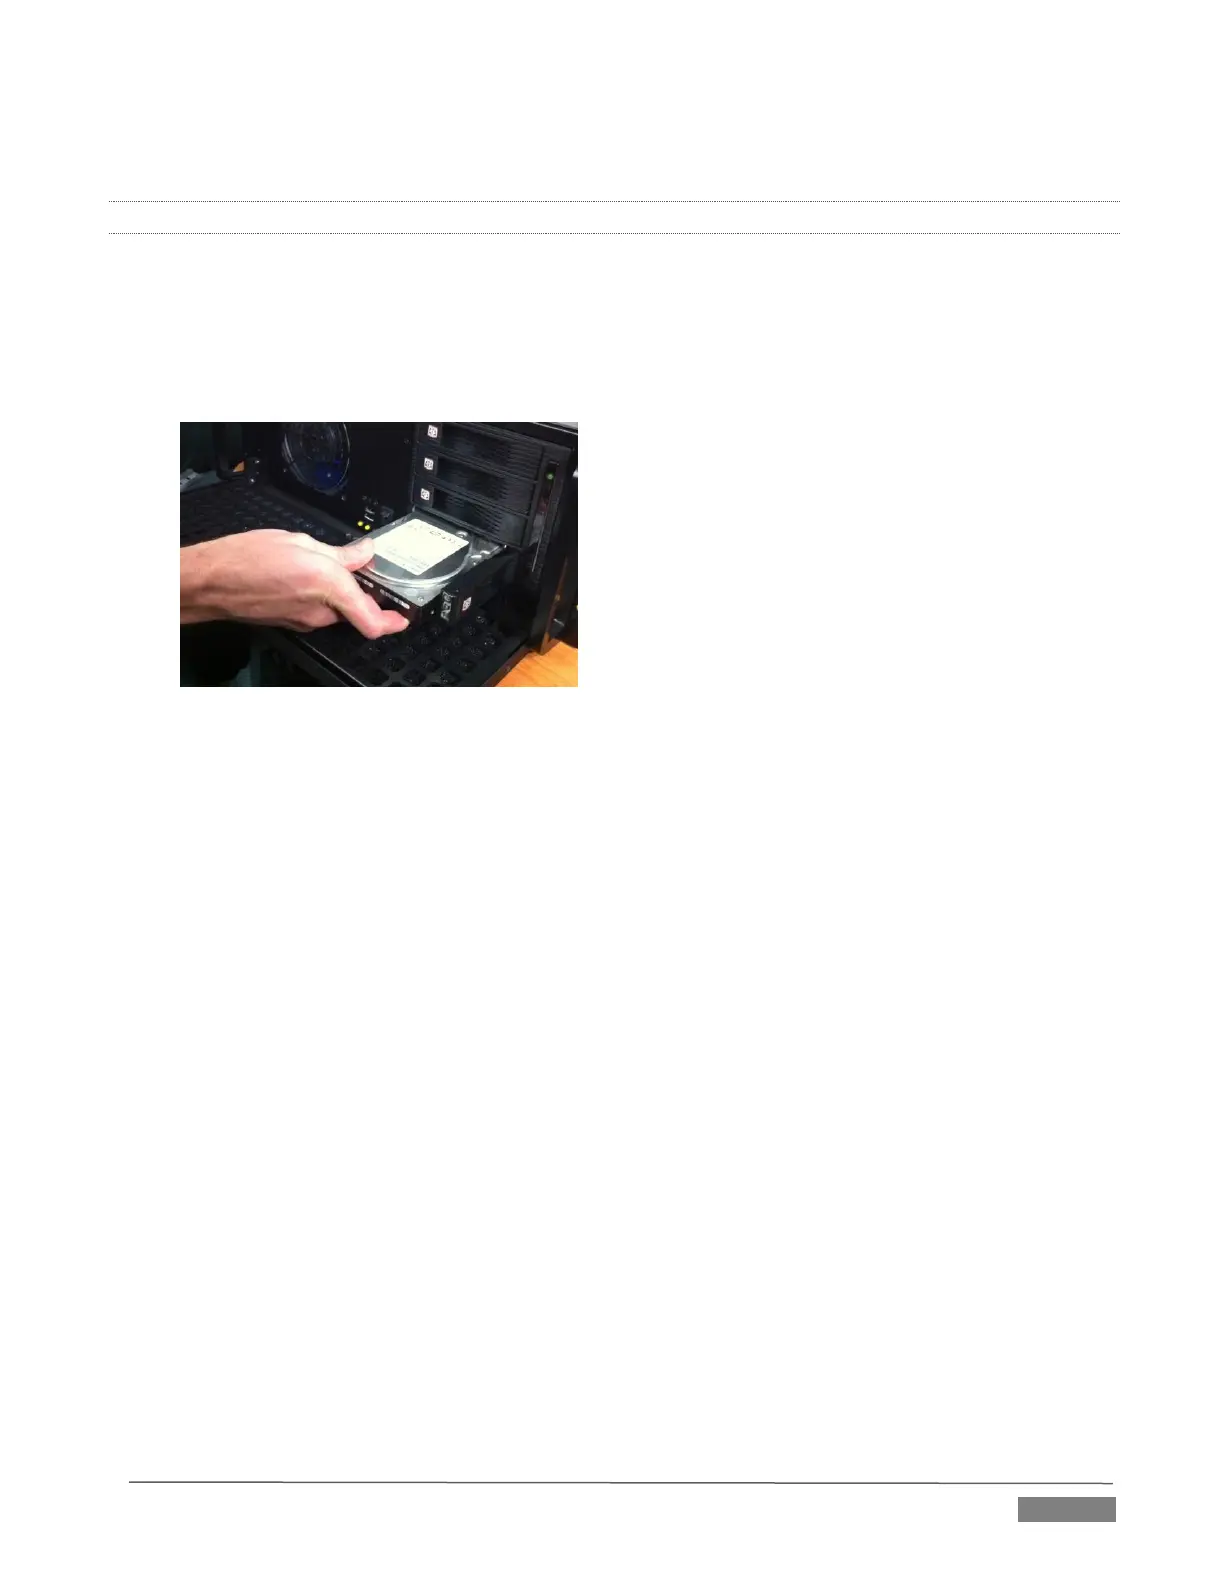
FIGURE 21-67
6. Pull the hard drive currently in the drive bay (if applicable) to remove it.
7. Insert the new hard drive (‘connector end’ first)
8. Close the drive bay door.
9. Close TriCaster’s front panel.
SUPPLEMENTARY QUESTION:
Q: What hard drives are recommended for TriCaster’s removable drive bay(s)?
A NewTek supplied storage media has been carefully tested to meet exacting specifications, and can be
expected to provide optimal performance and reliability.
Of course, you are free to purchase storage media from other sources. Keep in mind that manufacturer
specifications and reviews may highlight favorable statistics, focusing on results from ‘typical’ (i.e., less
demanding) operating environments. (Naturally, NewTek cannot guarantee that hard drives obtained from
such sources will provide performance adequate to TriCaster’s requirements.)
Here are some guidelines to keep in mind when obtaining hard drives from other sources:
All else being equal, larger drives are normally faster – try to use 1TB drives or above.
Use SATA 3.0GB/s drives with rotational speed of 7200 R.P.M. (or better).
Drives should have a larger onboard cache (32Mb or better is recommended).
 Loading...