Page | 64
To do so, simply right-click on one of the following items and select “Configure …” to open the configuration
dialog (Figure 6-2):
Any monitor in the Live Desktop or external Multiview
Any Switcher source button
The dialog contains several editable text fields under the label Input Names, including Video (the label shown
under monitors), a shorter Switcher Button label and the longer Comment field. The latter can be used for
more than just memory aid. TriCaster’s DataLink feature can automatically update title pages as individual
inputs are displayed by drawing on the names and information you enter here.
6.4.2 WORKSPACES AND MIN/MAXIMIZE
Various layouts and custom monitoring options for the Live Desktop and Multiview are provided in the
Workspace menu. When a Multiview monitor is in use, the two Workspace preset options can be combined
with great flexibility, letting you see what you want to see where you want to see it. It’s easy to set up
complementary displays in the two monitor areas.
For example, you might show main Program and Preview monitors along with all 8 M/Es on the Live Desktop.
Meanwhile, the Multiview monitor could display up to eight live Camera feeds plus Media Players, as well as
the (program) output and B row selections for a specified M/E set to Mix mode.
FIGURE 6-3
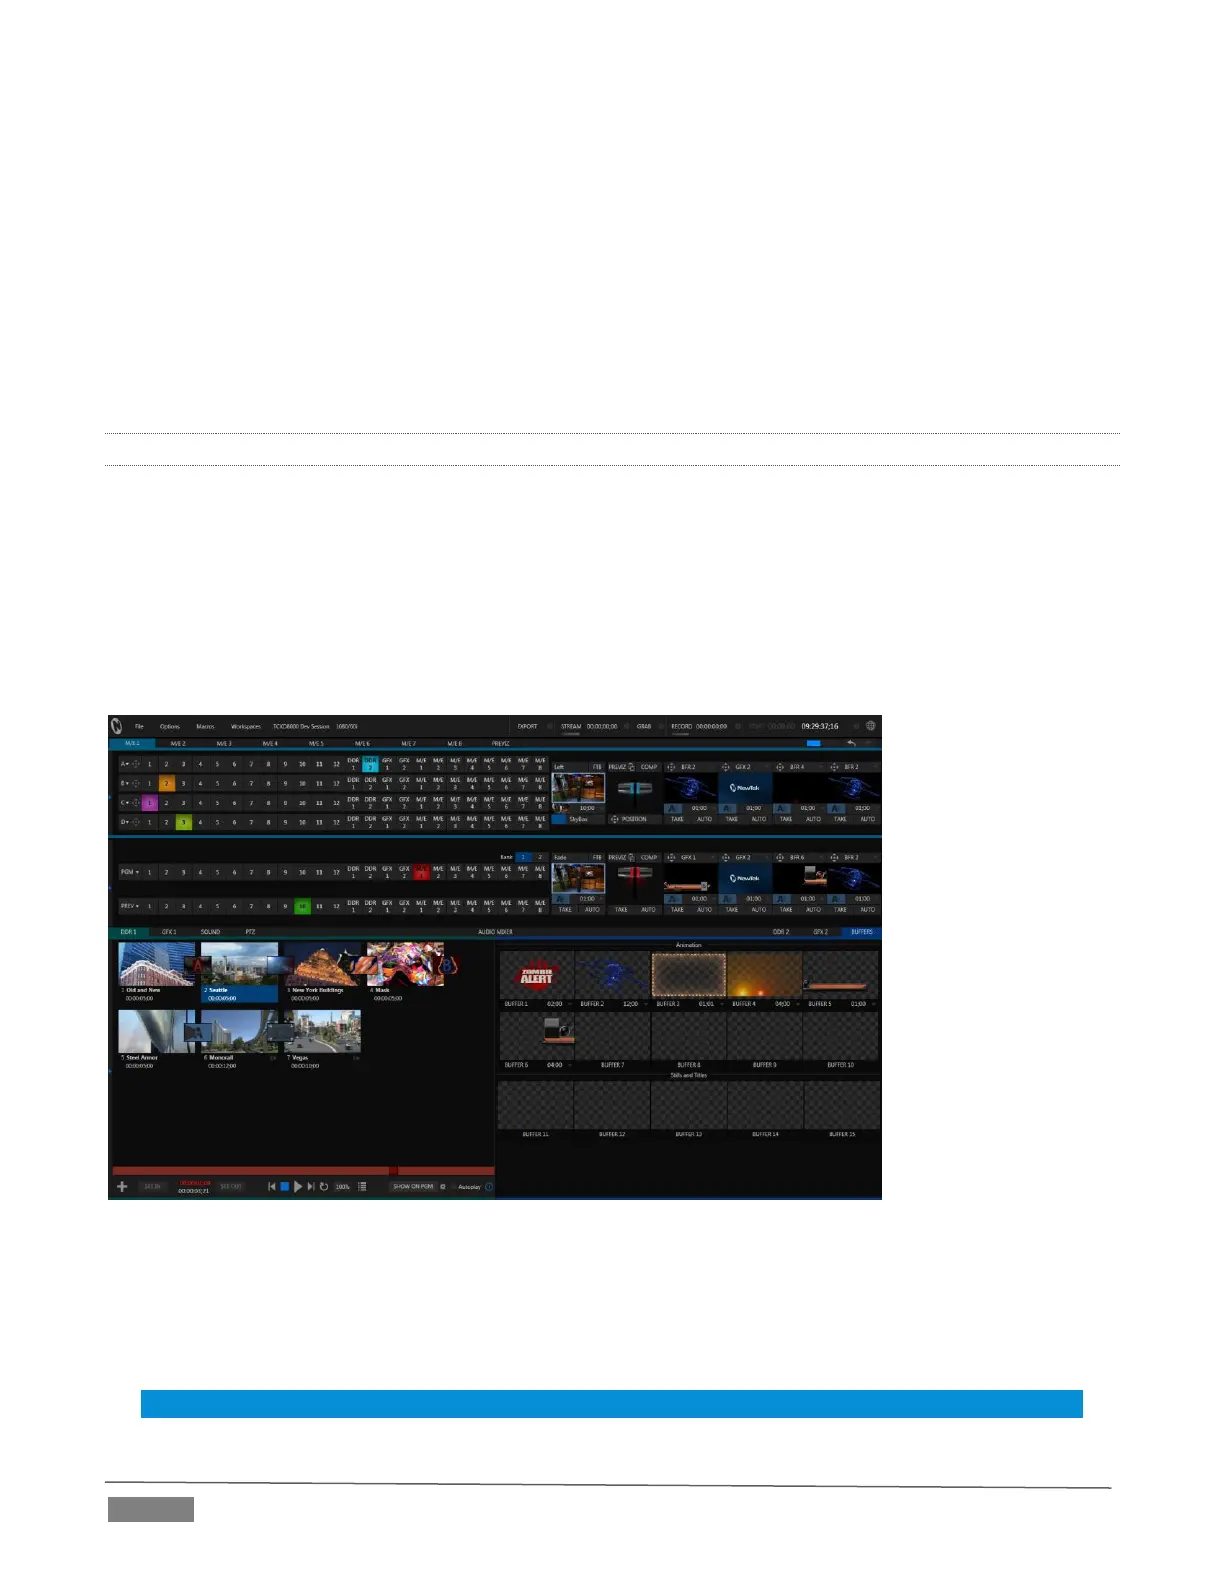
Notice too that you can also drag both the horizontal divider between the Live Desktop monitor pane and the
Switcher, and the divider between the Program-Preview panes at right and viewports at left. You can even
move the horizontal divider all the way up to the bottom of the Dashboard, thus hiding the Desktop monitor
pane entirely (Figure 6-3), providing much more room for other modules in the process.
Hint: Reset the horizontal divider to its default locations by double-clicking it.
 Loading...