Section 10 Transferring Data 10-1 Transferring Data to the PT
NS-Designer Operation Manual
Note
♦
If a communications error occurs or the PT cannot read the transferred data normally and an error
occurs, perform data transfer again from the beginning.
If the system program is transferred to the PT, the screen data in the PT will not be deleted. When
transferring the system program, match the version of system program and project data before oper-
ating the PT.
If the PT system is destroyed or requires updating, perform the PT system recovery operation. Refer to
3-6-3 Transferring Data with Memory Cards in the NS Series Setup Manual for the procedures to re-
covery and updating.
N
N
o
o
t
t
e
e
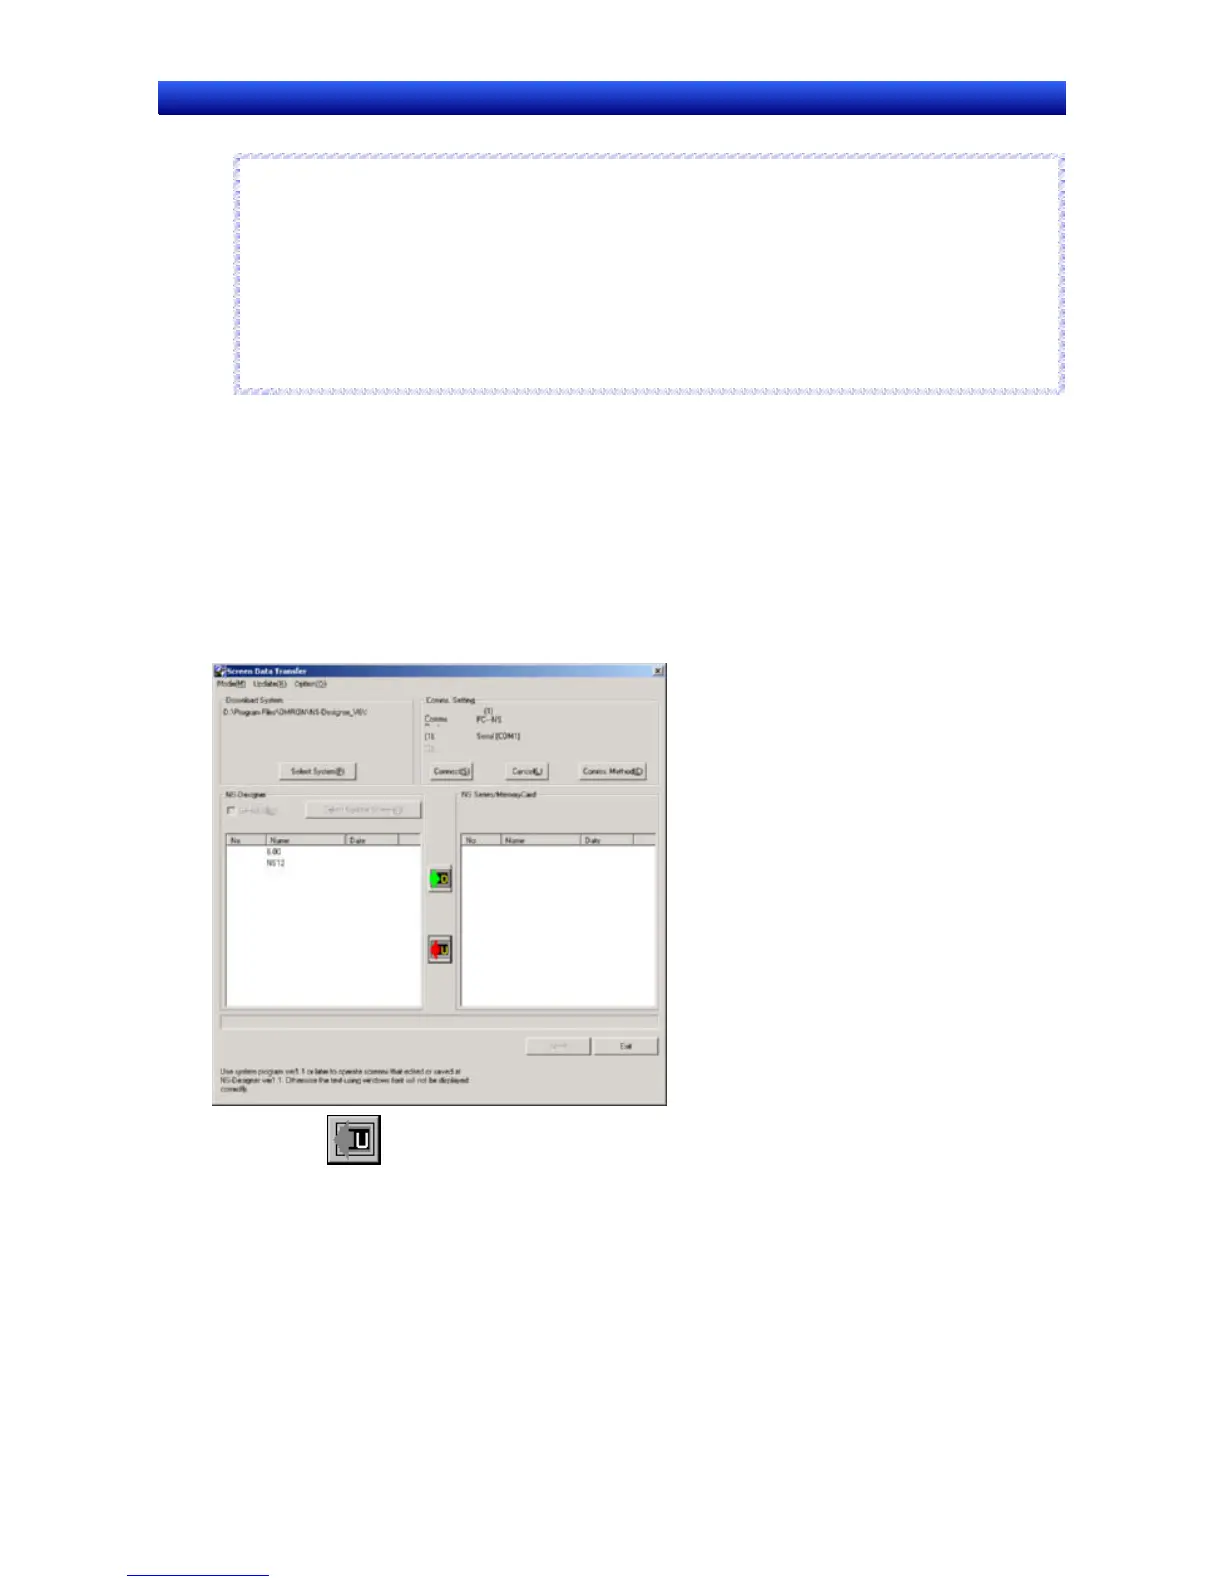
Procedure: Uploading the System Program
Use the following procedure to transfer the data stored in the PT or Memory Card to the NS-Designer.
1. Display the Screen Data Transfer Dialog Box.
2. Select Select System from the Mode Menu or right-click on the Screen Data Transfer Dialog Box
and select Select System from the pop-up menu.
3. Click the Comms. Method Button and set the communications method. For details, refer to 10-1-2
Communications Settings for NS-Designer.
4. Click the Connect Button. The computer will be connected to the PT.
5. Click the Button. The Save as Dialog Box will be displayed.
6. Specify the project name under which to save the data, and click the Save Button.
7. A confirmation dialog box will be displayed. Click the OK Button. The upload will be started.
The transfer progress will be displayed at the PT and in the Screen Data Transfer Dialog Box.
8. The following dialog box will be displayed at the computer when the data transfer is finished. The
PT must be restarted to run the project that has been transferred. Click the Yes Button to restart
the PT. Click the No Button to return to the Screen Data Transfer Dialog Box, and downloading can
be performed again.
10-27