Chapter G - PARTS REPLACEMENT & REPAIR
Planmeca Compact i G-19
SUCTION SYSTEM RELATED
Technical Manual
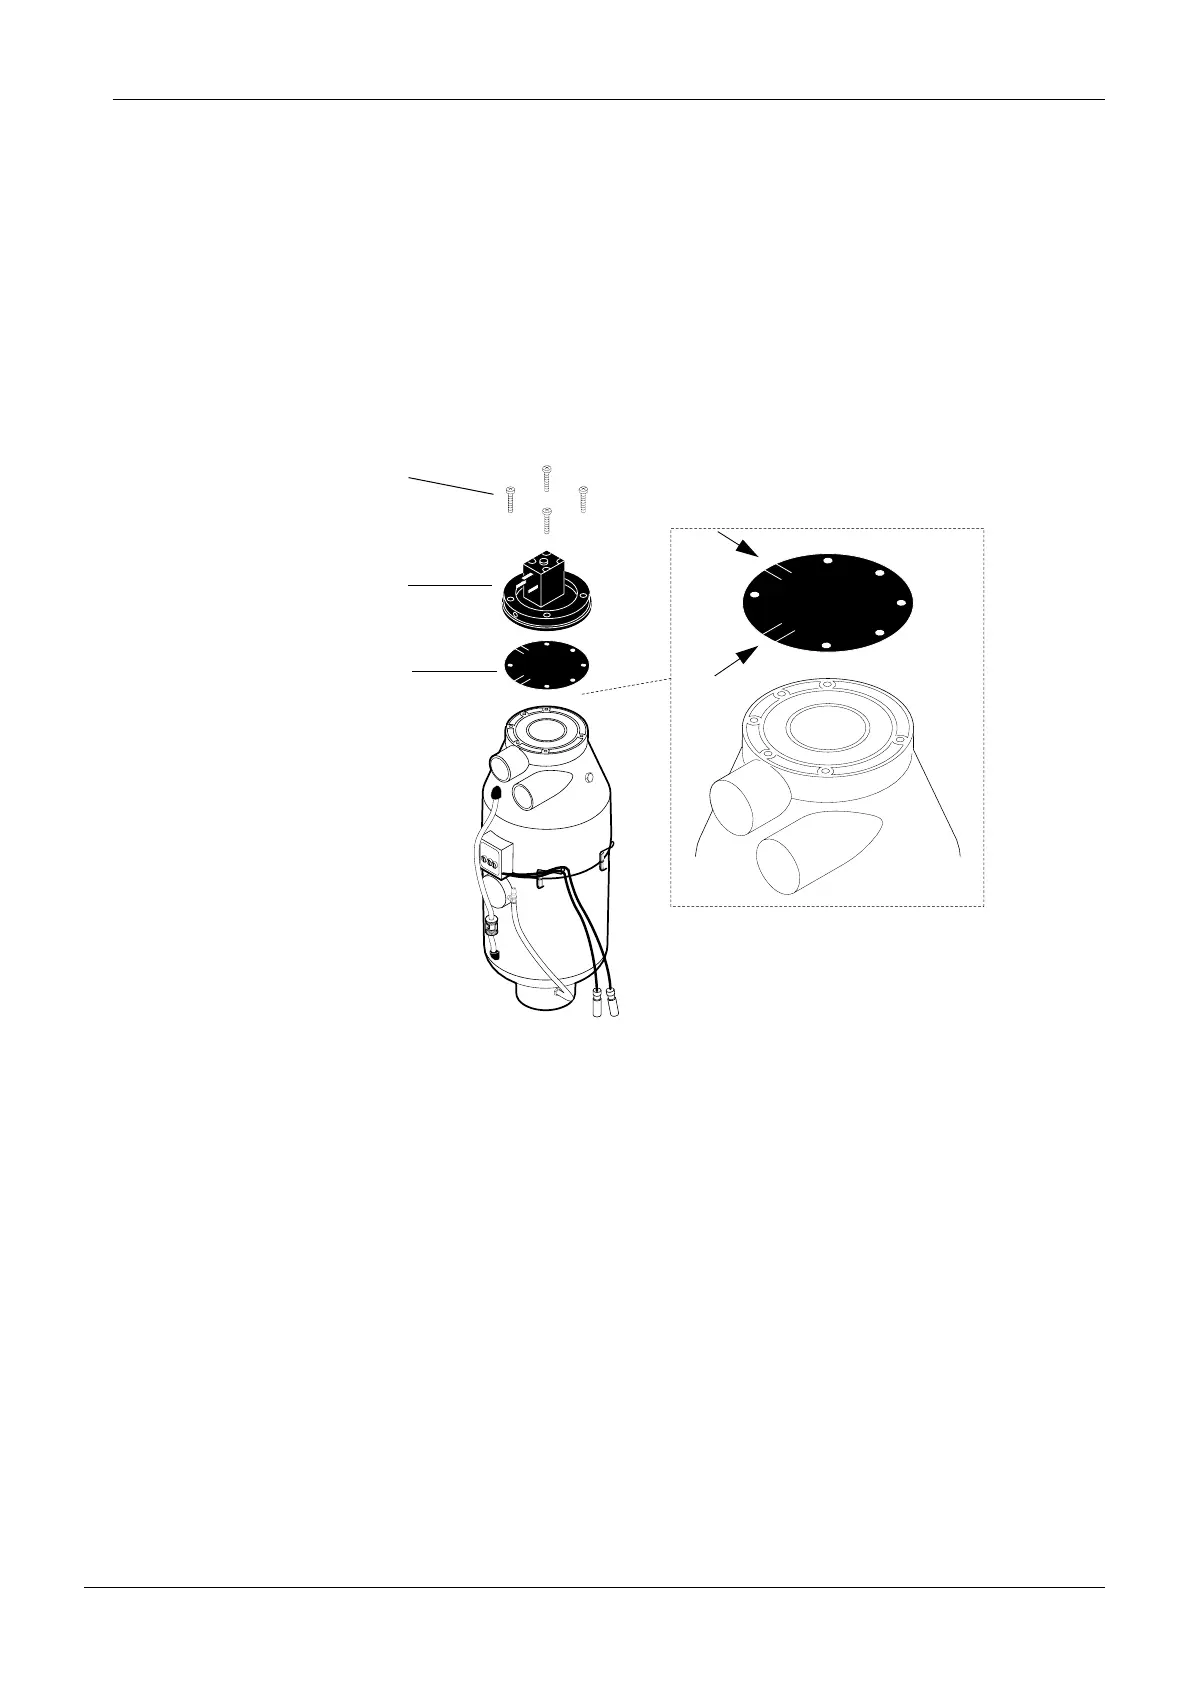
4.5 Replacing suction closing membrane
a) Detach the Microvac II separating tank from the unit as described in section 4.2 “Replacing
the whole PM Microvac II separating tank” on page G-17.
b) Remove the lid assembly by unscrewing the four M3X16 screws.
c) Lift off the old suction closing membrane.
d) Install the new suction closing membrane in reverse order.
NOTE Care must be taken when positioning the suction closing membrane.
NOTE Tighten the lid assembly screws crosswise.
MVac41298.eps
Screw M3x16
Lid assembly
Suction closing
membrane
Note the positions of the grooves!