Chapter G - PARTS REPLACEMENT & REPAIR
Planmeca Compact i G-3
UPHOLSTERIES REPLACEMENT
Technical Manual
2 UPHOLSTERIES REPLACEMENT
Manual headrest upholstery
a) Loosen the screw at the back of the headrest assembly.
b) Detach the headrest upholstery from the headrest assembly.
c) Attach the new headrest upholstery in reverse order.
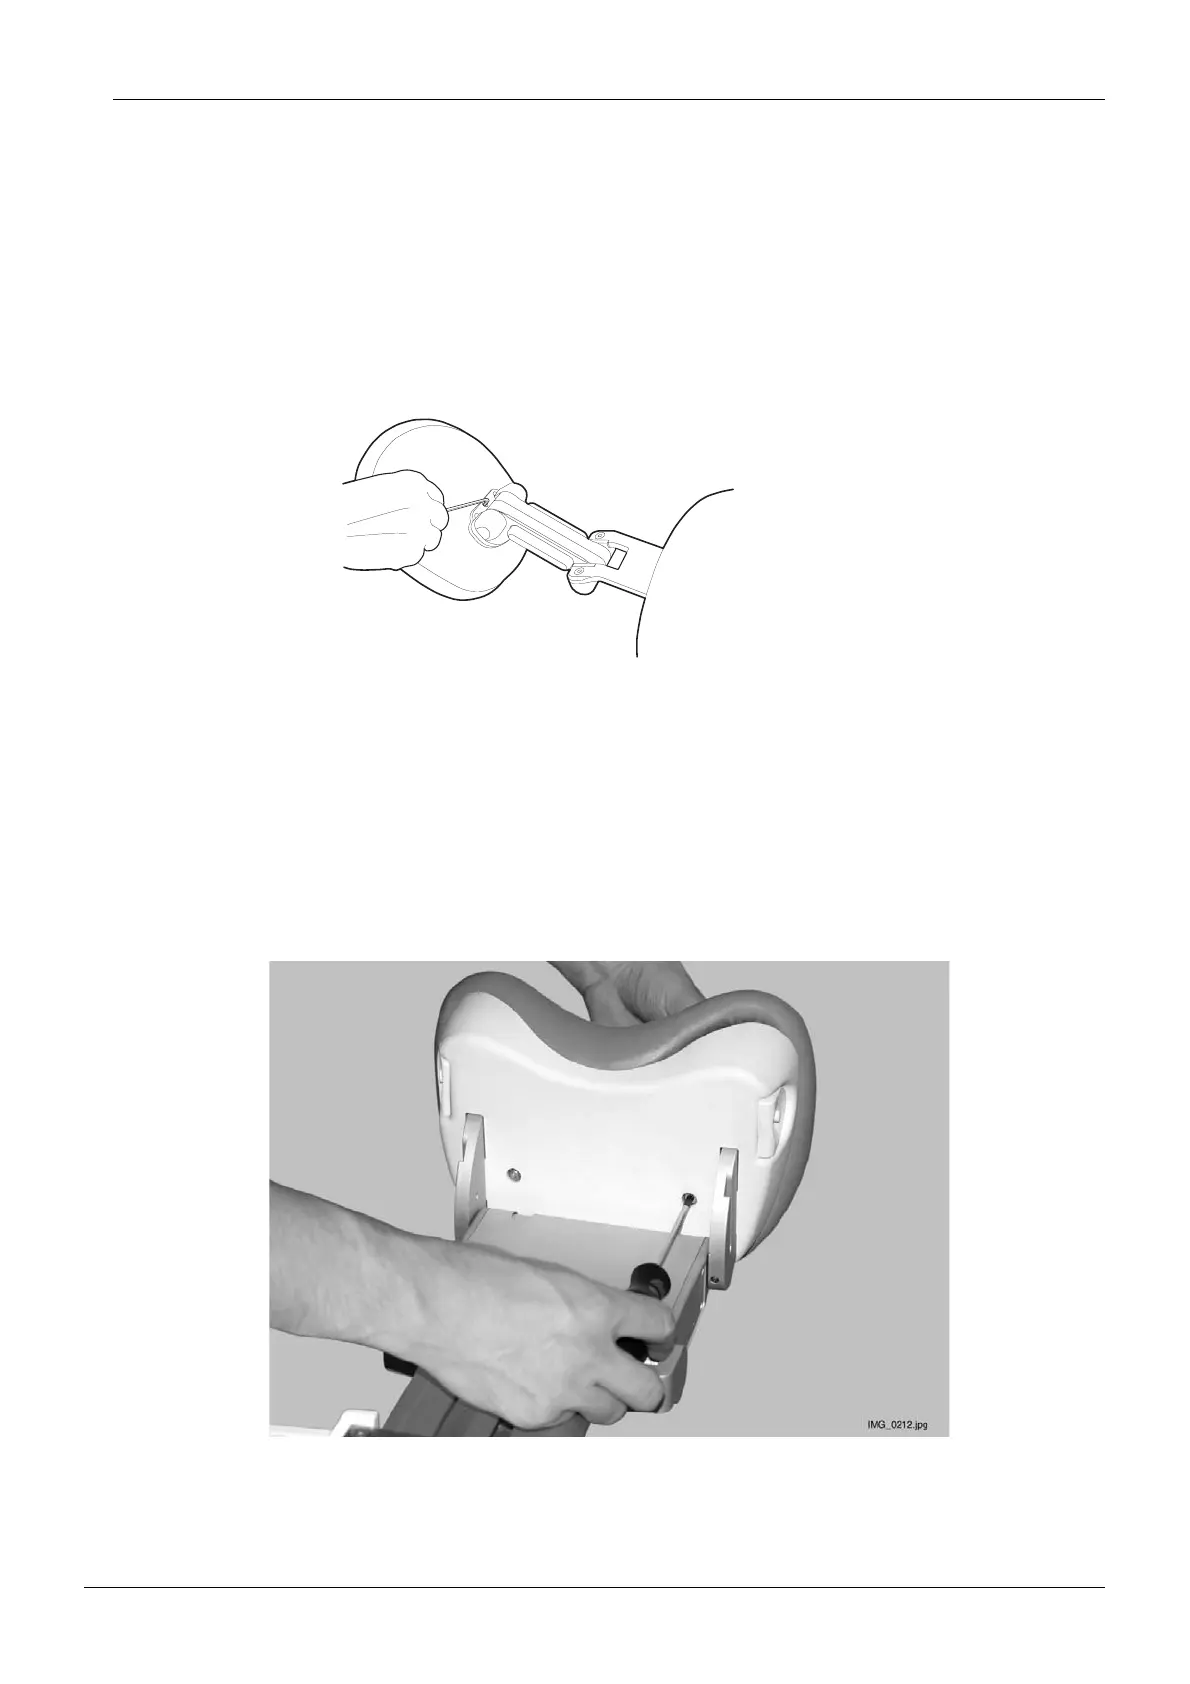
Motorized headrest upholstery
a) Loosen the screws at the back of the headrest assembly using the T25 key.
b) Detach the headrest upholstery from the headrest assembly.
c) Attach the new headrest upholstery in reverse order.
niskakiin_piirros.eps
Headrest upholstery:
Loosen the screw and
remove the cushion.
Headrest upholstery:
Loosen the screws and
remove the cushion.