7.14
FINAL DRIVE
9924096 - 2013 RANGER RZR XP 900 / RZR XP 4 900 Service Manual
© Copyright 2012 Polaris Sales Inc.
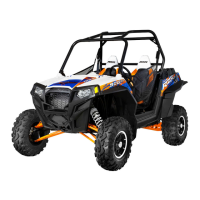
11. Remove the rear propshaft assembly from the vehicle
through the skid plate.
IMPORTANT: Do not attempt to separate the support
bearing assembly from the rear propshaft. Doing so
will cause damage to the support bearing and rubber
isolator. Remove the rear propshaft from the vehicle
as an assembly.
12. Proceed to “Rear Propshaft Installation”.
Rear Propshaft Installation
1. Reverse the appropriate “Rear Propshaft Removal”
procedure to reinstall the rear propshaft.
2. Lubricate the transmission output shaft splines with
Polaris All Purpose Grease.
3. Lubricate the front and rear propshaft mid joint with
Polaris All Purpose Grease.
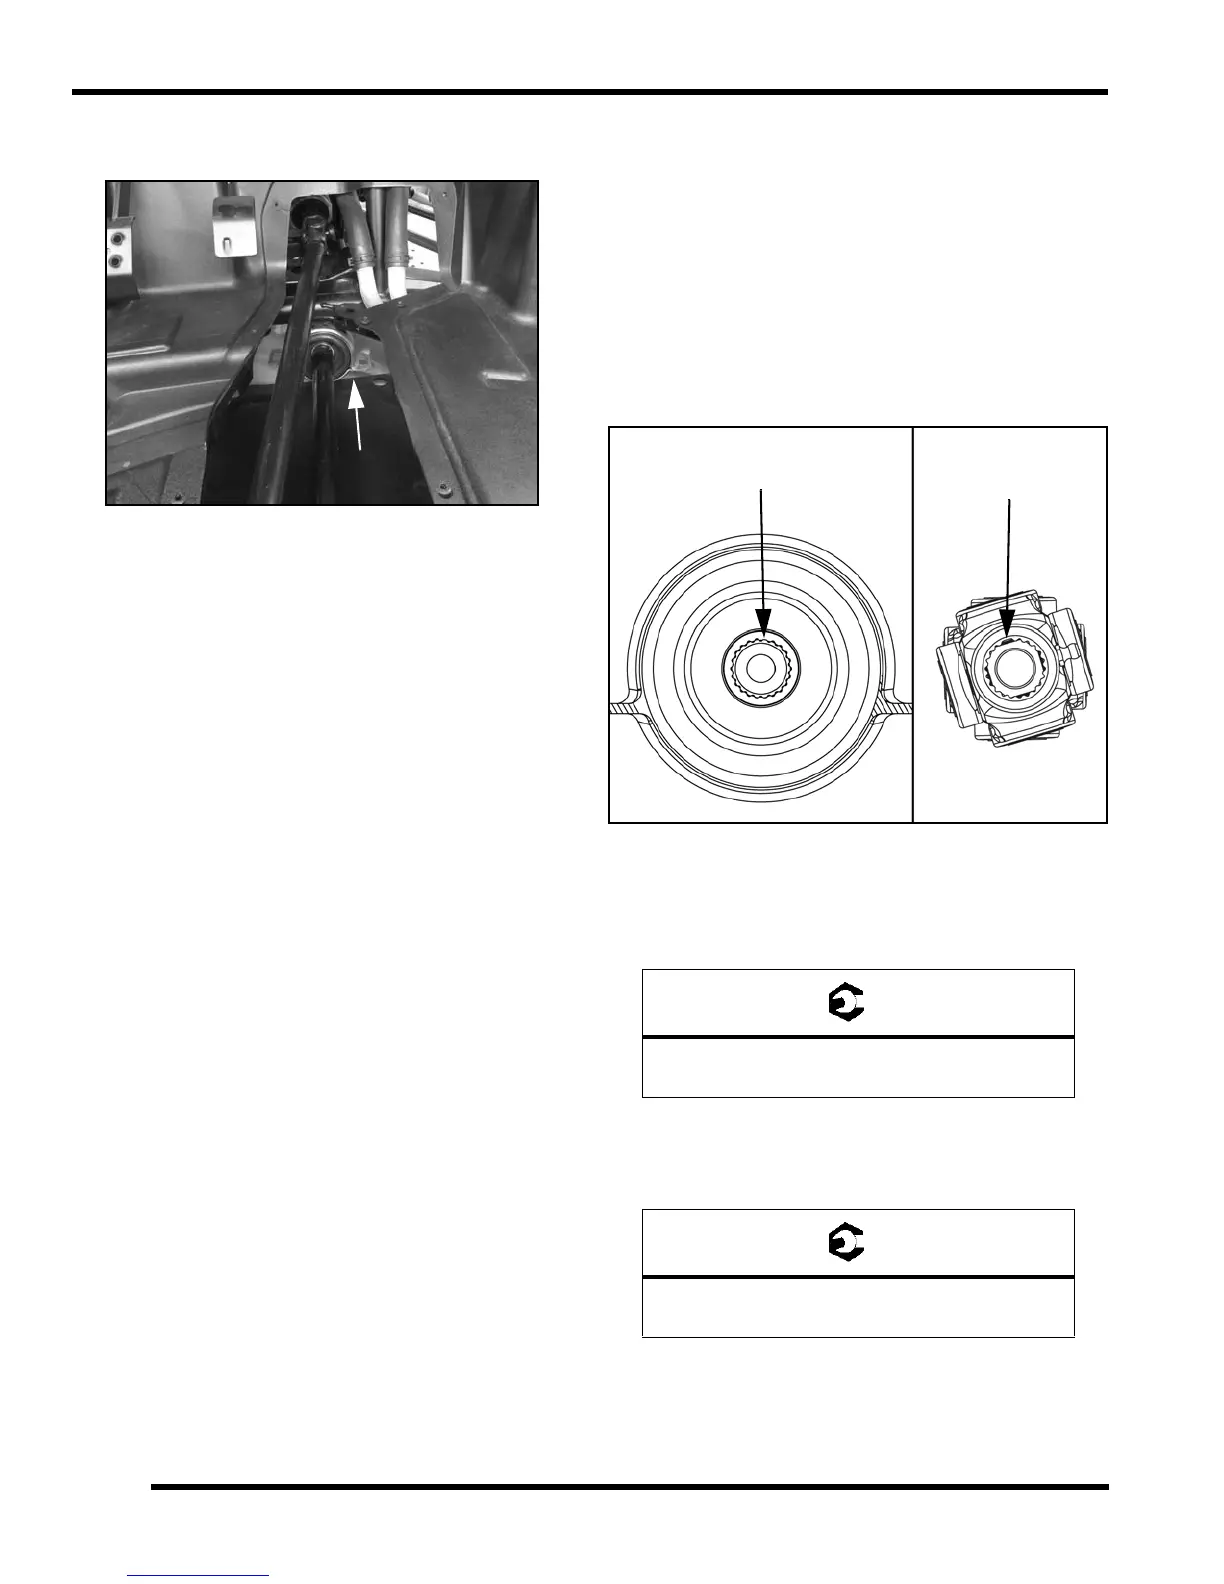
4. Align the front and rear propshafts as shown below
and slide them together.
NOTE: Paint marks are applied to the front and rear
propshafts to aid shaft alignment. Reference these
marks during installation if still visible.
5. Torque the support bearing fasteners to specification.
6. Reposition the front gearcase and install the (4) bolts
that secure the front gearcase to the frame. Torque
bolts to specification.
Support Bearing Fasteners:
30-35 ft-lbs (41-47 Nm)
Front Gearcase Mounting Bolts:
30 ft-lbs (41 Nm)
Staked Tooth
for Alignment
Missing Tooth
for Alignment
 Loading...