10.35
ELECTRICAL
10
9924096 - 2013 RANGER RZR XP 900 / RZR XP 4 900 Service Manual
© Copyright 2012 Polaris Sales Inc.
STARTING SYSTEM
Troubleshooting
Starter Motor Does Not Run
• Battery discharged
• Loose or faulty battery cables or corroded
connections (see Voltage Drop Tests)
• Related wiring loose, disconnected, or corroded
• Poor ground connections at battery cable, starter
motor or starter solenoid (see Voltage Drop Tests)
• Faulty key switch
• Faulty starter solenoid or starter motor
• Engine problem - seized or binding (can engine be
rotated easily)
Starter Motor Turns Over Slowly
• Battery discharged
• Excessive circuit resistance - poor connections
(see Voltage Drop Test)
• Engine problem - seized or binding (can engine be
rotated easily)
• Faulty or worn brushes in starter motor
Starter Motor Turns - Engine Does Not Rotate
• Faulty starter drive
• Faulty starter drive gears or starter motor gear
• Faulty flywheel gear or loose flywheel
Voltage Drop Test
The Voltage Drop Test is used to test for bad connections.
When performing the test, you are testing the amount of
voltage drop through the connection. A poor or corroded
connection will appear as a high voltage reading. Voltage
shown on the meter when testing connections should not
exceed 0.1 VDC per connection or component.
To perform the test, place the meter on DC volts and place
the meter leads across the connection to be tested. Refer
to the voltage drop tests on the starter system in this
chapter.
Starter Motor Removal
1. Remove driver side seat and disconnect the battery.
2. Raise and support rear of vehicle.
3. Remove the RH rear wheel.
4. Remove (+) positive wire from starter motor terminal.
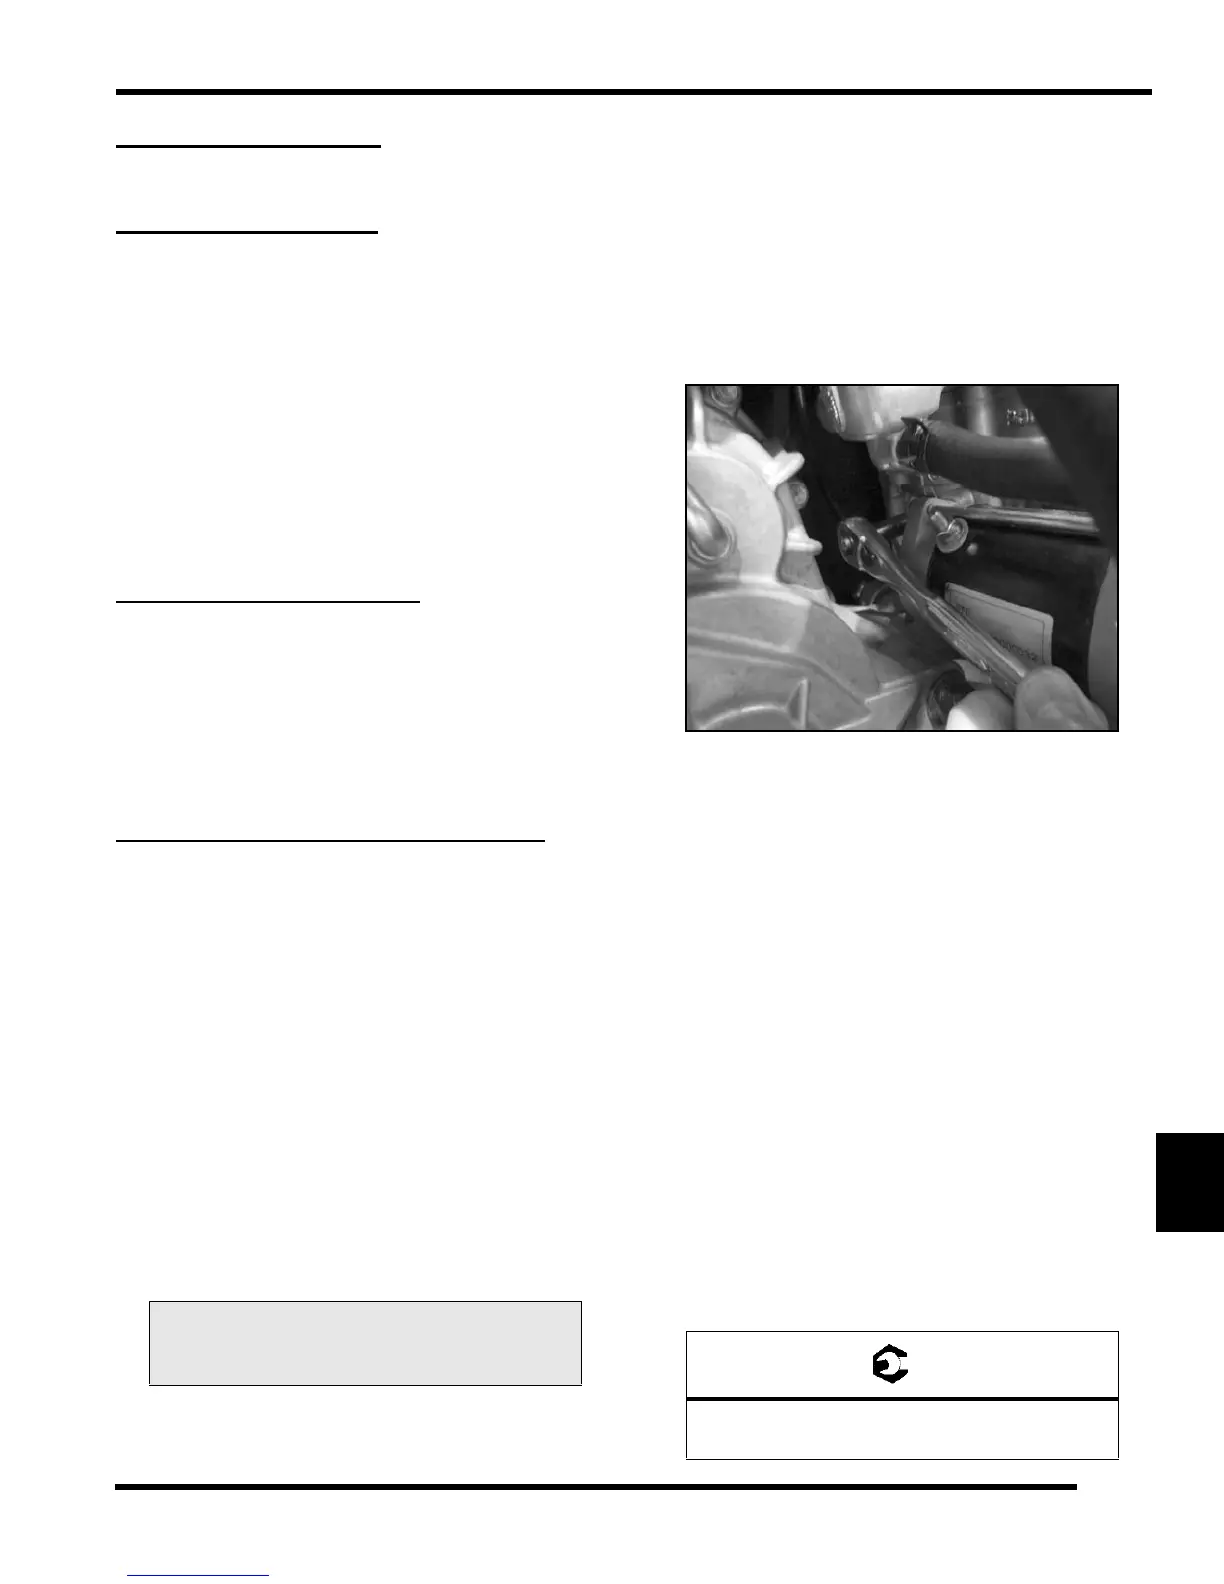
5. From the RH side wheel well using an 8mm flex
socket, remove the negative battery cable nut and the
(2) fasteners securing the starter motor to the engine.
NOTE: The (-) negative battery cable is mounted to
the engine using the upper starter mounting bolt /
stud.
6. Remove the starter from the engine.
Starter Motor Installation
1. Inspect and replace starter motor O-ring if needed.
2. Lubricate starter motor O-ring with fresh engine oil.
3. Install the starter motor onto the engine case.
4. Hand tighten the upper starter mounting bolt / stud.
5. Install and torque the lower mounting bolt to
specification.
IMPORTANT: Tighten the lower starter bolt first, as
the bottom hole acts as a pilot hole to properly align
the starter drive (bendix) with the flywheel. This helps
prevent binding and starter damage.
6. Torque upper starter mounting screw to specification.
7. Install (-) negative battery cable to the upper starter
mounting bolt / stud. Torque nut to specification.
Voltage should not exceed
.1 DC volts per connection
Starter Mounting Bolts and Nut:
7 ft-lbs (10 Nm)

 Loading...