Chapter 9: Installing, Removing, and Replacing Components
Removing and Replacing a Tape Drive
Quantum Scalar i40 and Scalar i80 User’s Guide 289
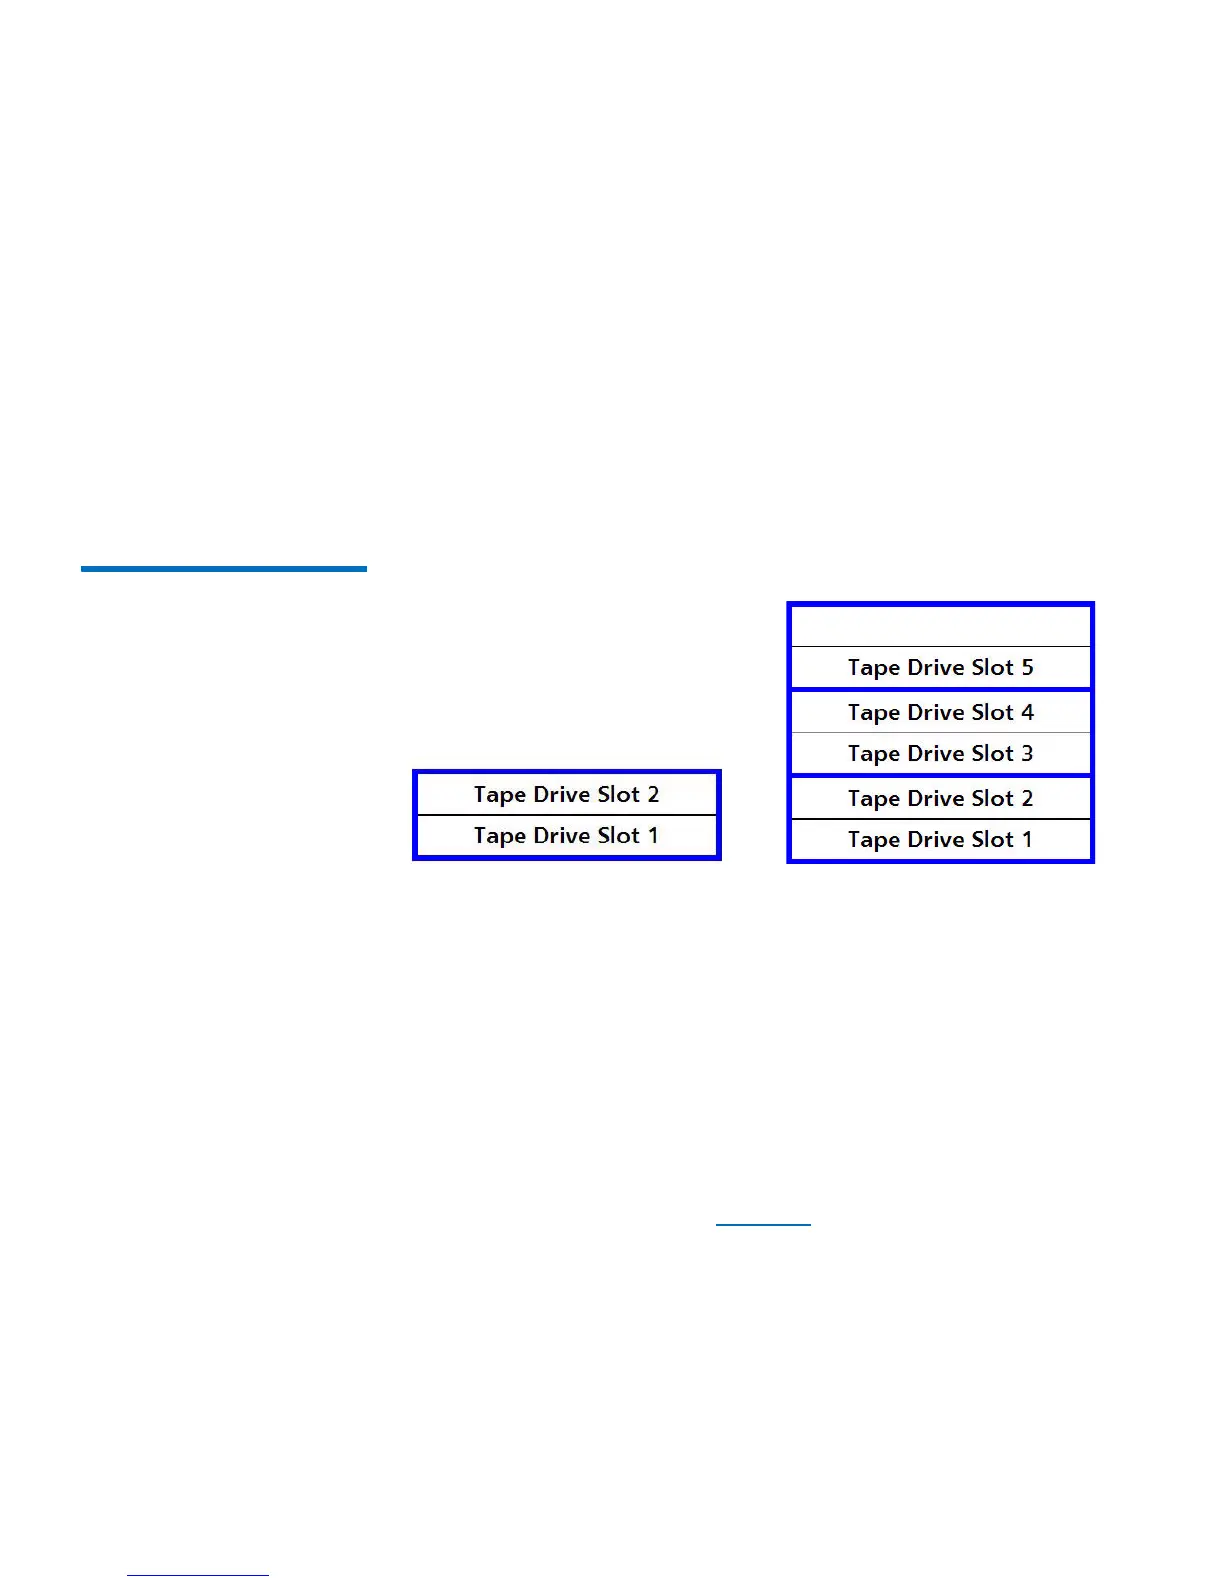
• Scalar i80: Half-height tape drives can be installed in slots 1, 2, 3, 4,
and 5. Full-height tape drives can be installed in slots 1, 3, and 5.
The extra space where slot 6 would be cannot hold a half-height
tape drive, but will accommodate a full-height tape drive installed in
slot 5.
If possible, it is recommended to start installing the tape drives at the
bottom slot and work up, without leaving spaces between.
If you are replacing an existing tape drive with a tape
drive of the same
interface type, form factor, and vendor, place the replacement tape
drive in the same slot as the removed tape drive.
Figure 71 Acceptable
Installation Locations for Full-
Height Tape Drives
Installation Procedure
1 If you need to remove one or more filler plates, unscrew the two
thumbscrews securing the filler plate to the back of the library.
Holding the thumbscrews, pull the filler plate gently out of the
library. Save the filler plate in case you need to use it in the future.
2 Insert the t
ape drive into the drive slot. The “shelf” on the bottom of
the drive sled fits into the notch in the library chassis and slides on
the plastic guide rails (see Figure
72 on page 290). The tape drive
must be level to slide in smoothly. At th
e very end of the slide, you
will feel a slight “click” as the tape drive sled connector connects
into its mating connector in the library chassis.