MRD 3187B - User Manual
Page 161 (245)
assignment audio to one of the SDI audio embedding locations, use the following
steps:
1. Start out at the home screen (where it
shows the TS bit rate).
2. Press the
button.
3. Use the
and
buttons to move the
cursor to “Sdi Aud Embed”, then press the
button.
4. The current settings are displayed. Press
the
button again to edit the settings.
5. Use the
and
buttons to move the
cursor to the pair location for the
embedded audio, Group 1 “Pr1” or “Pr2”,
Group 2 “Pr1” or “Pr2”, Group 3 “Pr1” or
“Pr2”, and Group 4 “Pr1” or “Pr2”, then
press the
button to edit the assigned
audio.
6. Use the
and
buttons to select
the audio that is assigned to the pair,
“Off”, “Aud 1 PCM”, “Aud 1 Dig. Pass”,
“Aud 2 PCM”, or “Aud 2 Dig. Pass” , “Aud
3 PCM”, “Aud 3 Dig. Pass” , “Aud 4 PCM”,
“Aud 4 Dig. Pass”. Press the
button
to save the selection.
Audio 1 Setup
The following menus are used to setup the audio downmix settings.
Note: Refer to Appendix F for the MRD 3187B Audio Explanation.
Note: These settings do not apply to DolbyE audio.
Use the following instructions to setup Audio 1-4.
1. Use the and buttons to move the
cursor to “Audio 1 Setup” then press the
button.
2. The current screen shows the status of
the audio downmix settings, press the
button again to display the Edit
screen.
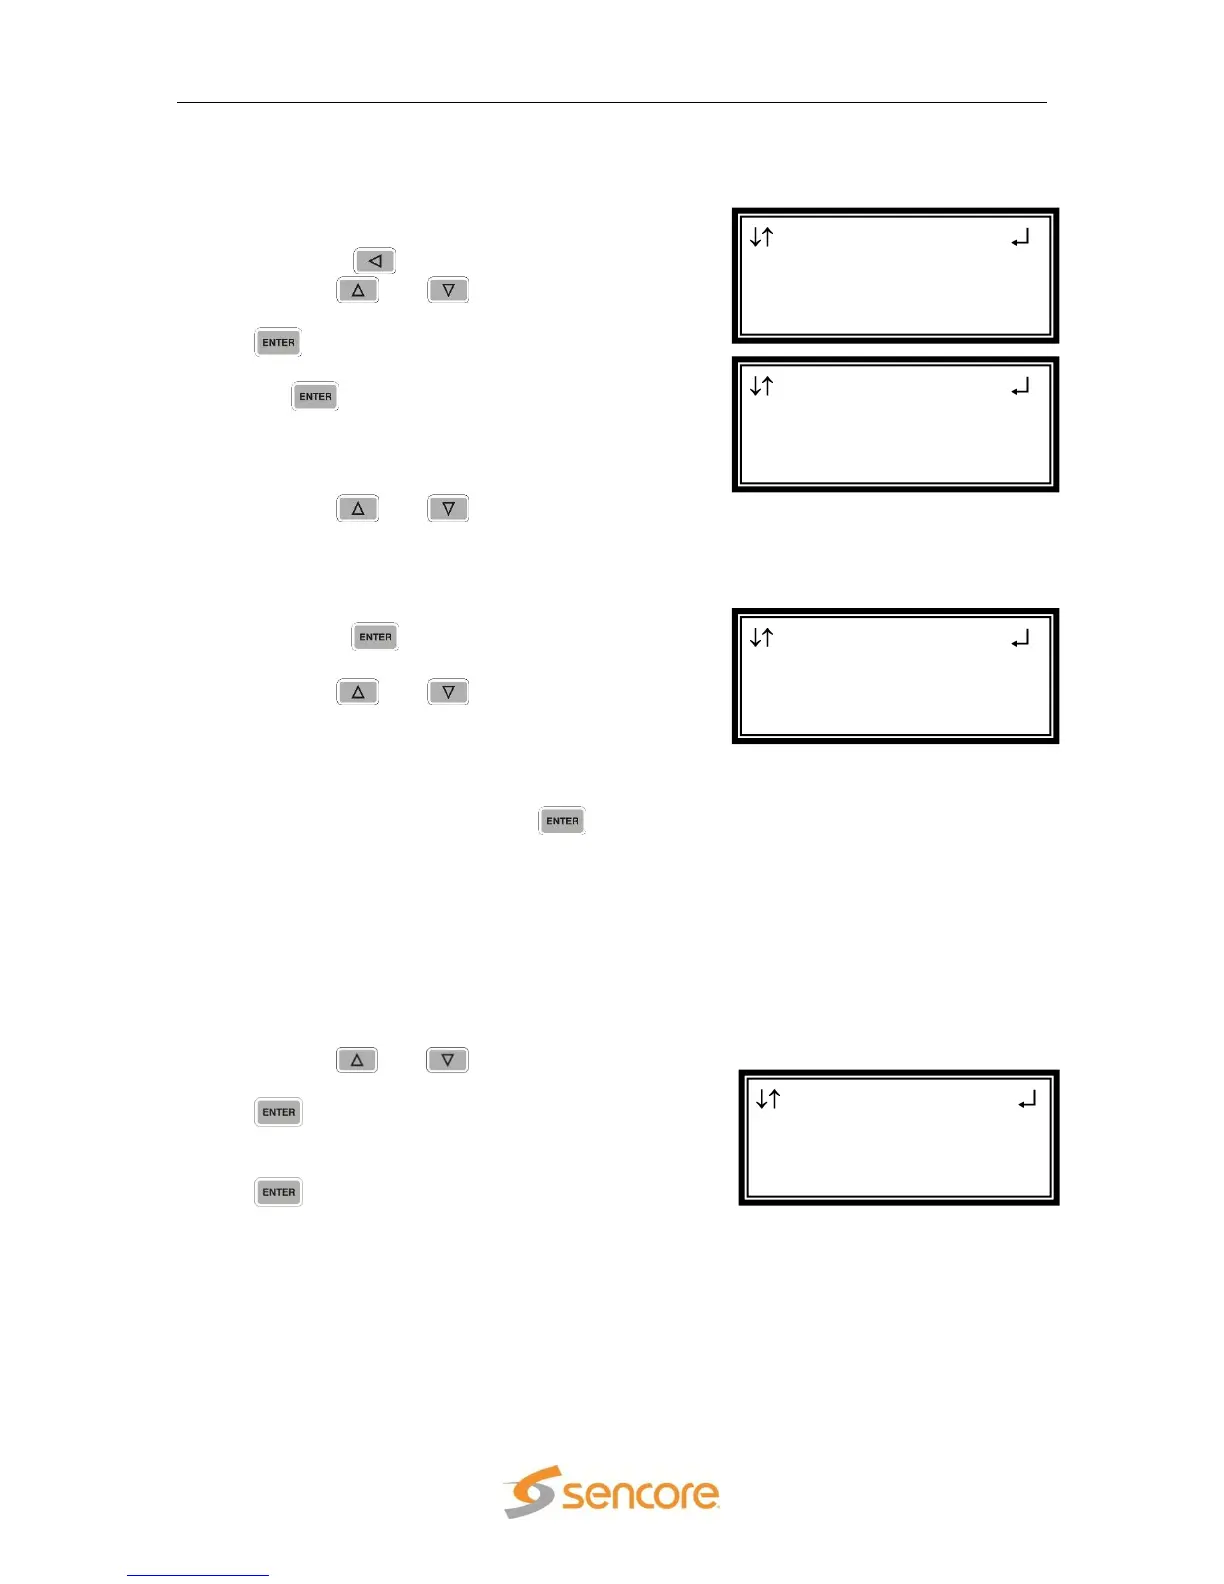
RDS 1 ←→
Sdi Aud Embed
Video Status
►Audio 1 Setup
SDI Audio Embed
Group 1
► Pr1:Aud 1 PCM
Pr2:Off
SDI Audio Embed
Group 1
Pr1:Aud 1 PCM
Pr2:Off
RDS 1 ←→
Service Setup
►Sdi Aud Embed
Video Status