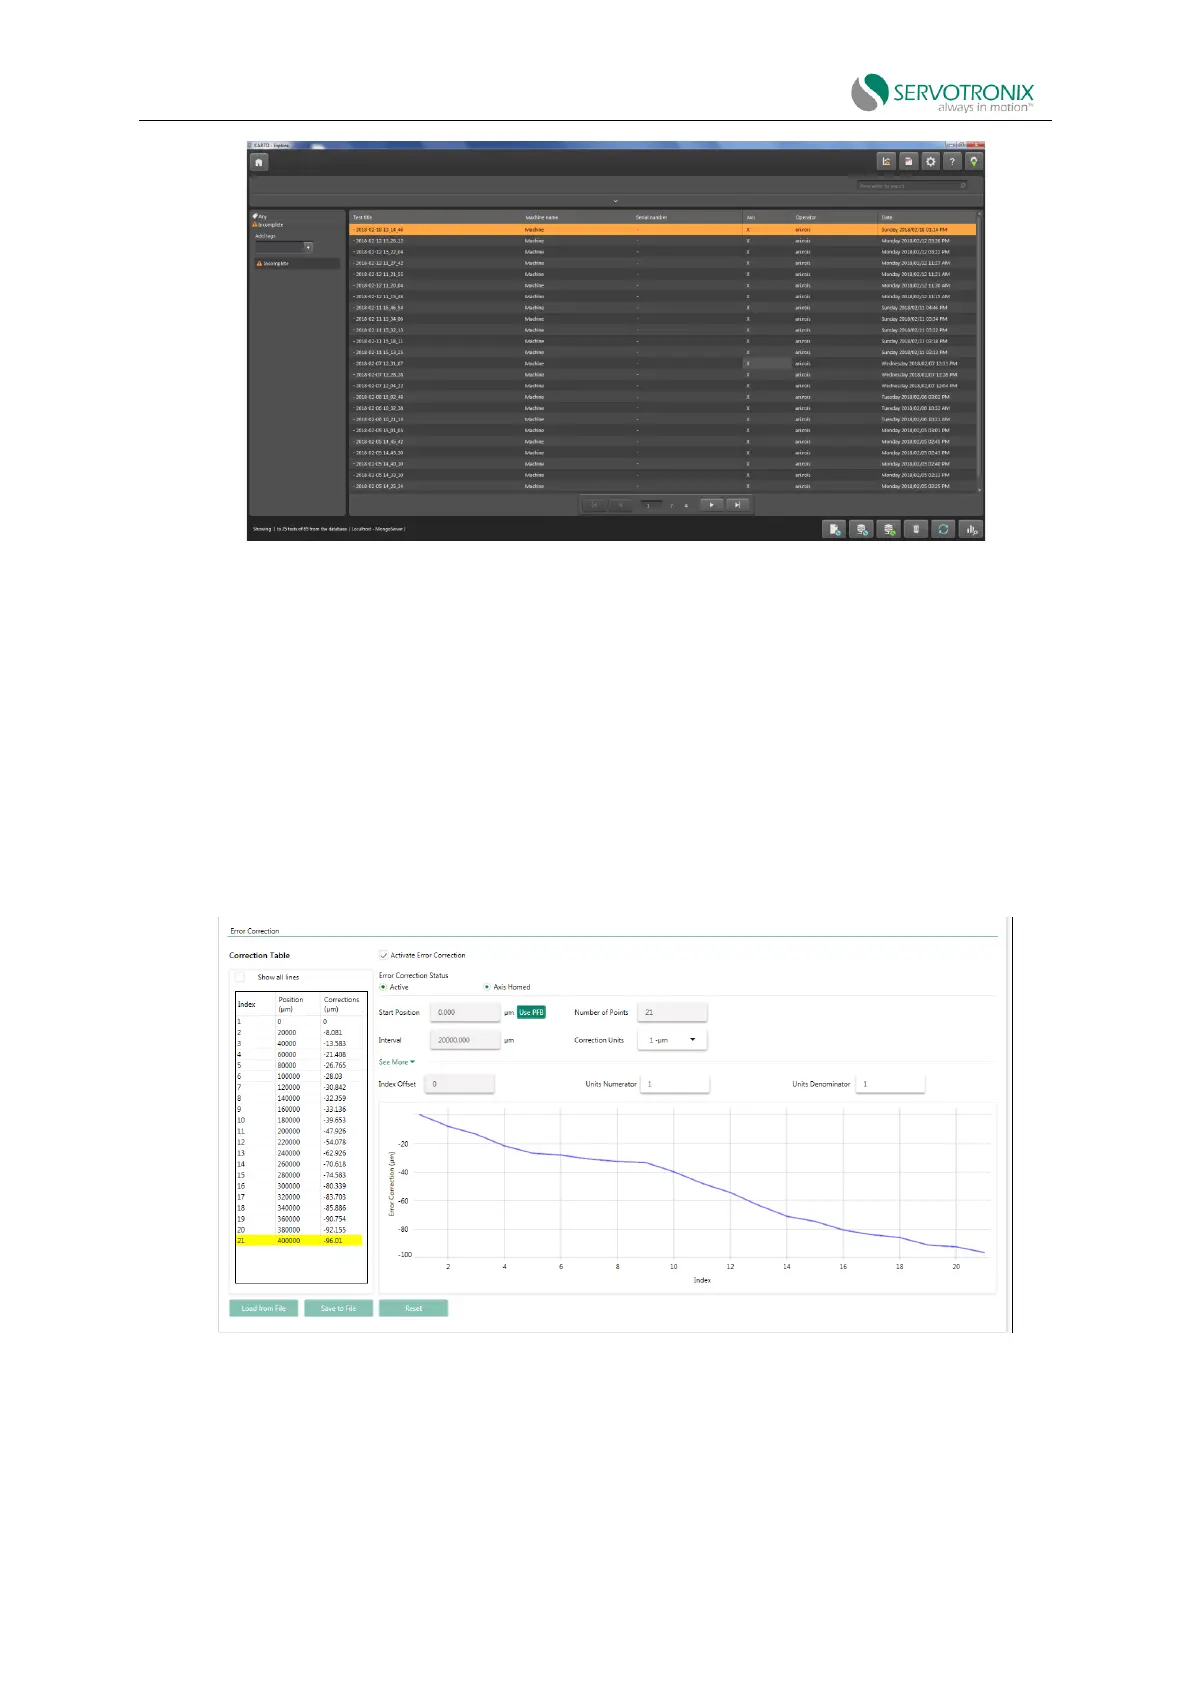
Figure 6-52
CDHD2S|ServoStudio2
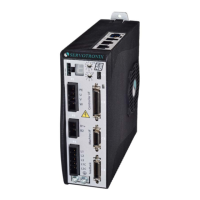
15. In the error correction screen, press Load from File to load the data file saved in
CARTO.(*.RTL).
16. The data will now be loaded from the file and the error correction table will be imported
and displayed.
17. Enable option: Activate error correction.
18. The yellow line indicates the position that the error correction value is applied.
Figure 6-53
19. Use the SAVE command (Save button in the menu bar) to save the error correction table to
the non-volatile drive memory.
20. It is recommended that you repeat the measurement process using a laser system and
confirm that the error has been reduced.