9. Technical Information
9-22
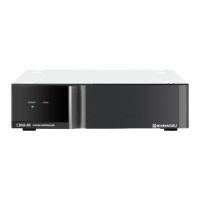
CBM-20A/20Alite
Hardware Connection
1
Insert one end of the optical cable into the optical-link connector (OPT LINK) on the
Chromatopac.
2
Insert the other end of the optical cable into the optical-link connector (PAC) on the
system controller.
The remote connectors for channel 8 on the CBM-20A and channel 4 on the CBM-
20Alite also act as optical-link connectors.
The system controller and Chromatopac can also be connected using the RS-
232C connectors.
• System controller: 9-pin pin-type connector
• Chromatopac other than C-R8A: 25-pin socket-type connector
• C-R8A Chromatopac: 9-pin pin-type connector
The PAC connector and RS-232C connector on the system controller cannot be
used at the same time.
Chromatopac Setup
The component settings required at the Chromatopac after connecting it to the system
controller are explained below.
Set the baud rate at Chromatopac as shown in the following table.
If the communication mode is changed, reset the power to Chromatopac.
For details on Chromatopac operations, refer to the Chromatopac instruction manual.
The communication mode and interface can be set either from Internet Explorer or from an
LC-30A/20A-series Autosampler, Solvent Delivery Module, or Detector.
Chromatopac
Interface
(RS-232C/optical link)
Baud rate
Communication protocol
(communication-mode setting)
C-R8A Optical link 19200 LEVEL-2 (12917)
C-R7A Optical link 9600 LEVEL-2 (12917)
C-R5A Optical link 9600 LEVEL-2 (12917)
C-R4A Optical link 4800 LEVEL-2 (12917)
C-R6A Optical link 2400 LEVEL-1 (4465)
C-R6A (II) Optical link 2400 LEVEL-2 (12917)