9. Technical Information
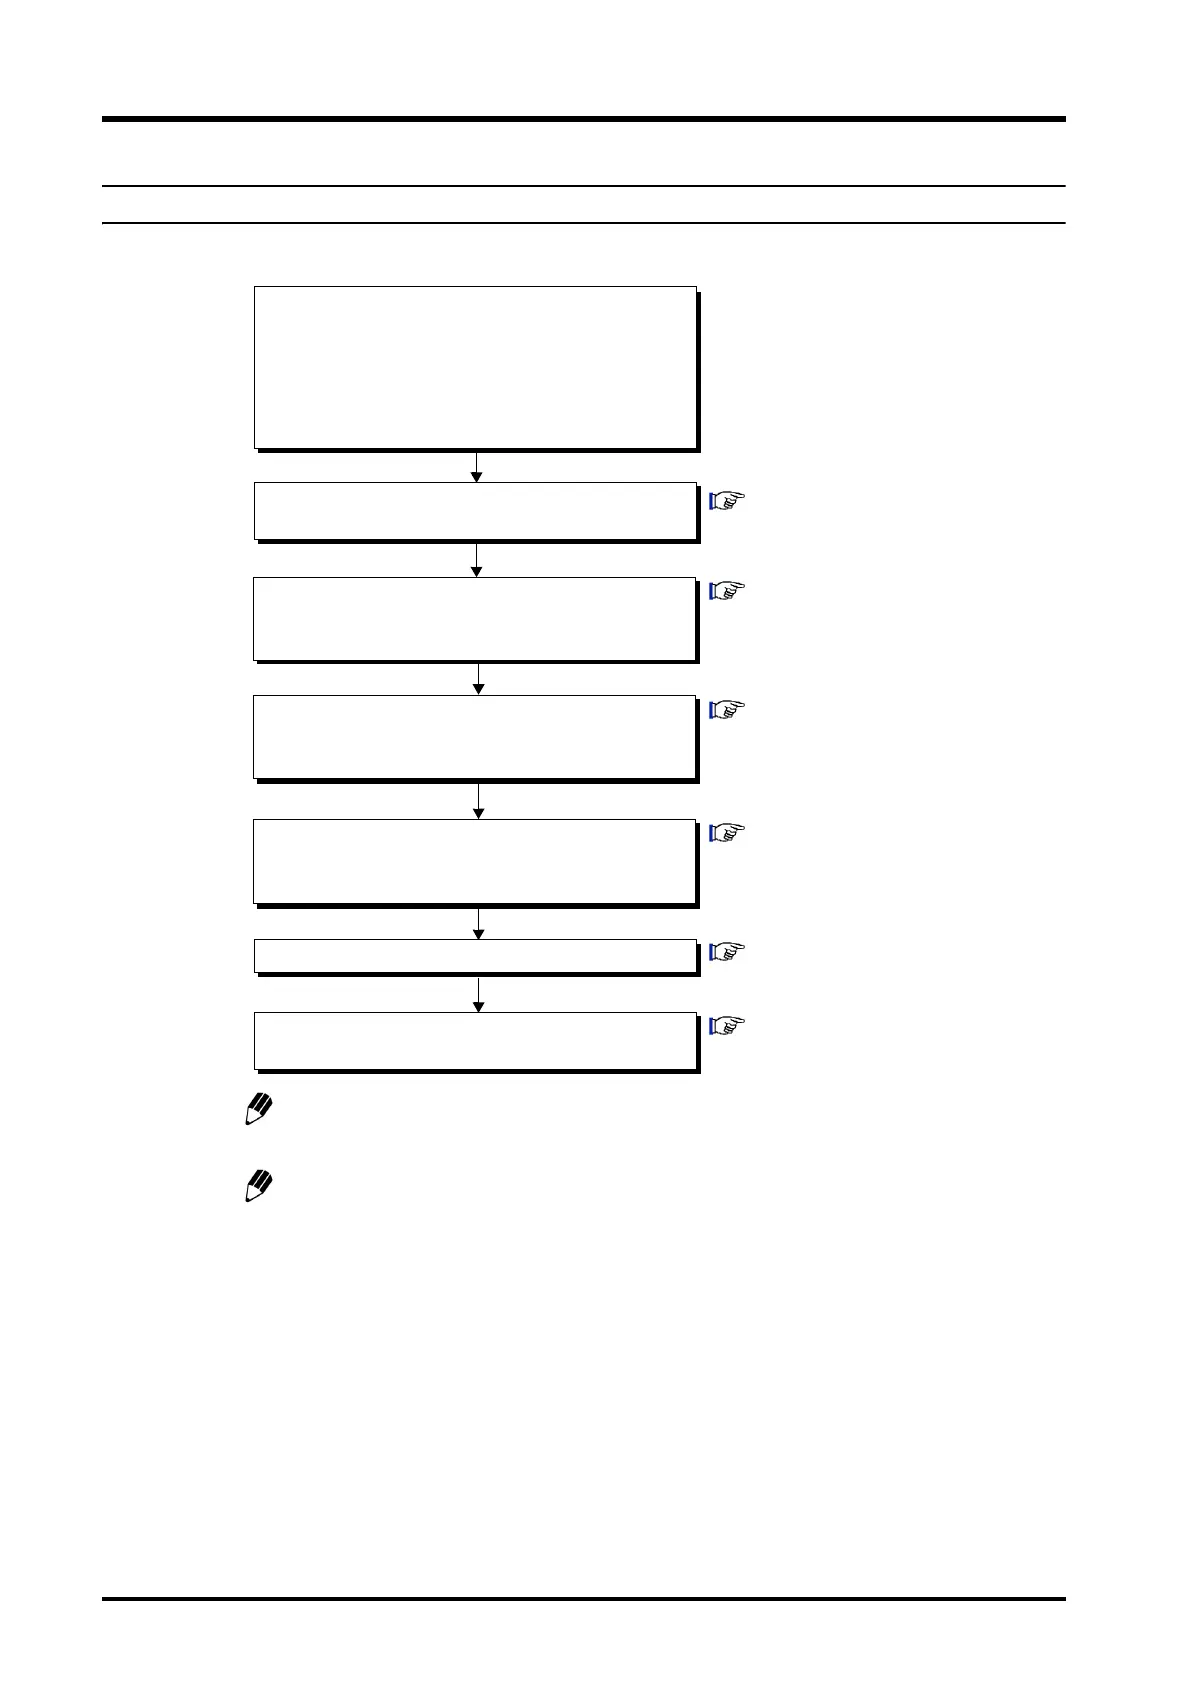
From the LC-20AB screen, set the IP address and
related settings for the system controller in HPLC1.
Decide on the system configuration, group names,
and system names. Allocate network IP addresses to
the system controllers and PDA detector in the
network. Do not connect the system controllers or
PDA detector to the backbone network until the IP
addresses and related settings have been
completed.
"Setting IP Addresses from the LC-
20A" P. 9-35
"9.4.4 Setting the IP Address for the
PDA Detector" P. 9-38
"Setting IP Addresses from Terminal
Software" P. 9-37
"9.4.4 Setting the IP Address for the
PDA Detector" P. 9-38
"9.4.5 Setting Group and System
Names" P. 9-38
"9.4.6 Registering New Users" P. 9-
40
"9.4.7 Copying User Information" P.
9-41
Use the PC terminal software to set the IP address
and related settings for the PDA detector. (RS-232C
cable required.) (See note 1.)
Use the PC terminal software to set the IP address and
related settings for the system controller in HPLC2.
(RS-232C cable required.) (See notes 1 and 2.)
Connect to the network and set the group and
system names for the system controllers and PDA
detector.
Register the users.
Copy the user information to the other system
controller in the same group.