6-40
20-8. HUE adjustment (NTSC MODEL)
Purpose : Adjust for standard hue.
Adjustment Error :Unnatural hue.
Mode Playback
Signal Color bar signal (with chroma and
burst signals)
Measurement point CN804 〈CN1804〉 pin 2 (VG)
Measuring equipment Oscilloscope
[External trigger : CN804 〈CN1804〉
pin 4 (HDB) 〈HSY〉]
Adjustment page F
Adjustment address DA
Specification Type 3 : A=0.08 ± 0.05Vp-p
Type 4 : A=0.13 ± 0.05Vp-p
Cyan level with reference to yellow
Adjustment procedure:
Note : To adjust the type 3, 4 machine, increase the data of page :
F, address : DD by 10h before starting adjustment. After
adjustment is completed, return the data to the original value.
(Remove the effect of gamma.)
20-9. BURST CLEANING adjustment (PAL MODEL)
Purpose : Adjust for standard hue.
Adjustment Error :Unnatural hue.
Mode Playback
Signal Color bar signal (with chroma and
burst signals)
Measurement point CN804 〈CN1804〉 pin 3 (VB)
Measuring equipment Oscilloscope
[External trigger : CN804 〈CN1804〉
pin 4 (HDB) 〈HSY〉]
Adjustment page F
Adjustment address DA
Specification Minimum amplitude of the flicker of
the red position.
Adjustment procedure:
Order Page Address Data Procedure
1 6 00 01 After setting the data, press the PAUSE button. (Preparation)
2 F DA Change data using the PLAY and STOP buttons until the amplitude (A) has the specified
value.
3 Press the PAUSE button.
4 6 00 00 After setting the data, press the PAUSE button. (End)
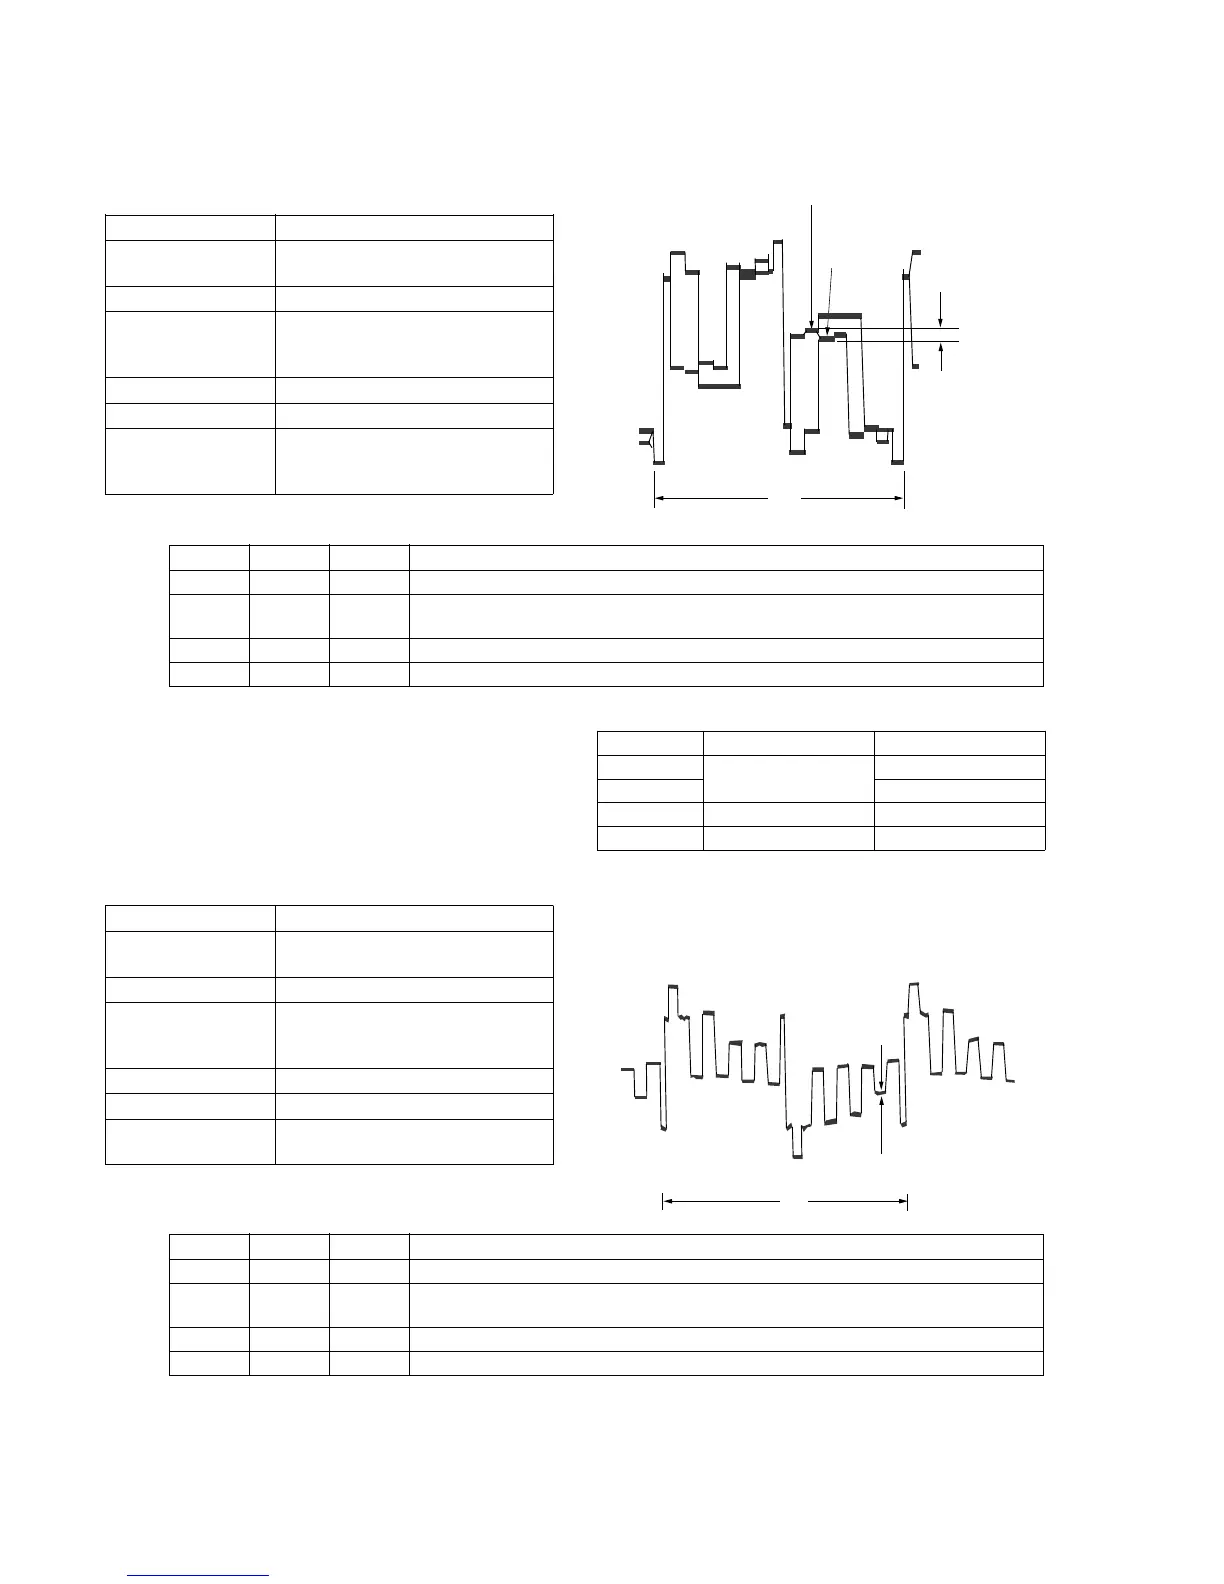
Yellow
Cyan
A
2H
Standard
level
Red
(A)
(A)
Note 1 : Set the BRIGHT control volume to their mechanical
center during adjustment.
Note 1 : Perform this adjustment before COLOR adjustment.
Note 2 : Set the BRIGHT control volume to their mechanical
center during adjustment.
Order Page Address Data Procedure
1 6 00 01 After setting the data, press the PAUSE button. (Preparation)
2 F DA Change data using the PLAY and STOP buttons until the amplitude (A) has the specified
value.
3 Press the PAUSE button.
4 6 00 00 After setting the data, press the PAUSE button. (End)
Type 1
Type 2
Type 3
Type 4
LCD size
2.5 inch (PAL only)
3.0 inch (NTSC)
3.5 inch (NTSC/PAL)
LCD board
PD-74/SD-24
PD-75/SD-25
PD-77
PD-76
No mark : Type 1, Type 4
〈 〉 : Type 2, Type 3