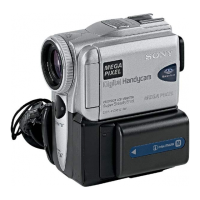
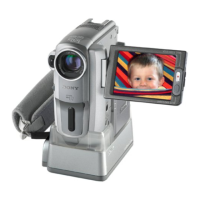
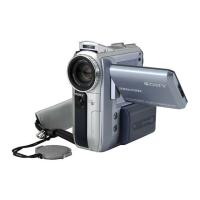
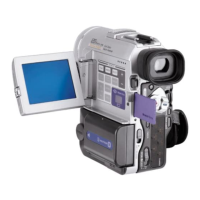
DCR-PC101/PC101E
5-20
1-2-4. Initialization of B, 1B Page Data
Note: If reading/writing data on pages 1B, set data: 01 to page:
0, address: 10, and then select pages B. By this data set-
ting, the pages 1B can be selected.
After the data reading/writing finished, return the data on
page: 0, address: 10 to “00”.
1. Initializing of B, 1B Page Data
Note 1: If “Initialization of Pages B, 1B” is executed, all data on
pages B, 1B are initialized. (Only an individual page can-
not be initialized)
Note 2: If the B, 1B page data has been initialized, the following
adjustments need to be performed again.
1) Modification of B, 1B page data
Note 3: Check that the voltage of power supply is 6.0 ± 0.1Vdc.
Adjustment Page B
Adjustment Address 00 to FF
Adjustment Page 1B
Adjustment Address 00 to FF
Initializing method:
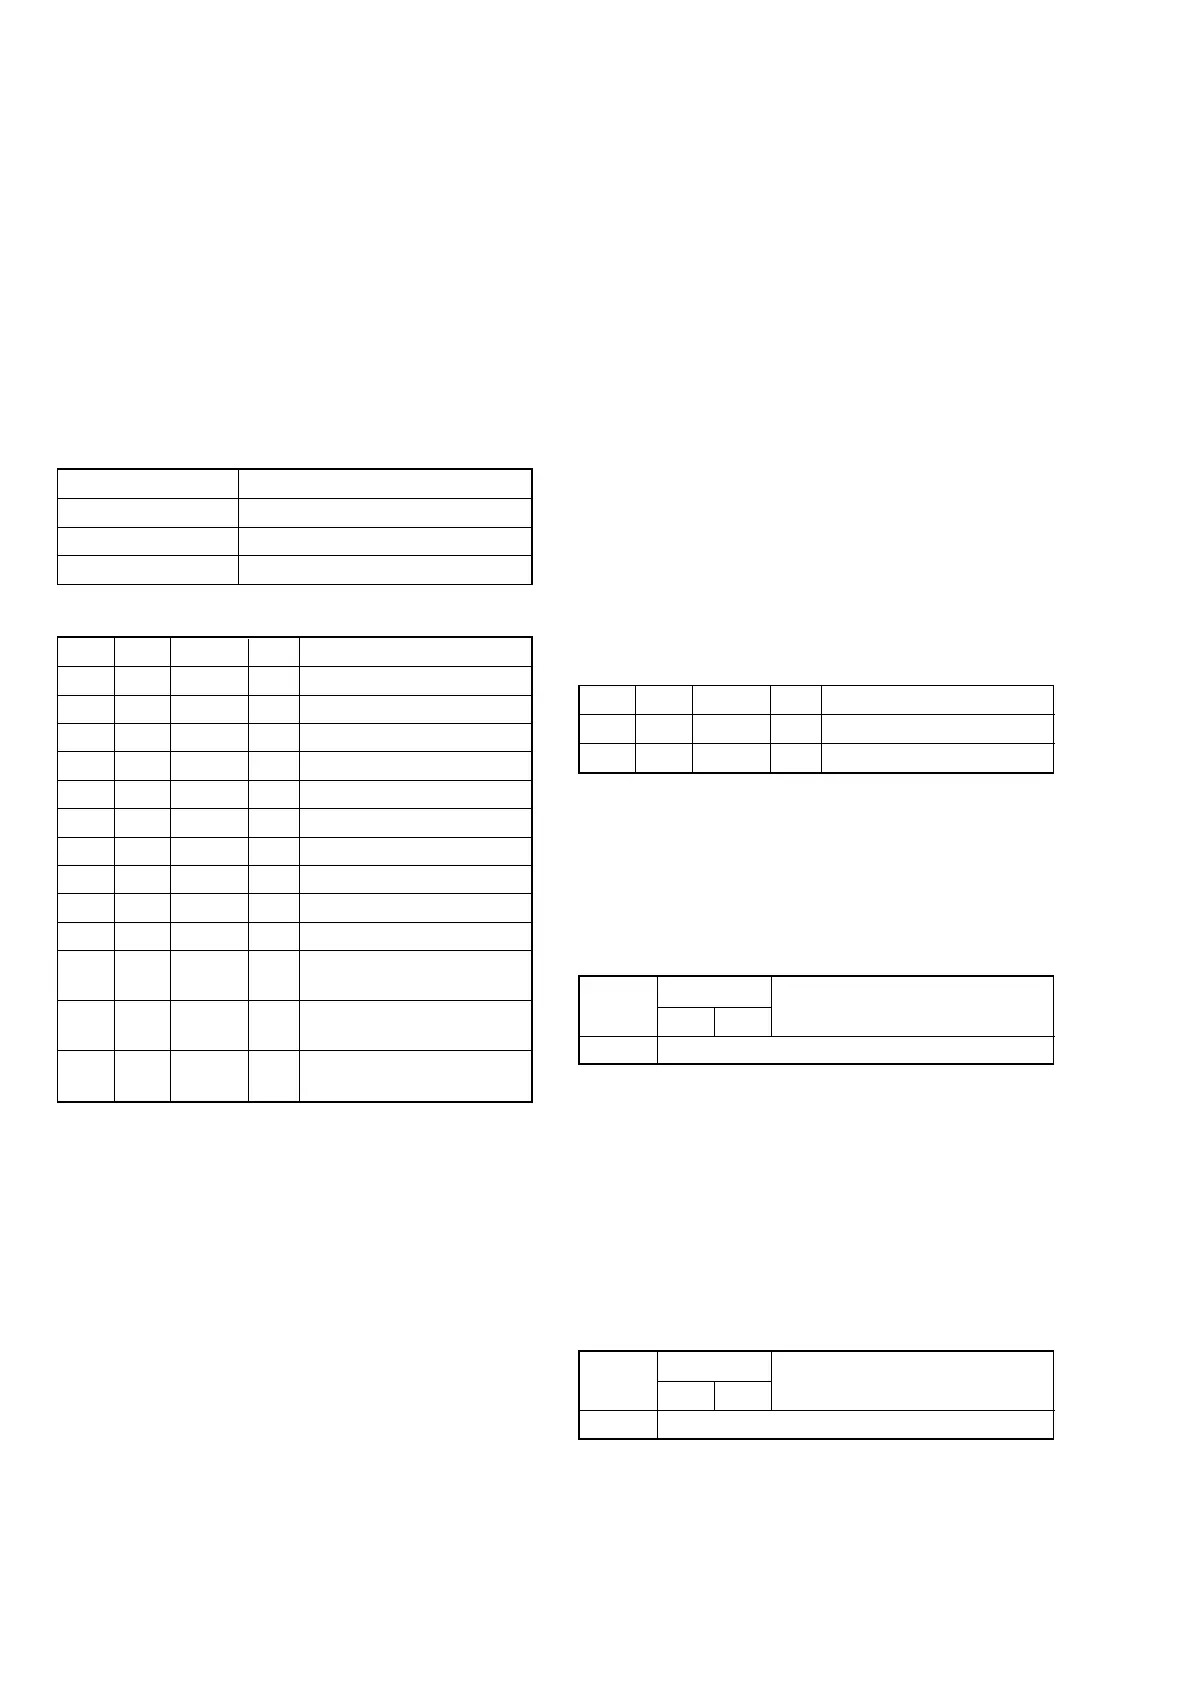
Order Page Address Data Procedure
1 0 01 01
2 0 10 00
35 02FF
4 5 01 F3 Press PAUSE button.
5 5 00 01 Press PAUSE button.
6 5 02 Check the data changes to “00”.
7 5 0E 00 Press PAUSE button.
8 5 03 20 Press PAUSE button.
9 5 01 FA Press PAUSE button.
10 5 00 01 Press PAUSE button.
11 5 0E
Check the data changes to
“01”.
12
Turn off the power supply,
then turn on them again.
13
Perform “Modification of B
Page Data”
2. Modification of B, 1B Page Data
If the B, 1B page data has been initialized, change the data of the
“Fixed data-2” address shown in the following table by manual
input.
Modifying Method:
1) Before changing the data, select page: 0, address: 01, and set
data: 01.
2) If modification of data on pages B, set data: 01 to page: 0,
address: 00, and then select pages B.
3) If modification of data on pages 1B, set data: 01 to page: 0,
address: 10, and then select pages B. After the modification of
data finished, return the data on page: 0, address: 10 to “00”.
4) New data for changing are not shown in the tables because
they are different in destination. When changing the data, copy
the data built in the same model.
Note: If copy the data built in the different model, the
camcorder may not operate.
5) When changing the data, press the PAUSE button of the ad-
justment remote commander each time when setting new data
to write the data in the non-volatile memory.
6) Check that the data of adjustment addresses is the initial value.
If not, change the data to the initial value.
Processing after Completing Modification B page data:
Order Page Address Data Procedure
1 2 00 29
2 2 01 29 Press PAUSE button.
3. B Page table
Note 1: Check that the data of page: 0, address: 10 is “00”.
Note 2: Fixed data-1: Initialized data. (Refer to “1. Initializing
the B, 1B Page Data”)
Fixed data-2: Modified data. (Refer to “2. Modification
of B, 1B Page Data”)
Address
Initial value
Remark
NTSC PAL
00 to FF Fixed data-1 (Initialized data)
4. 1B Page table
Note 1: If reading/writing data on pages 1B, set data: 01 to page:
0, address: 10, and then select pages B. By this data set-
ting, the pages 1B can be selected.
After the data reading/writing finished, return the data
on page: 0, address: 10 to “00”.
Note 2: Fixed data-1: Initialized data. (Refer to “1. Initializing
the B, 1B Page Data”)
Fixed data-2: Modified data. (Refer to “2. Modification
of B, 1B Page Data”)
Address
Initial value
Remark
NTSC PAL
00 to FF Fixed data-1 (Initialized data)