DCR-PC101/PC101E
5-25
7. MAX GAIN Adjustment
RadarW
RadarW
RadarW
Setting the minimum illumination.
If it is not consistent, the image level required for taking subjects
in low illuminance will not be produced (dark).
Subject Clear chart
(1.0 m from the front of the lens)
(Note 2)
Adjustment Page F
Adjustment Address 19
Note 1: Perform “Flange Back Adjustment” before this adjust-
ment.
Note 2: With the ZOOM at WIDE end, shoot the clear chart in
the center of the screen.
Note 3: Check that the data of page: 0, address: 10 is “00”.
Note 4: NTSC model: DCR-PC101
PAL model: DCR-PC101E
Switch setting
1) POWER .................................................................. CAMERA
2) NIGHT SHOT.................................................................. OFF
3) ZOOM ....................................................................WIDE end
4) DIGITAL ZOOM (Menu setting).................................... OFF
5) STEADY SHOT (Menu setting) ..................................... OFF
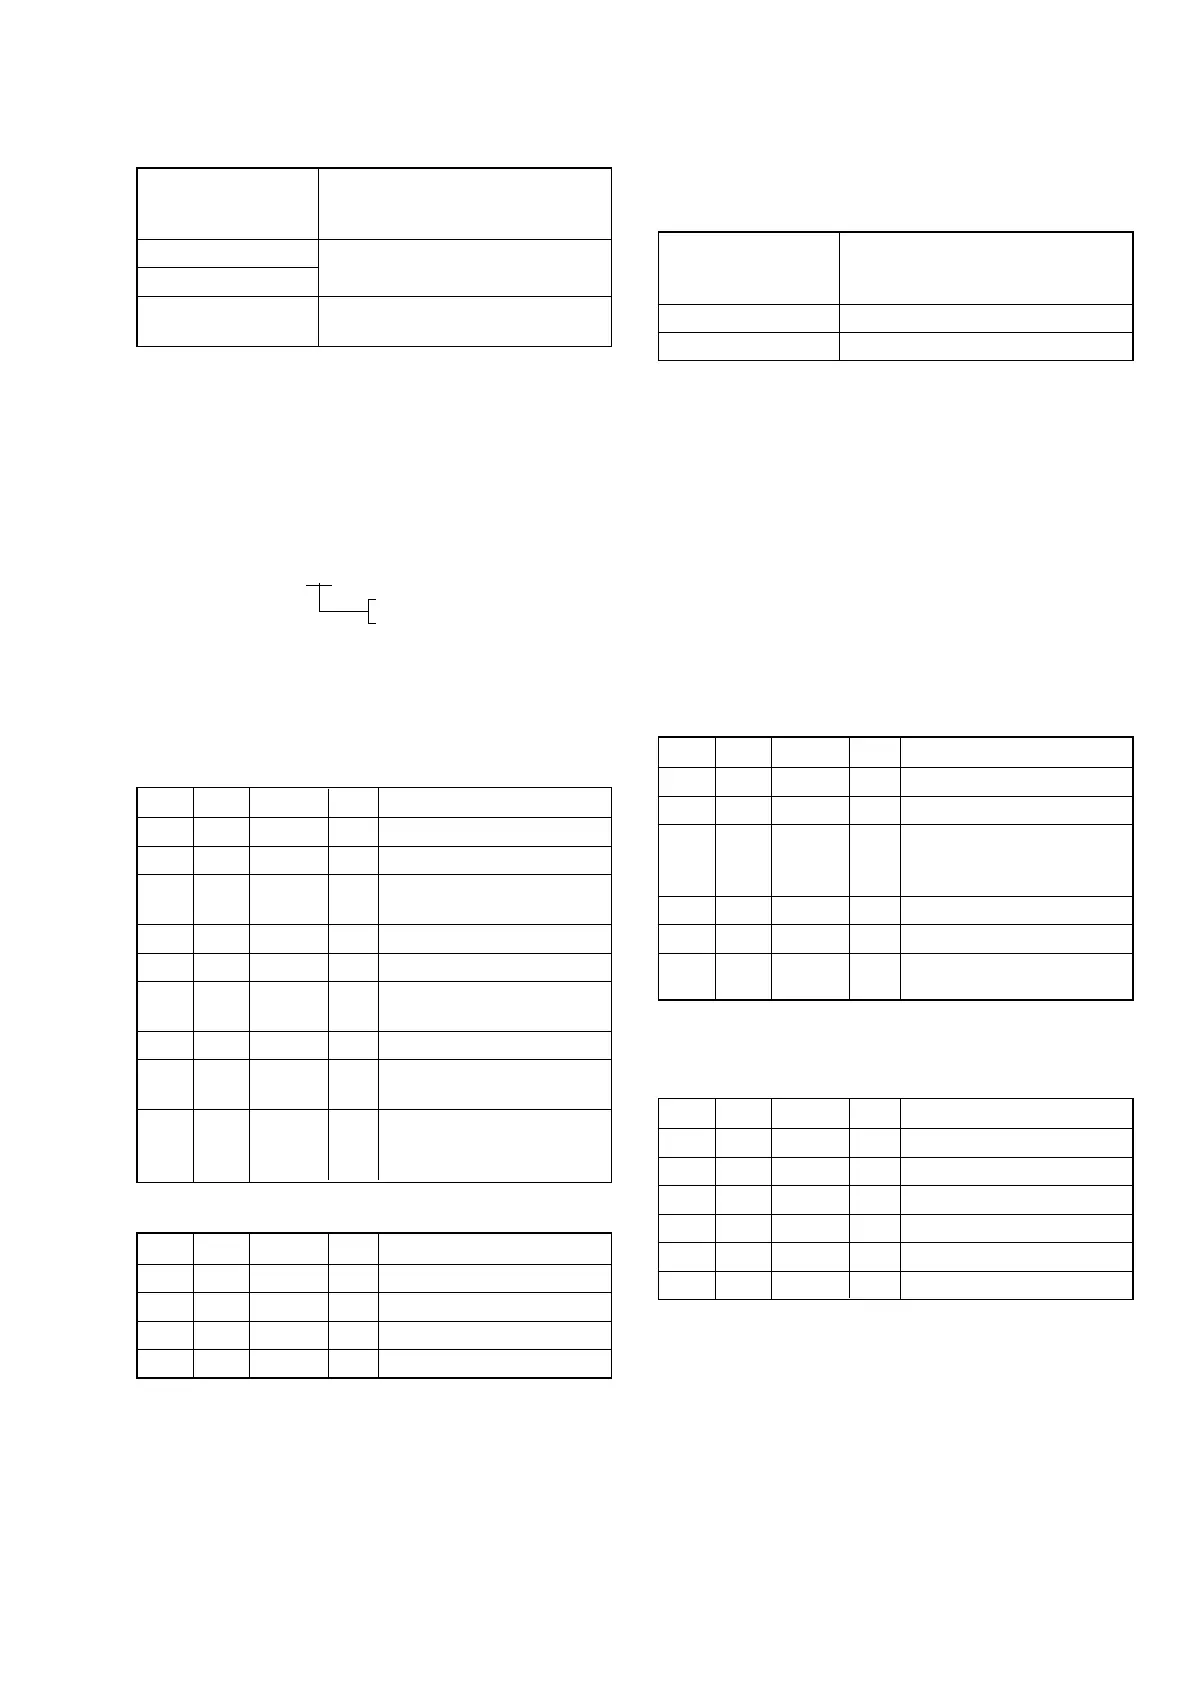
Adjusting method:
Order Page Address Data Procedure
1 0 01 01
26 2C01
Set the following data
3 6 96 30: NTSC model
20: PAL model
4 6 97 00
5 6 01 6F Press PAUSE button. (Note 5)
66 02
Check the data changes to
“01”.
Note 5: The adjustment data will be automatically input to page:
F, address: 19.
Processing after Completing Adjustment:
Order Page Address Data Procedure
16 2C00
2 6 96 00
3 6 97 00
4 6 01 00 Press PAUSE button.
5 0 01 00
6 Wait for 3 seconds.
6. Flange Back Check
Subject Siemens star
(2.0 m from the front of the lens)
(Luminance: approx. 200 lux)
Measurement Point Check operation on monitor TV
Measuring Instrument
Specified value Focused at the TELE end and WIDE
end
Note 1: Check that the data of page: 0, address: 10 is “00”.
Switch setting
1) POWER ...................................................................CAMERA
2) NIGHT SHOT.................................................................. OFF
Note 2: When the auto focus is ON, the lens can be checked if it
is focused or not by observing the data on the page: 1 of
the adjusting remote commander.
1 : 00 :
XX
Odd: Focused
Even: Unfocused
Preparations before adjustments:
1) Place the Siemens star 2.0 m from the front of the lens.
2) To open the IRIS, decrease the luminous intensity to the Si-
emens star up to a point before noise appear on the image.
Checking method:
Order Page Address Data Procedure
1 6 40 01
2 6 41 01
3
Shoot the Siemens star with
the zoom TELE end.
4 Turn on the auto focus.
50 030F
61
Check that the lens is
focused. (Note 2)
7 6 21 10
8
Shoot the Siemens star with
the zoom WIDE end.
9
Observe the TV monitor and
check that the lens is
focused.
Processing after Completing Adjustment:
Order Page Address Data Procedure
1 6 21 00
2 6 40 00
3 6 41 00
4 0 03 00