44
S
13 13
1 15 5811 8 11
Width Adjust Clamp
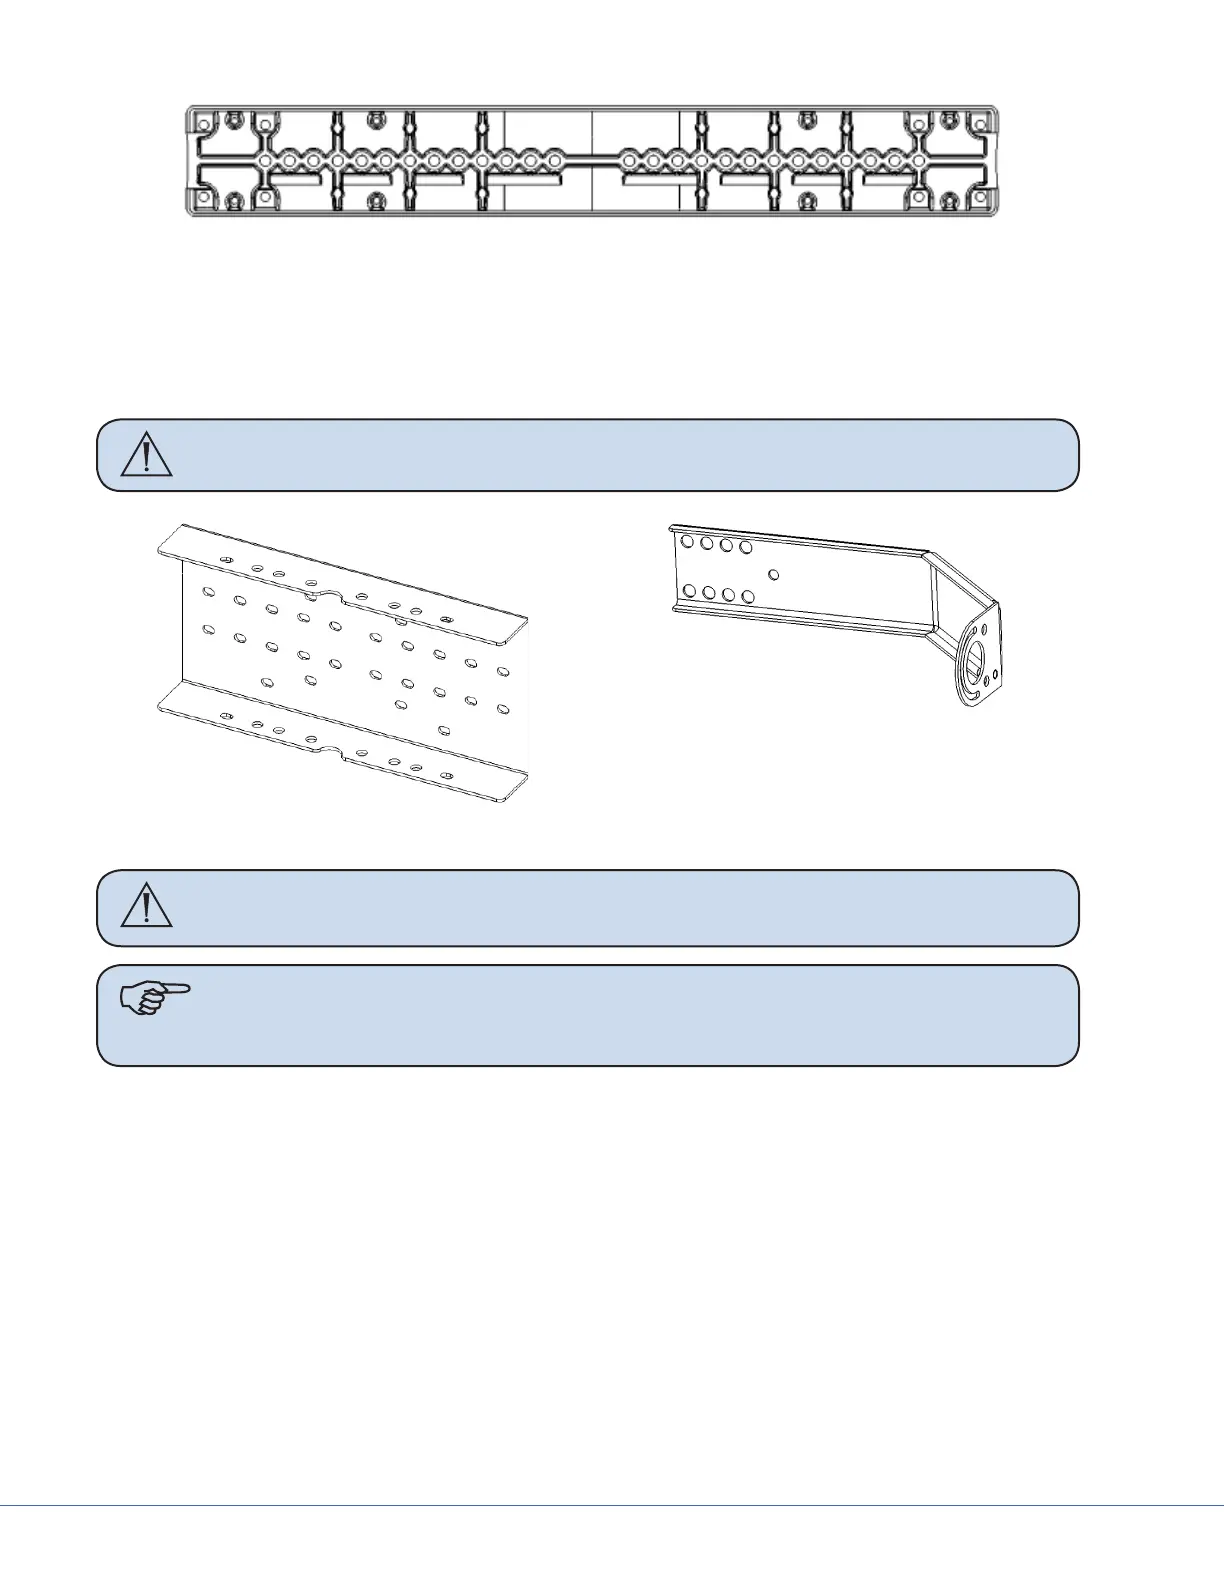
10. Using Table 10.1 as a guide, reattach the Central Monitor Support to the Pivot Arms using all
eight socket head screws and related washers, ensuring that each Pivot Arm has a least one ser-
rated washer attached for grounding purposes. Be sure to center the Central Support Bracket
within the general assembly. Tighten all screws to 65 lb. in. (7.34 Nm) torque.
WARNING It is necessary to use serrated washers and scratch them through the paint
layer to the actual metal surface to prevent the possibility of electric shock.
1
5
4
3
2
1
5
4
3
2
Central Monitor Support Bracket
1
4
3
2
Pivot Arm
Warning Ensure that all screws are present. Missing screws could result in the yoke
falling.
Note Use Table 10.1 as a guide on how to properly adjust the yoke to account for the
center of gravity. If the center of gravity is improperly balanced, the yoke will not
perform correctly.