Installing the IT2200 Reader System
4-23
2. Rotate the antenna 10° down from vertical. For a pillbox mount, aim the antenna
toward oncoming traffic as shown in Figure 4-8. If there is no pillbox, rotate the
antenna 45° toward oncoming traffic. Use an inclinometer to check the angle.
3. Tighten nuts with torque wrench to 68 N-m (50 ft-lb) to prevent slippage.
Tighten second nut over first nut to lock it in place.
4. Slide the shrink tubing over the coaxial cable, but do not heat it.
5. Connect the coaxial cable to the antenna and to the appropriate connector on the
RF module. Leave the shrink tubing loose until you have finished tuning the lane.
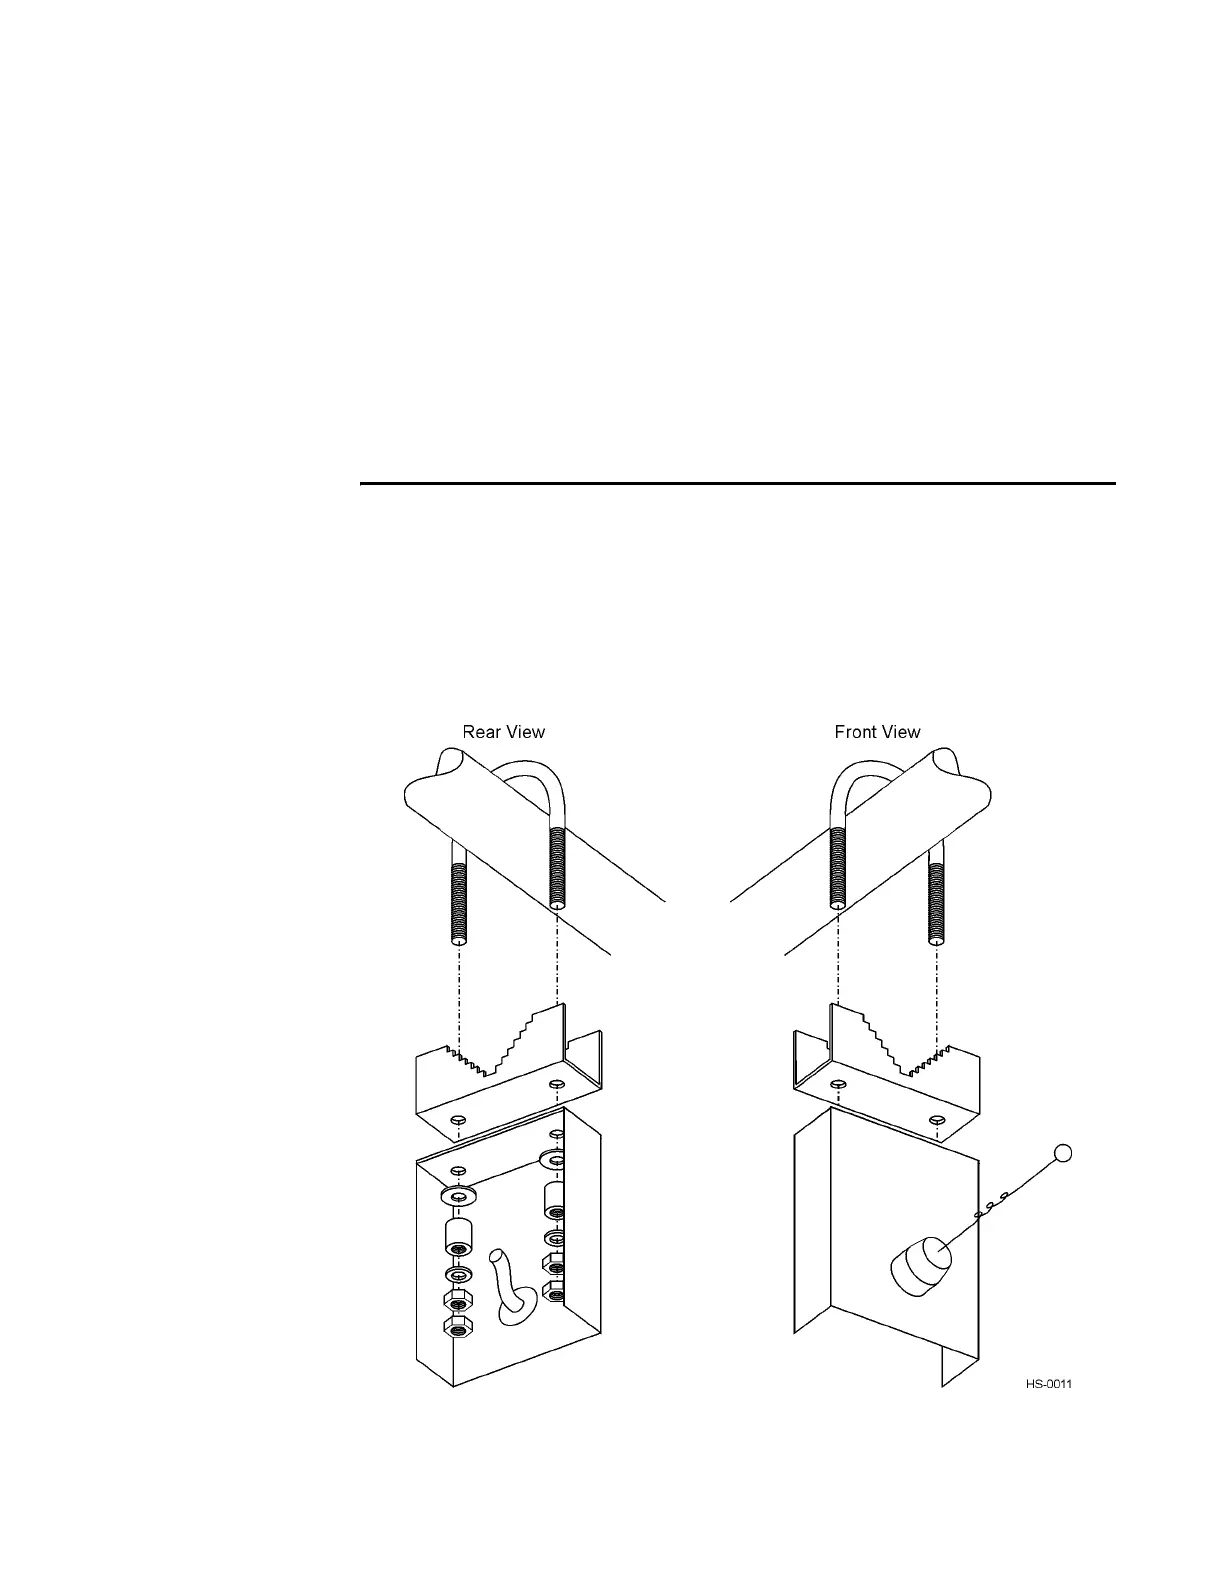
Installing the IT2502 Check Tag Antenna with a
UTA
For bistatic configuration, install the check tag antenna on the mounting pipe between
the transmit and receive antennas. For monostatic configuration, install the check tag
antenna on the mounting pipe next to the transmit/receive antenna. Figure 4-17 shows
the correct way to mount a check tag antenna.
Figure 4-17 IT2502 Check Tag Antenna Mounting