February 2013
4-250
ColorQube® 9303 Family
REP 62.6
Repairs/Adjustments
REP 62.6 Carriage Motor and Mounting
Parts List on PL 62.16
Removal
WARNING
Switch off the electricity to the machine. Refer to GP 14. Disconnect the power cord
from the customer supply while performing tasks that do not need electricity. Electricity
can cause death or injury. Moving parts can cause injury.
1. Remove the scanner top cover, REP 62.2.
2. Remove the carriage motor cover, (2 screws).
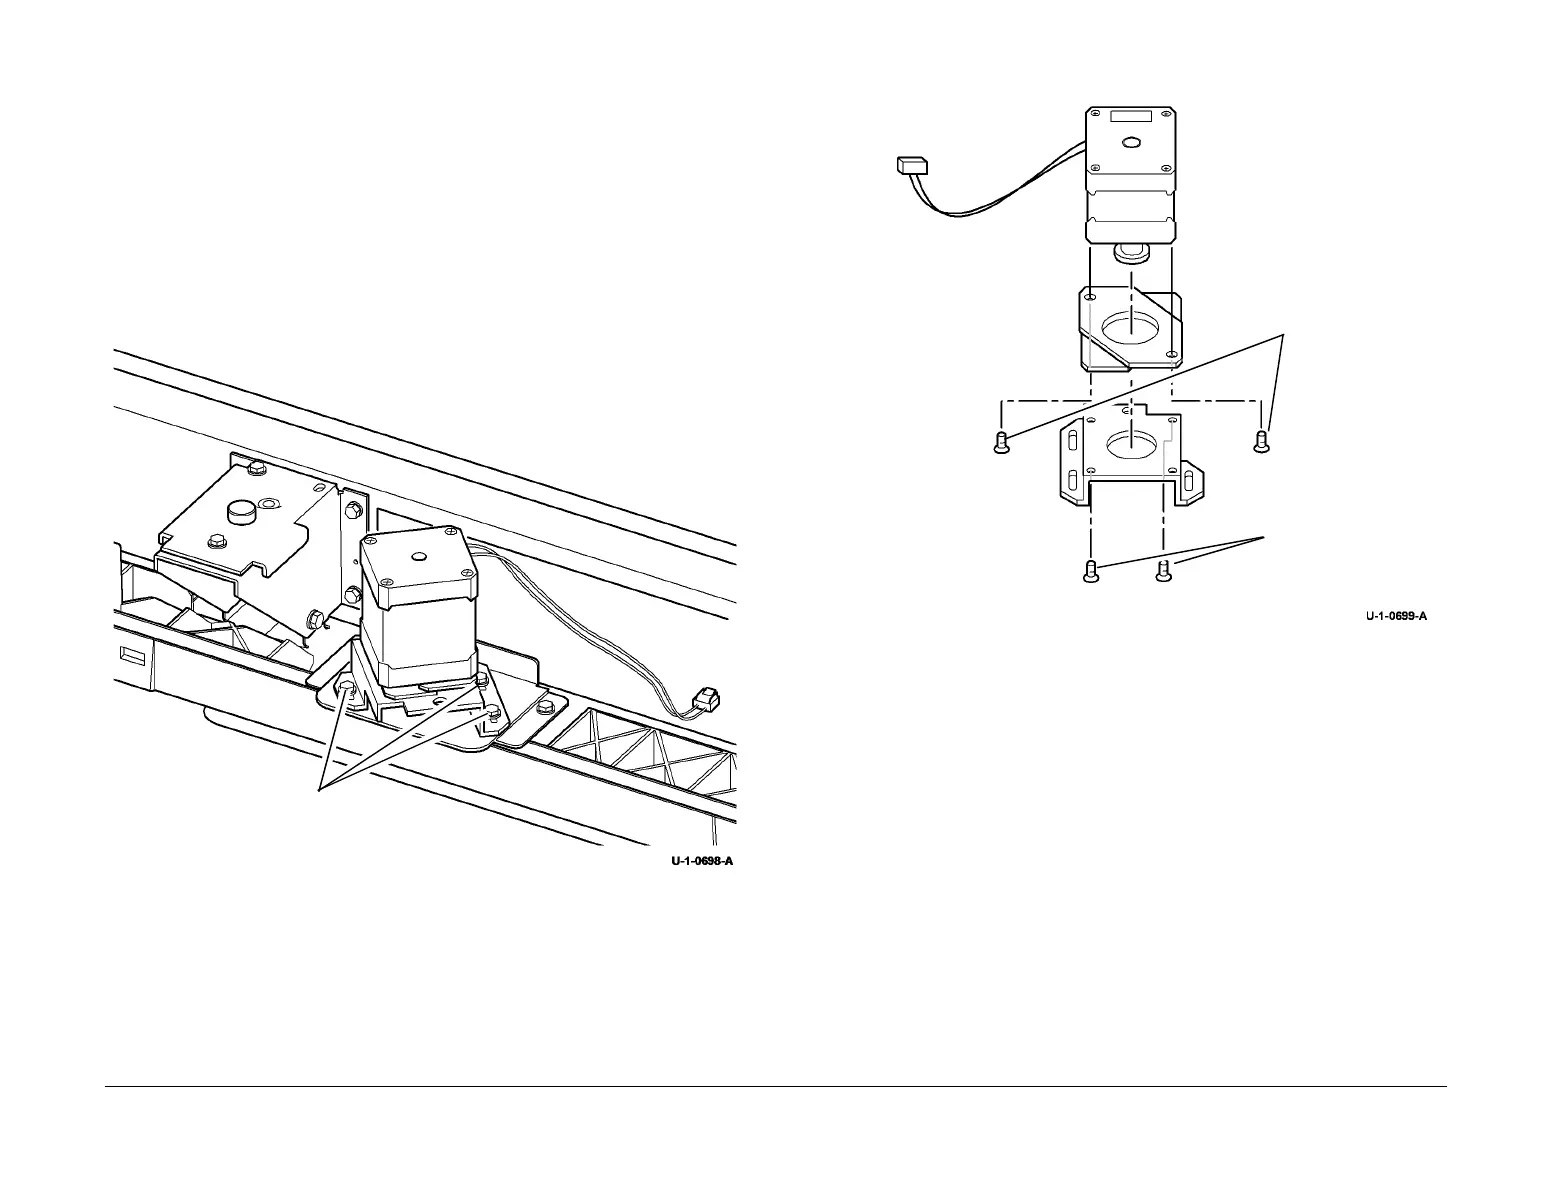
3. Figure 1. Prepare to remove the carriage motor.
Figure 1 Preparation
4. Remove the scanner harness bracket, PL 62.16 Item 14, to allow access to PJ 929.
5. Figure 2. Remove the carriage motor and mounting. Note the orientation of the bracket
and the mounting.
Figure 2 Motor and mounting
Replacement
1. The replacement procedure is the reverse of the removal procedure.
2. Perform ADJ 62.3 Carriage Motor and Scanner Drive Belt.
1
Remove 3
screws.
3
Remove the
mounting (2
screws).
2
Remove the bracket
(2 screws).
1
Release the wiring and
disconnect PJ 929.
(Press the top of the PJ)
 Loading...


