February 2013
4-307
ColorQube® 9303 Family
REP 82.8, REP 82.9
Repairs/Adjustments
4. Remove the confirm sensor, Figure 2.
Figure 2 Remove Confirm sensor and bracket
Replacement
1. Replacement is the reverse of the removal procedure.
2. After completing the replacement procedure, perform the dC625 Registration / Preheat
calibration.
REP 82.9 Vertical Transport
Parts List on PL 82.10
Removal
WARNING
Switch off the electricity to the machine. Refer to GP 14. Disconnect the power cord
from the customer supply while performing tasks that do not need electricity. Electricity
can cause death or injury. Moving parts can cause injury.
WARNING
Take care during this procedure. Sharp edges may be present that can cause injury.
1. Open the front door and remove the inner cover, PL 81.11 Item 2.
2. Remove the bypass tray upper left door cover, refer to REP 81.3.
3. Remove the left cover, PL 81.10 Item 2.
4. Remove the mid left door assembly hinge pin, PL 70.30 Item 22, then remove the mid left
door assembly, PL 70.30 Item 16.
5. Slide out the marking unit. GP 6.
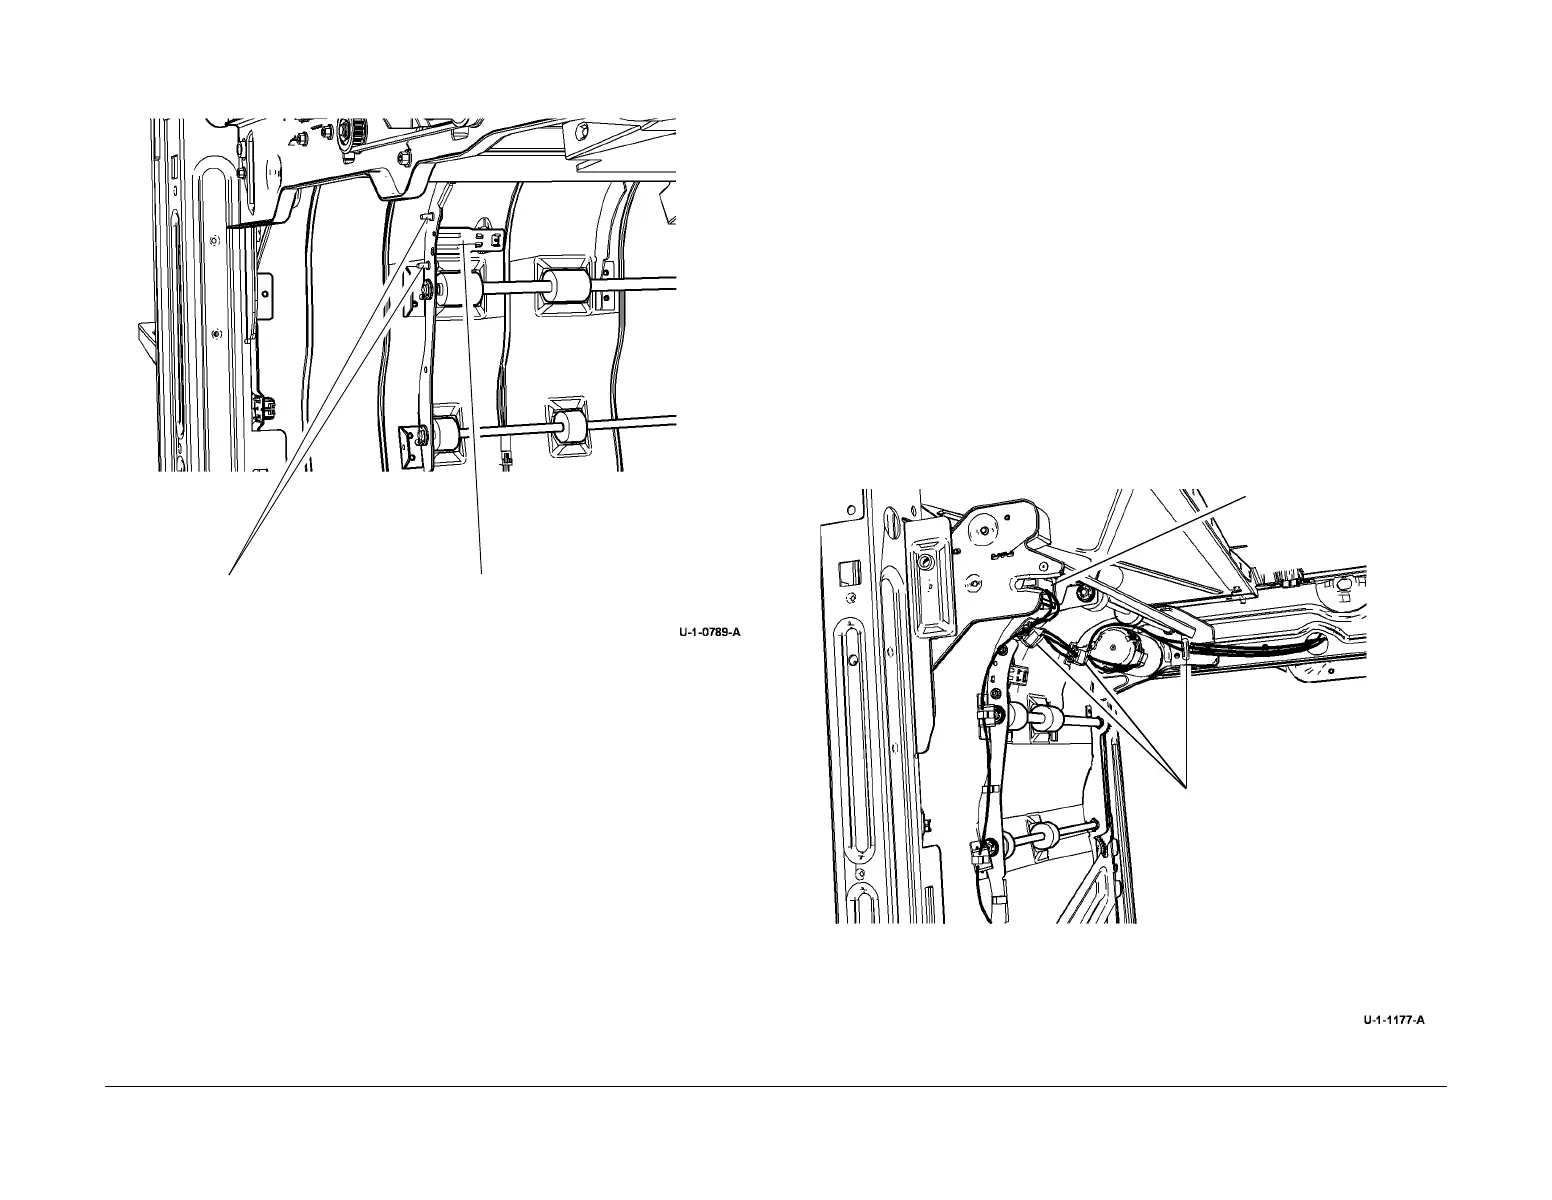
6. Release the harness from the cable clips and disconnect the harness from the vertical
transport, Figure 1.
Figure 1 Release the harness
1
Remove 2 screws
2
Disconnect harness
1
Release the harness
from the cable clamps.
2
Disconnect the harness.

 Loading...


