February 2013
4-63
ColorQube® 9303 Family
REP 10.3
Repairs/Adjustments
REP 10.3 Rear Transfix Linkage and Gear Kit
Parts List on PL 10.20
Removal
WARNING
Switch off the electricity to the machine. Refer to GP 14. Disconnect the power cord
from the customer supply while performing tasks that do not need electricity. Electricity
can cause death or injury. Moving parts can cause injury.
WARNING
Take care during this procedure. Sharp edges may be present that can cause injury.
CAUTION
Use care when working near the drum. The drum can be damaged easily, which will cause
print quality defects.
1. Remove the drum fan shroud, PL 94.20 Item 5.
2. Remove the drum drive motor and belt, REP 91.24.
3. Remove the post transfix motor (M4) and gearbox, REP 10.8.
4. Remove the drum pulley, REP 91.34.
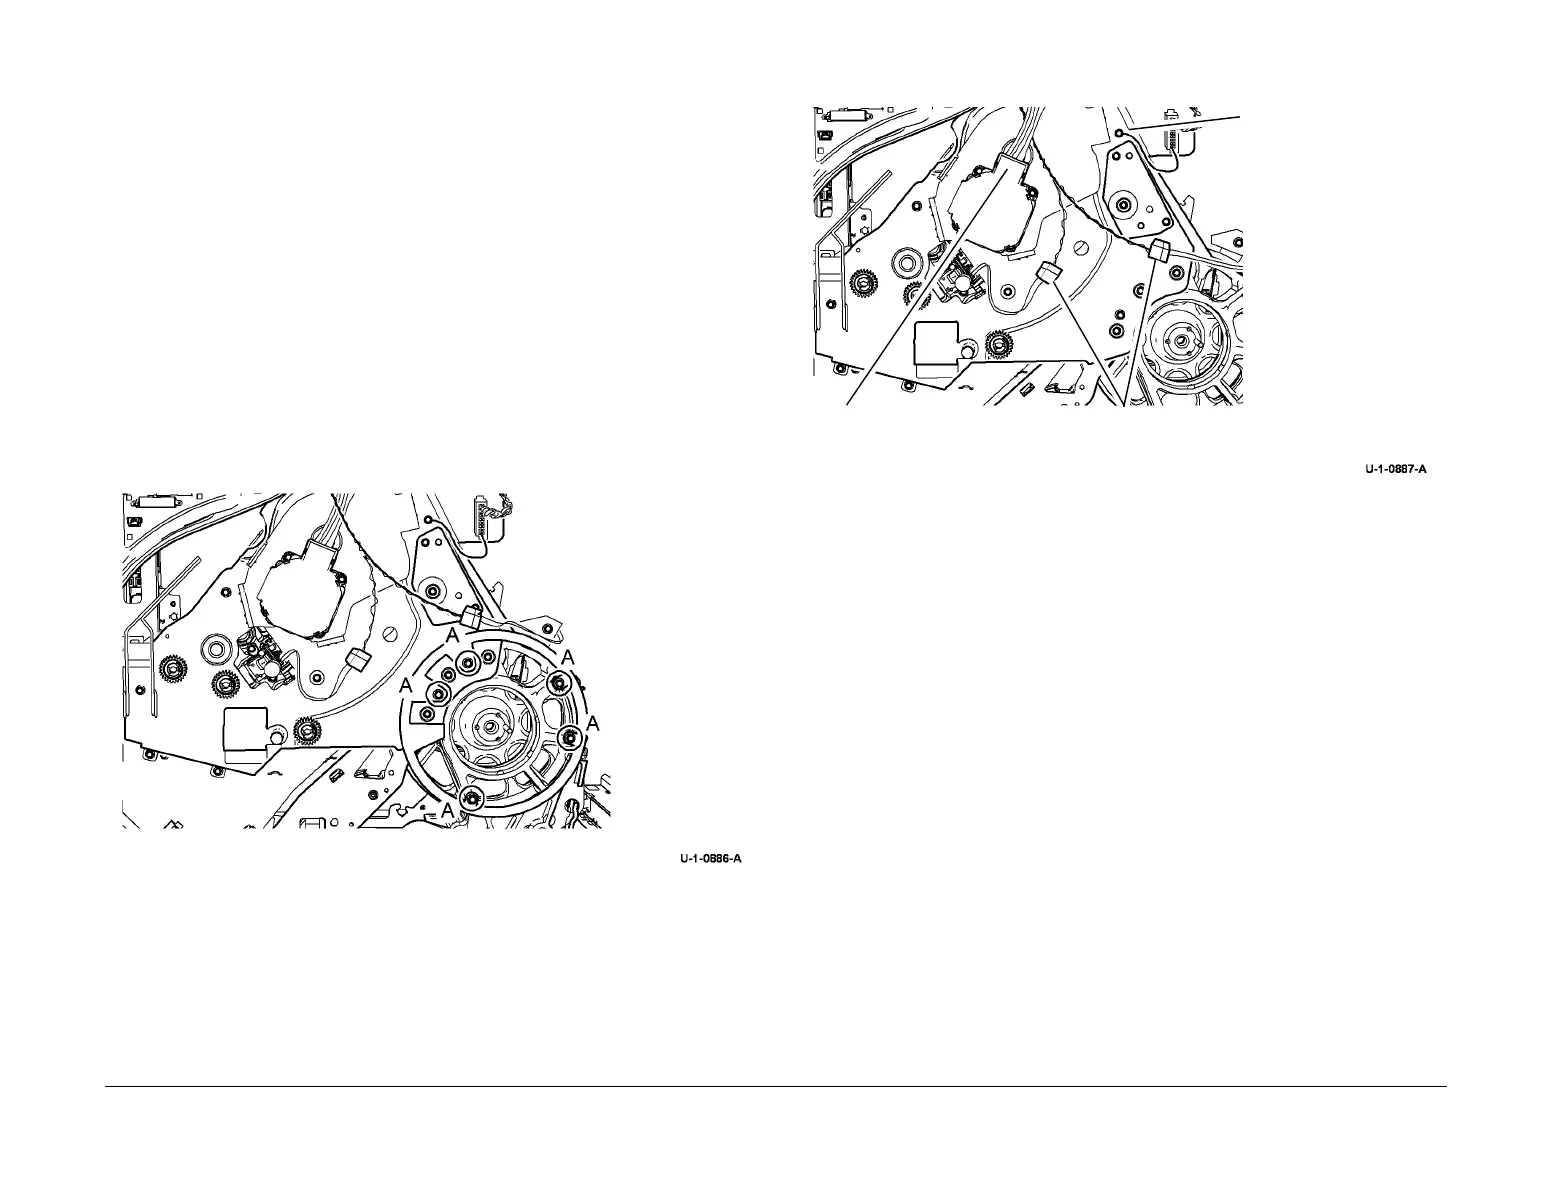
5. Remove the fan assembly mount, Figure 1.
Figure 1 Fan mount removal
6. Disconnect harnesses, Figure 2.
Figure 2 Disconnect harnesses
1
Remove 5 screws marked A to
remove the fan assembly
mount
1
Disconnect the ground
lead
2
Disconnect 2 PJs
3
Disconnect 2 PJs from the motor

 Loading...


