February 2013
4-12
ColorQube® 9303 Family
REP 1.4, REP 1.5
Repairs/Adjustments
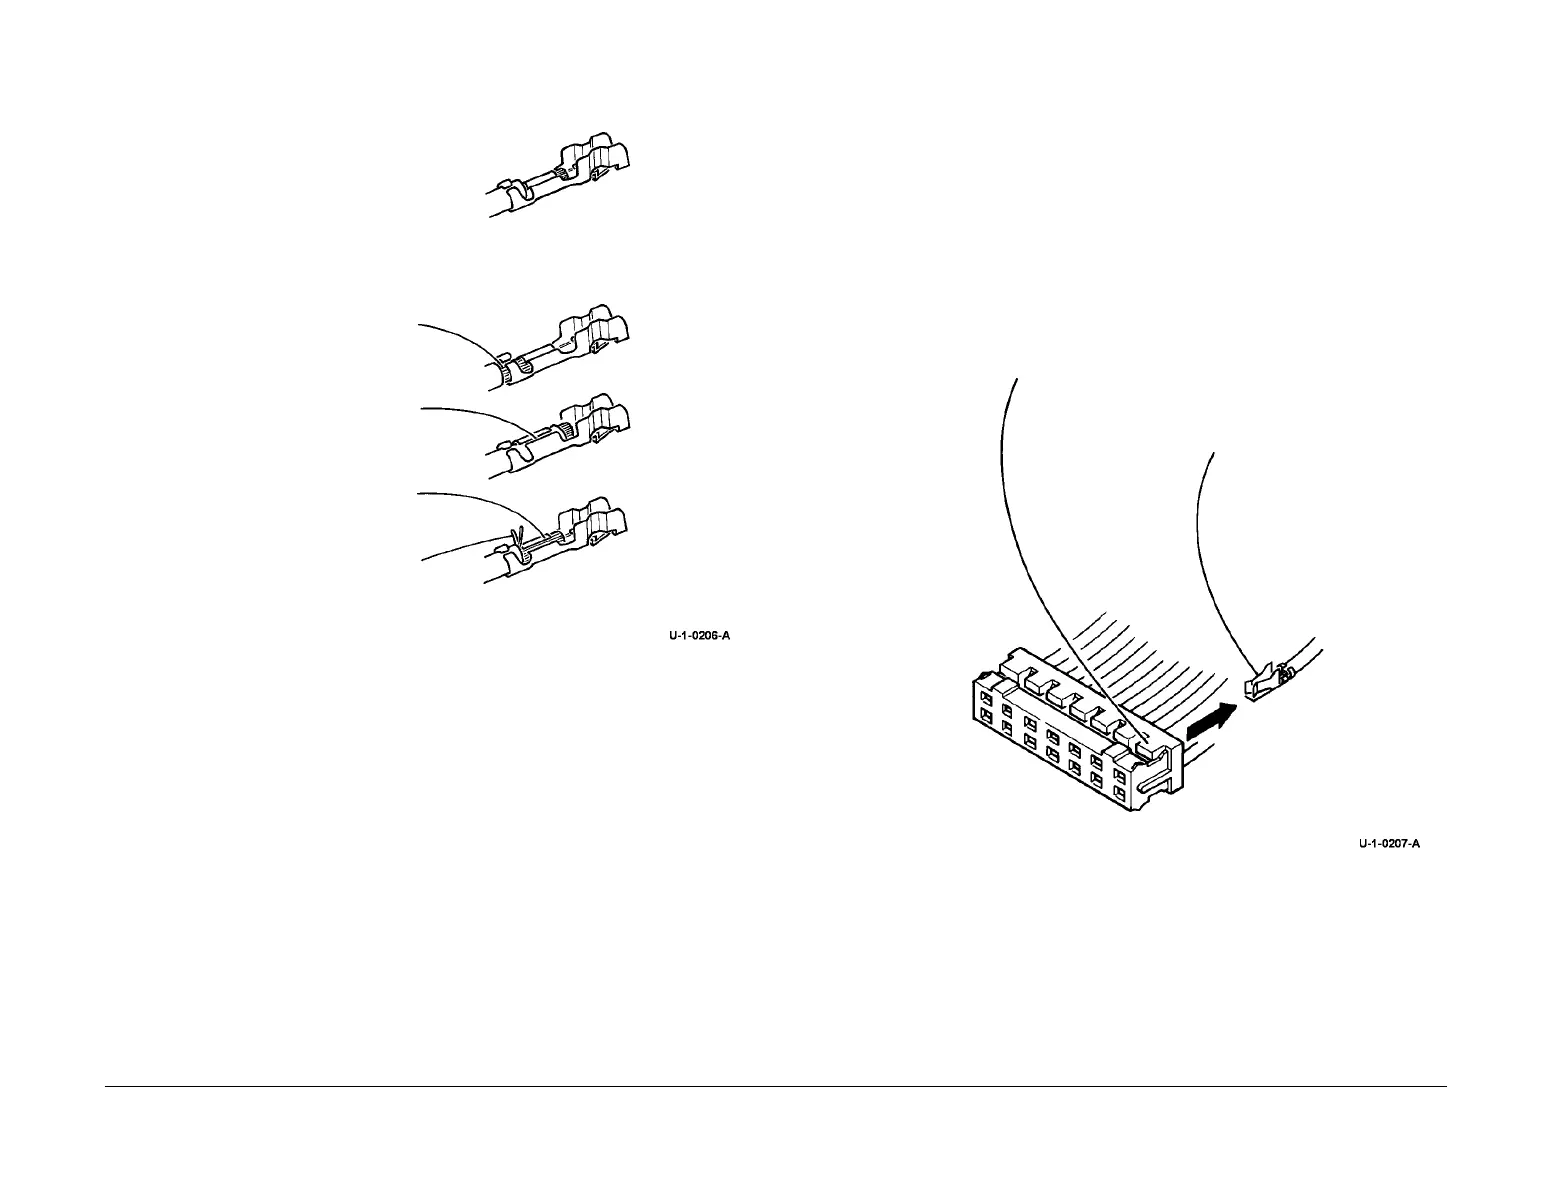
5. Figure 5. Check that the crimp is correctly made.
Figure 5 Inspect the finished crimp
6. Insert the replacement terminal into the connector housing.
REP 1.5 Hirose DF11 Connectors
Removal
WARNING
Switch off the electricity to the machine. Refer to GP 14. Disconnect the power cord
from the customer supply while performing tasks that do not need electricity. Electricity
can cause death or injury. Moving parts can cause injury.
NOTE: The male housing contains female terminals that cannot be crimped in the field; if a ter-
minal is damaged, install a new terminal with flying lead.
1. Figure 1. Remove the damaged terminal from the connector housing.
Figure 1 Terminal removal
2. Cut the damaged terminal off the wire.
Replacement
1. Insert the replacement terminal with flying lead into the connector housing.
2. Use a butt connector to connect the flying lead to the original wire.
Correct
Incorrect
Wire exposed
Insulation in the crimp
Crimp loose
Loose strands of wire
1
Raise the plastic tab with a suitable tool, to release the
terminal
2
Remove the terminal from
the housing
 Loading...


