CHASSIS
3-28
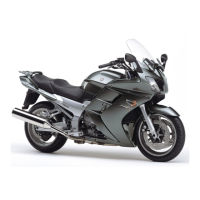
e. Install the handlebar bolts “3” and nuts “2”
temporarily.
f. Tighten the handlebar bolts and nuts.
NOTE:
First tighten the bolts, then tighten the nuts.
▲▲▲▲▲▲▲▲▲ ▲ ▲▲▲▲▲▲▲▲▲ ▲ ▲▲▲▲ ▲ ▲▲▲▲ ▲▲▲
EAS21530
CHECKING THE FRONT FORK
1. Stand the vehicle on a level surface.
WARNING
EWA13120
Securely support the vehicle so that there is
no danger of it falling over.
2. Check:
• Inner tube
Damage/scratches → Replace.
• Oil seal
Oil leakage → Replace.
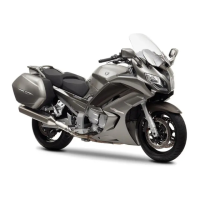
3. Hold the vehicle upright and apply the front
brake.
4. Check:
• Front fork operation
Push down hard on the handlebar several
times and check if the front fork rebounds
smoothly.
Rough movement → Repair.
Refer to “FRONT FORK” on page 4-65.
EAS21580
ADJUSTING THE FRONT FORK LEGS
The following procedure applies to both of the
front fork legs.
WARNING
EWA13150
• Always adjust both front fork legs evenly.
Uneven adjustment can result in poor han-
dling and loss of stability.
• Securely support the motorcycle so that
there is no danger of it falling over.
Spring preload
CAUTION:
ECA13570
• Grooves are provided to indicate the ad-
justment position.
• Never go beyond the maximum or mini-
mum adjustment positions.
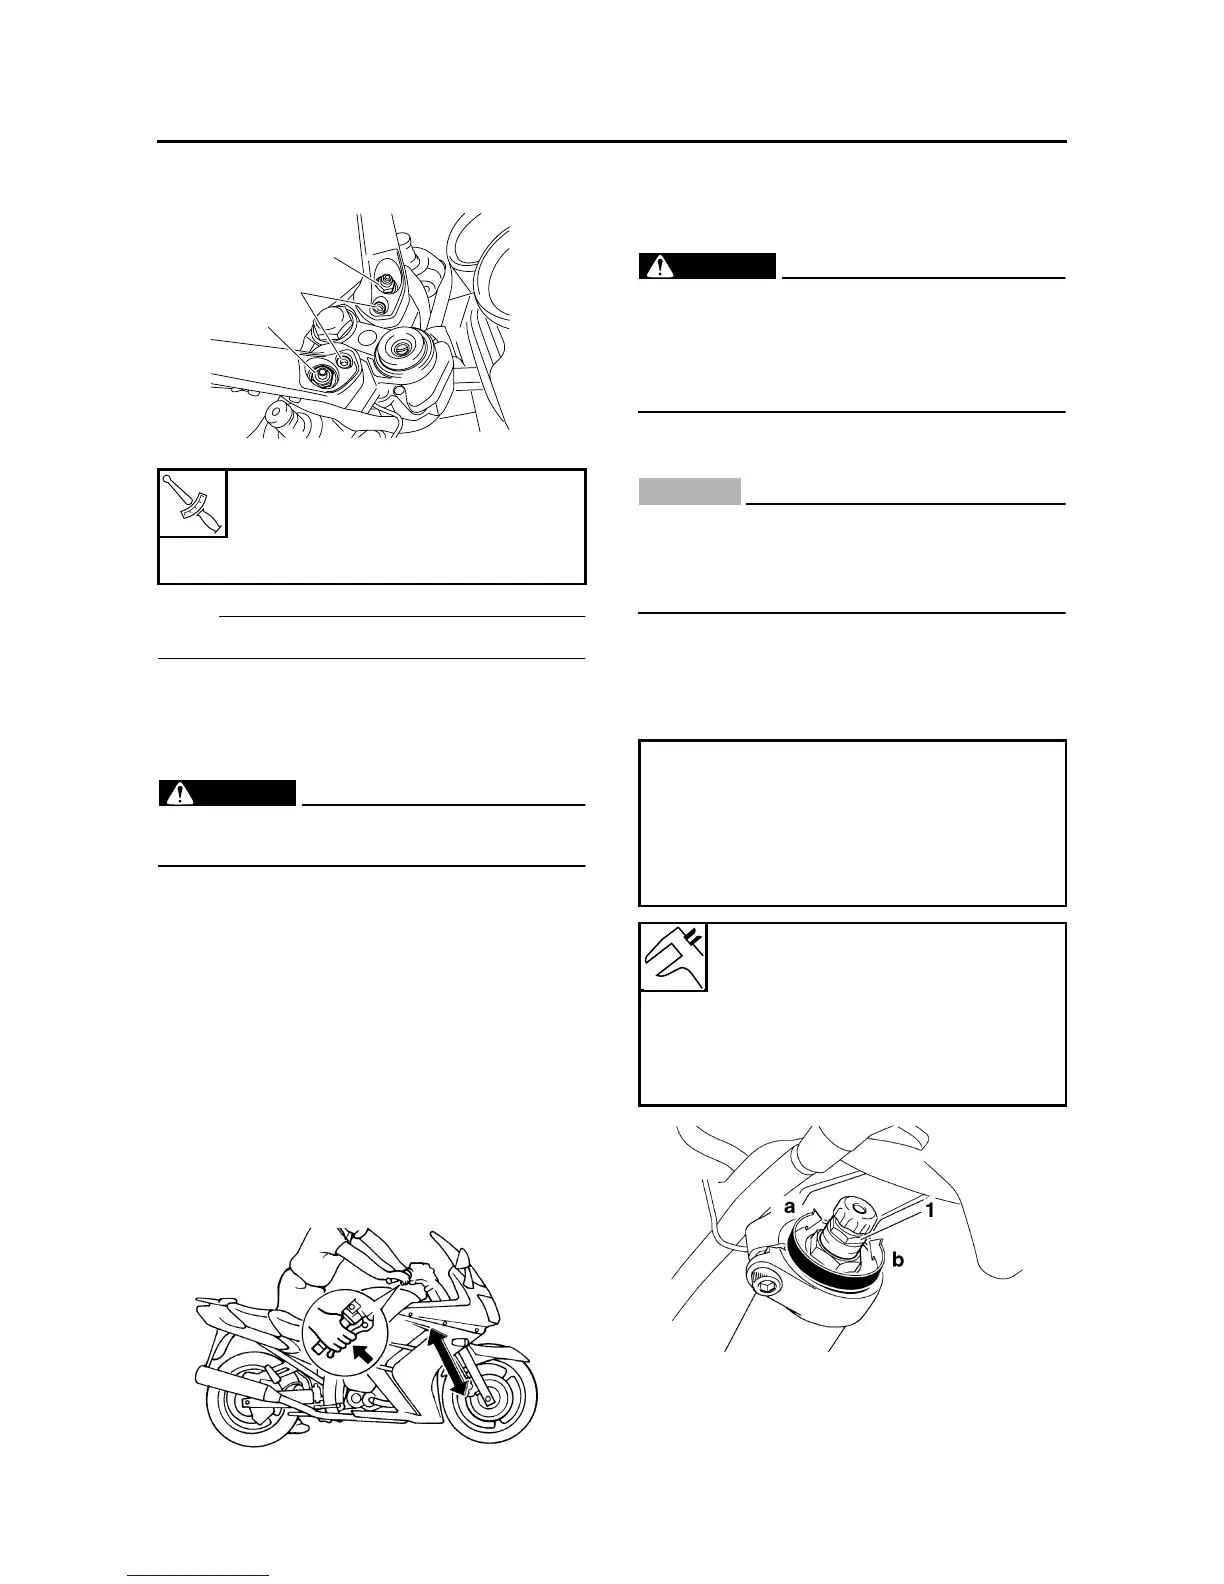
1. Adjust:
• Spring preload
▼▼▼▼▼▼▼▼▼ ▼ ▼▼▼▼ ▼ ▼▼▼▼ ▼ ▼▼▼▼ ▼ ▼▼▼▼ ▼▼▼
a. Turn the adjusting bolt “1” in direction “a” or
“b”.
T
R
.
.
Handlebar bolt
23 Nm (2.3 m·kg, 17 ft·lb)
Handlebar nut
65 Nm (6.5 m·kg, 47 ft·lb)
2
2
3
Direction “a”
Spring preload is increased (suspen-
sion is harder).
Direction “b”
Spring preload is decreased (suspen-
sion is softer).
Spring preload adjusting positions
Minimum
6
Standard
4
Maximum
1