CLUTCH
5-50
EAS25170
CHECKING THE PRESSURE PLATE
1. Check:
• Pressure plate
Cracks/damage → Replace.
• Bearing
Damage/wear → Replace.
EAS25190
CHECKING THE CLUTCH PUSH RODS
1. Check:
• O-ring
• Short clutch push rod
• Long clutch push rod
• Ball
Cracks/damage/wear → Replace the defec-
tive part(s).
2. Measure:
• Long clutch push rod bending limit
Out of specification → Replace the long
clutch push rod.
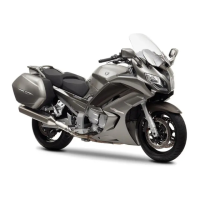
EAS25210
CHECKING THE PRIMARY DRIVEN GEAR
1. Check:
• Primary driven gear “1”
Damage/wear → Replace the primary drive
and primary driven gears as a set.
Excessive noise during operation → Replace
the clutch housing and crankshaft as a set.
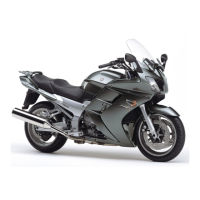
EAS25250
INSTALLING THE CLUTCH
1. Install:
• Clutch housing “1”
NOTE:
• Make sure that the projections “a” in the clutch
housing align with the slots “b” in the oil pump
drive sprocket.
• Make sure that the primary driven gear teeth
and primary drive gear teeth mesh correctly.
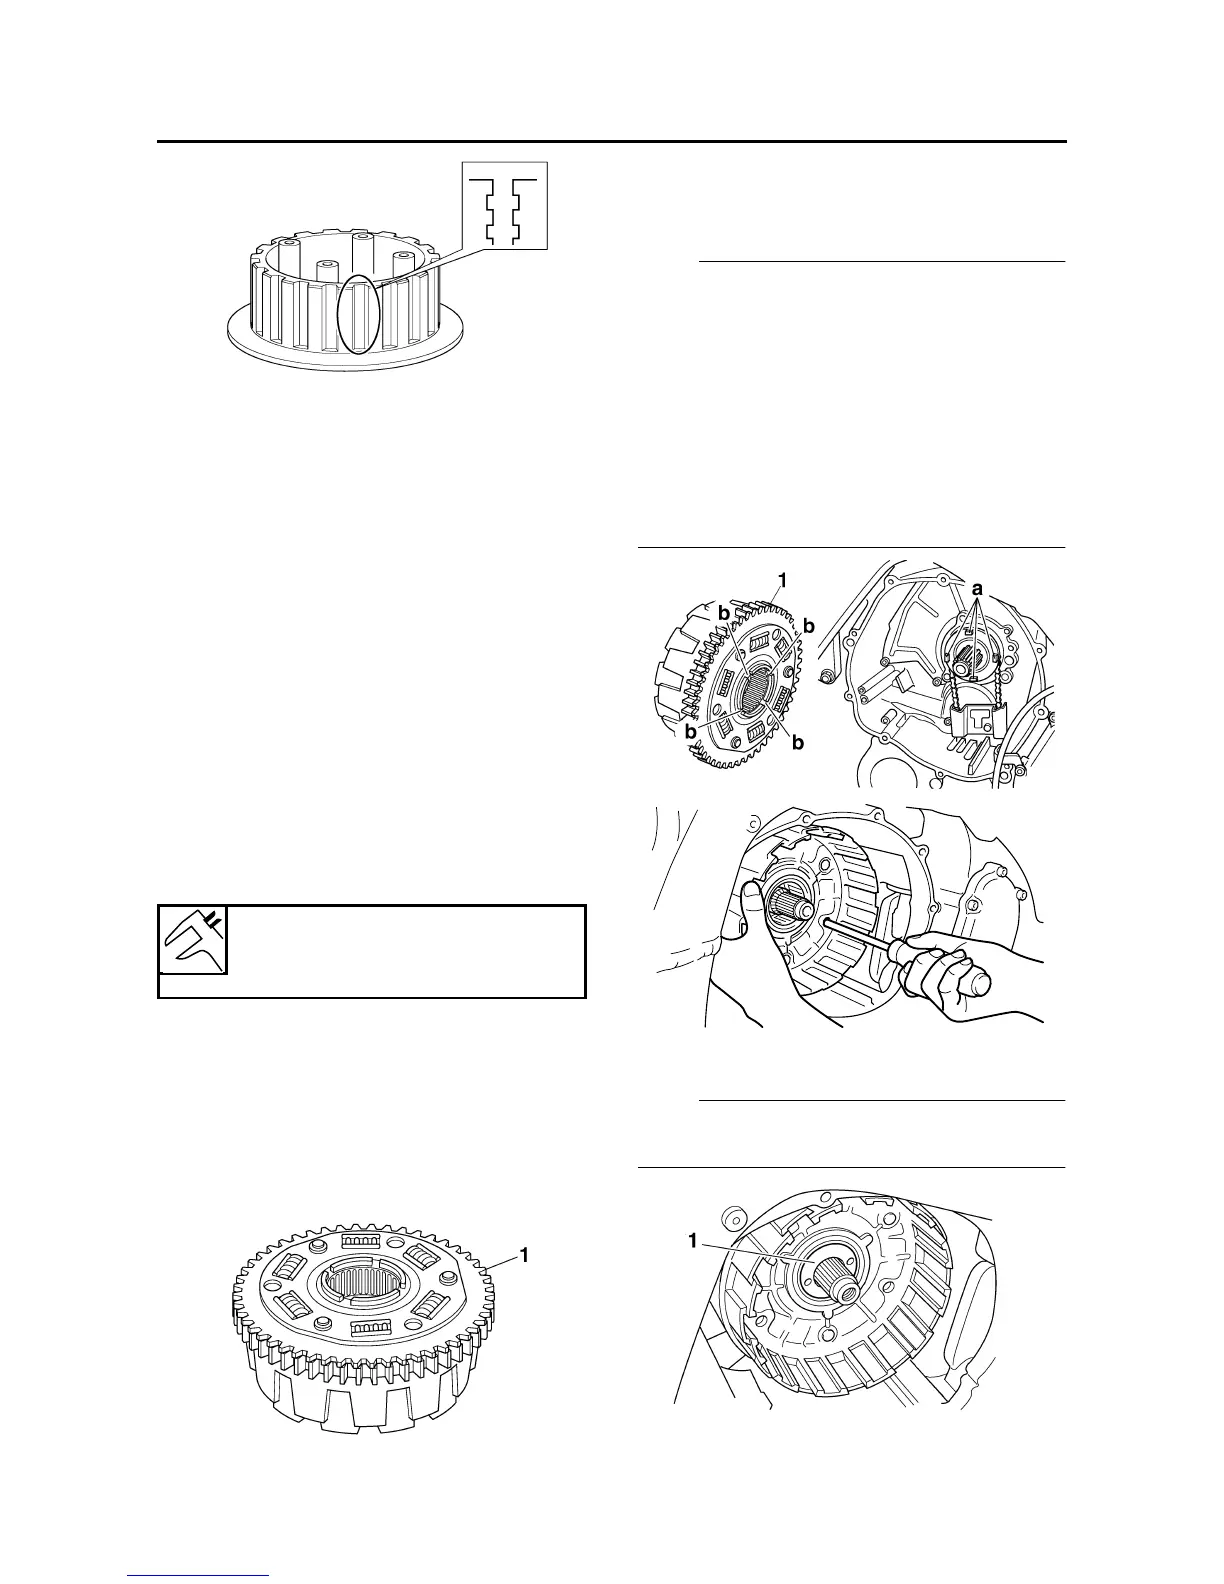
• Insert a cross-headed screwdriver into one of
the holes of the clutch housing and primary
driven gear, and then rotate the inner primary
driven gear until both primary drive gears are
aligned. The teeth of both primary driven gears
must be aligned for installation.
2. Install:
• Spacer “1”
NOTE:
Install the spacer with the two screw holes facing
towards the clutch boss.
3. Install:
• Clutch boss “1”
Long clutch push rod bending
limit
0.37 mm (0.015 in)