TRANSMISSION
5-101
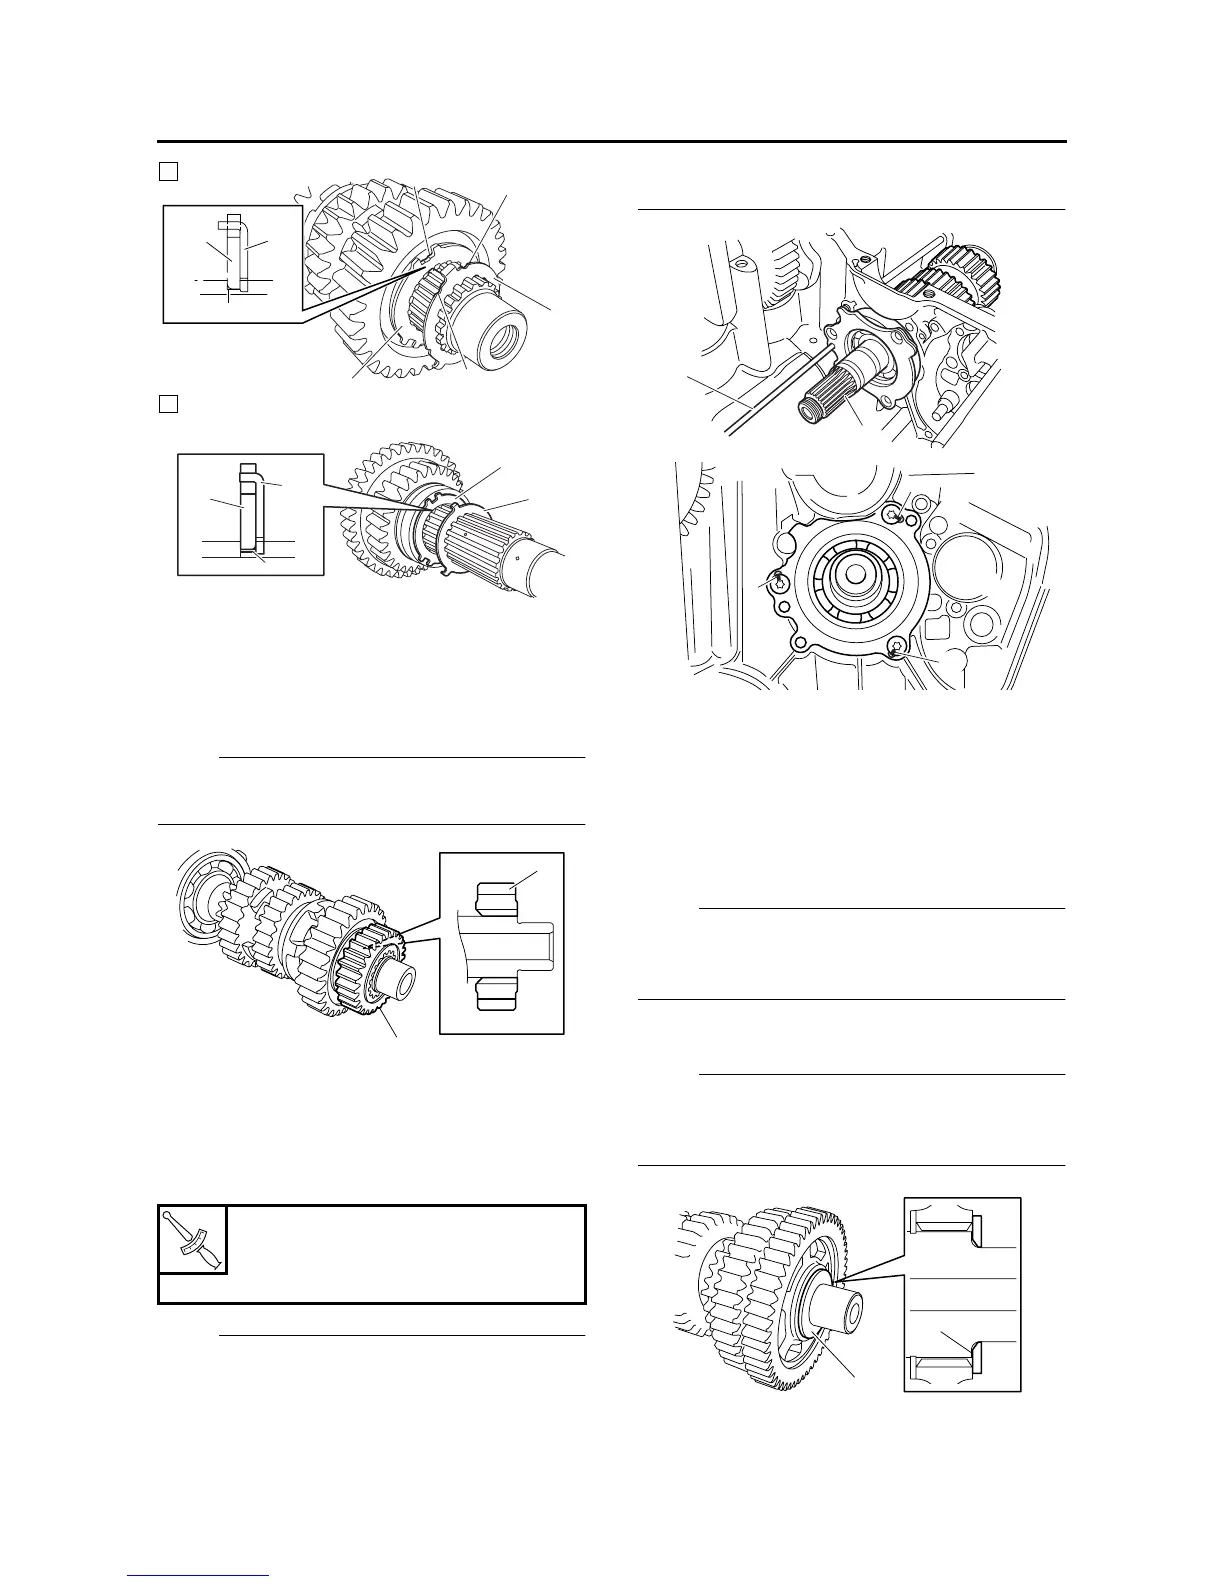
3. Install:
• 2nd pinion gear “1”
NOTE:
Install the 2nd pinion gear with its chamfered
side facing inward as shown in the illustration.
EAS26350
INSTALLING THE TRANSMISSION
1. Install:
• Main axle assembly “1”
• Main axle bearing housing bolts
NOTE:
• When installing the main axle assembly, use a
pin “2” to align the bearing housing hole with
the corresponding hole in the upper crankcase.
• Stake the main axle bearing housing bolts at a
cutout “a” in the main axle bearing housing.
2. Install:
• Shift fork-C
• Shift drum assembly
• Springs
• Short shift fork guide bar
• Shift fork-R
• Shift fork-L
• Long shift fork guide bar
NOTE:
The embossed marks on the shift forks should
face towards the right side of the engine and be
in the following sequence: “R”, “C”, “L”.
3. Install:
• Washer “1”
NOTE:
Install the washer with its chamfered side facing
towards the drive axle assembly as shown in the
illustration.
4. Install:
• Drive axle assembly
A. Main axle
B. Drive axle
T
R
.
.
Main axle bearing housing bolt
12 Nm (1.2 m·kg, 8.7 ft·lb)
LOCTITE
®
A
2
b
b
c
1
a
2
1
1
1
2
2
a
B
1
1
1
2
a
a
a
1
1