CLUTCH
5-52
• If any connection on the hydraulic clutch
system is disconnected, the entire clutch
system must be disassembled, drained,
cleaned, properly filled, and bled after reas-
sembly.
• Never use solvents on internal clutch com-
ponents.
• Use only clean or new clutch fluid for clean-
ing clutch components.
• Clutch fluid may damage painted surfaces
and plastic parts. Therefore, always clean
up any spilt fluid immediately.
• Avoid clutch fluid coming into contact with
the eyes as it can cause serious injury.
• First aid for clutch fluid entering the eyes:
• Flush with water for 15 minutes and get im-
mediate medical attention.
NOTE:
Before disassembling the clutch master cylinder,
drain the clutch fluid from the entire clutch sys-
tem.
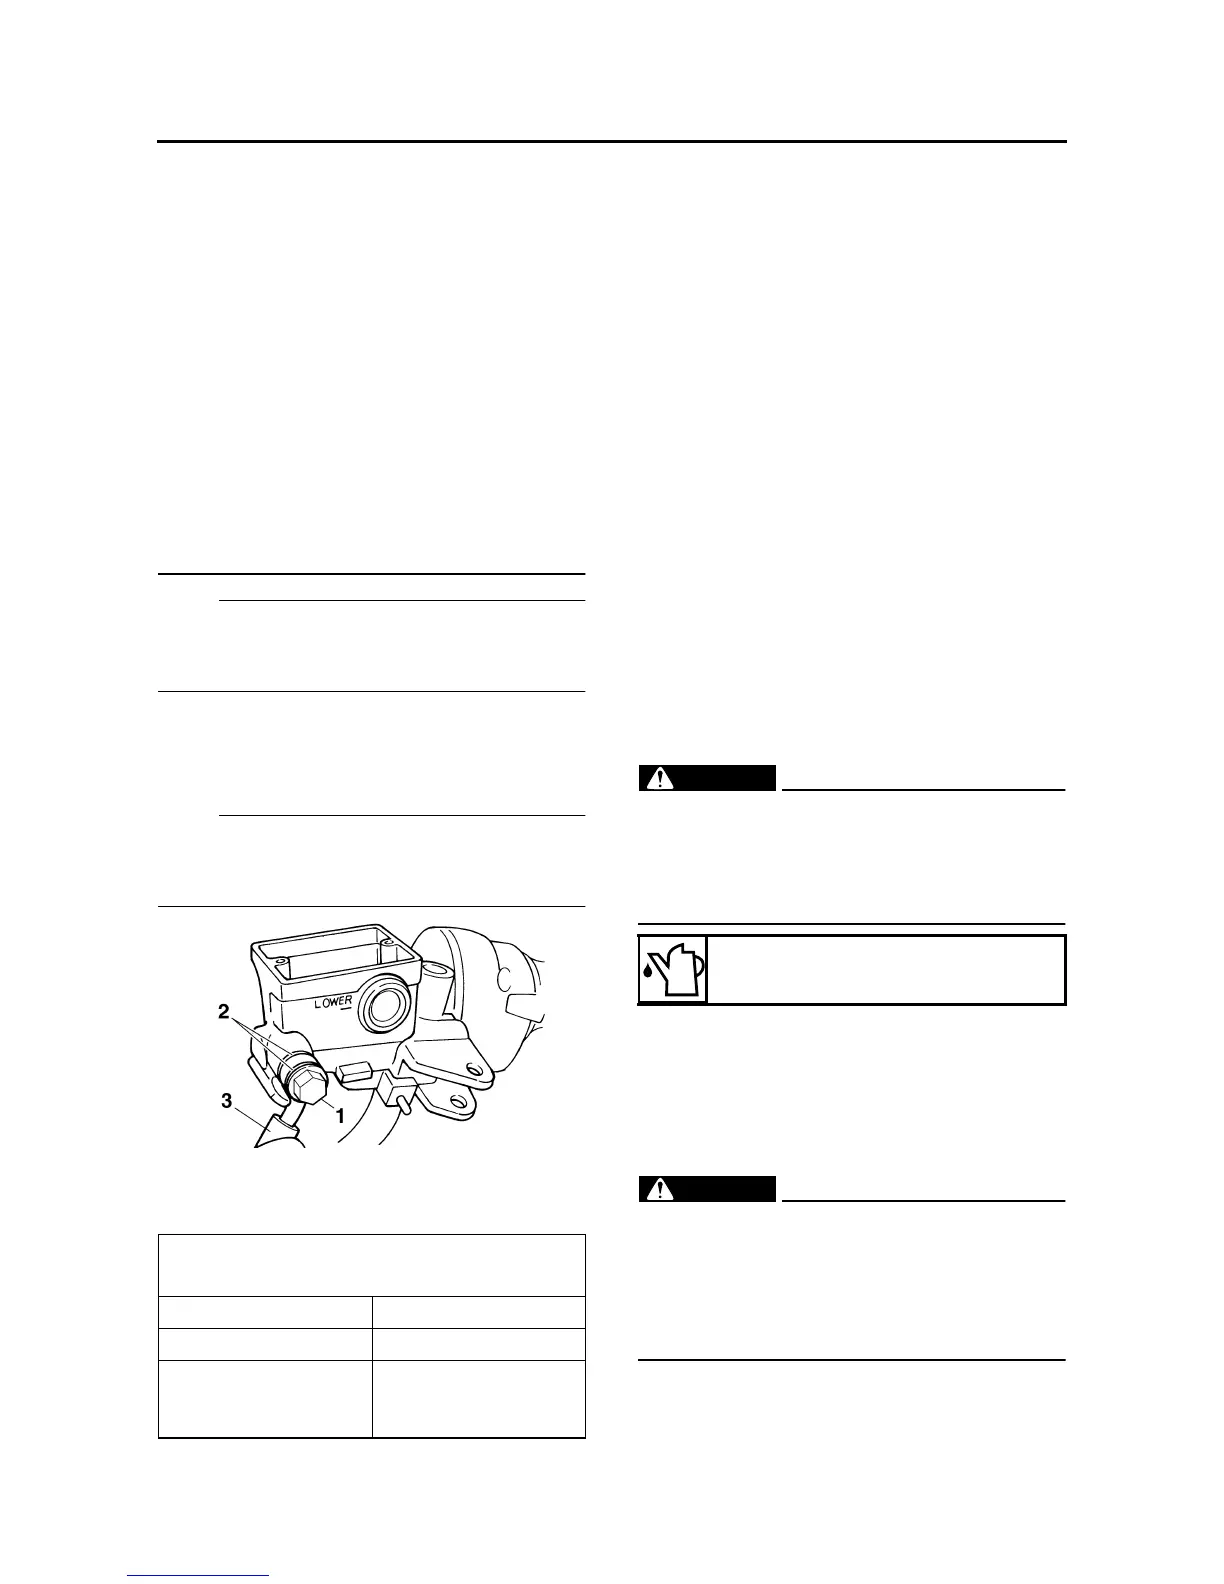
1. Remove:
• Clutch hose union bolt “1”
• Copper washers “2”
• Clutch hose “3”
NOTE:
To collect any remaining clutch fluid, place a
container under the master cylinder and the end
of the clutch hose.
EAS25290
CHECKING THE CLUTCH MASTER
CYLINDER
1. Check:
• Clutch master cylinder body
Cracks/damage → Replace the clutch mas-
ter cylinder.
• Clutch fluid delivery passage
(clutch master cylinder body)
Obstruction → Blow out with compressed air.
2. Check:
• Clutch master cylinder
• Clutch master cylinder kit
Rust/scratches/wear → Replace the clutch
master cylinder and clutch master cylinder kit
as a set.
3. Check:
• Clutch master cylinder reservoir
Cracks/damage → Replace.
• Clutch master cylinder reservoir diaphragm
Damage/wear → Replace.
4. Check:
• Clutch hose
Cracks/damage/wear → Replace.
EAS25300
ASSEMBLING THE CLUTCH MASTER
CYLINDER
WARNING
EW3P61015
• Before installation, all internal clutch com-
ponents must be cleaned and lubricated
with clean or new clutch fluid.
• Never use solvents on internal clutch com-
ponents.
EAS25310
INSTALLING THE CLUTCH MASTER
CYLINDER
1. Install:
• Clutch master cylinder “1”
• Clutch master cylinder holder “2”
WARNING
EW3P61016
• Install the clutch lever holder with the “UP”
mark facing up.
• Align the end of the clutch lever holder with
the punch mark “a” on the left handlebar.
• First, tighten the upper bolt, then the lower
bolt.
Recommended clutch component replace-
ment schedule
Piston seal Every two years
Clutch hose Every four years
Clutch fluid
Every two years and
whenever the clutch
is disassembled
Recommended fluid
DOT 4