5 - 12 MP7000 Scanner Scale Integrator Guide
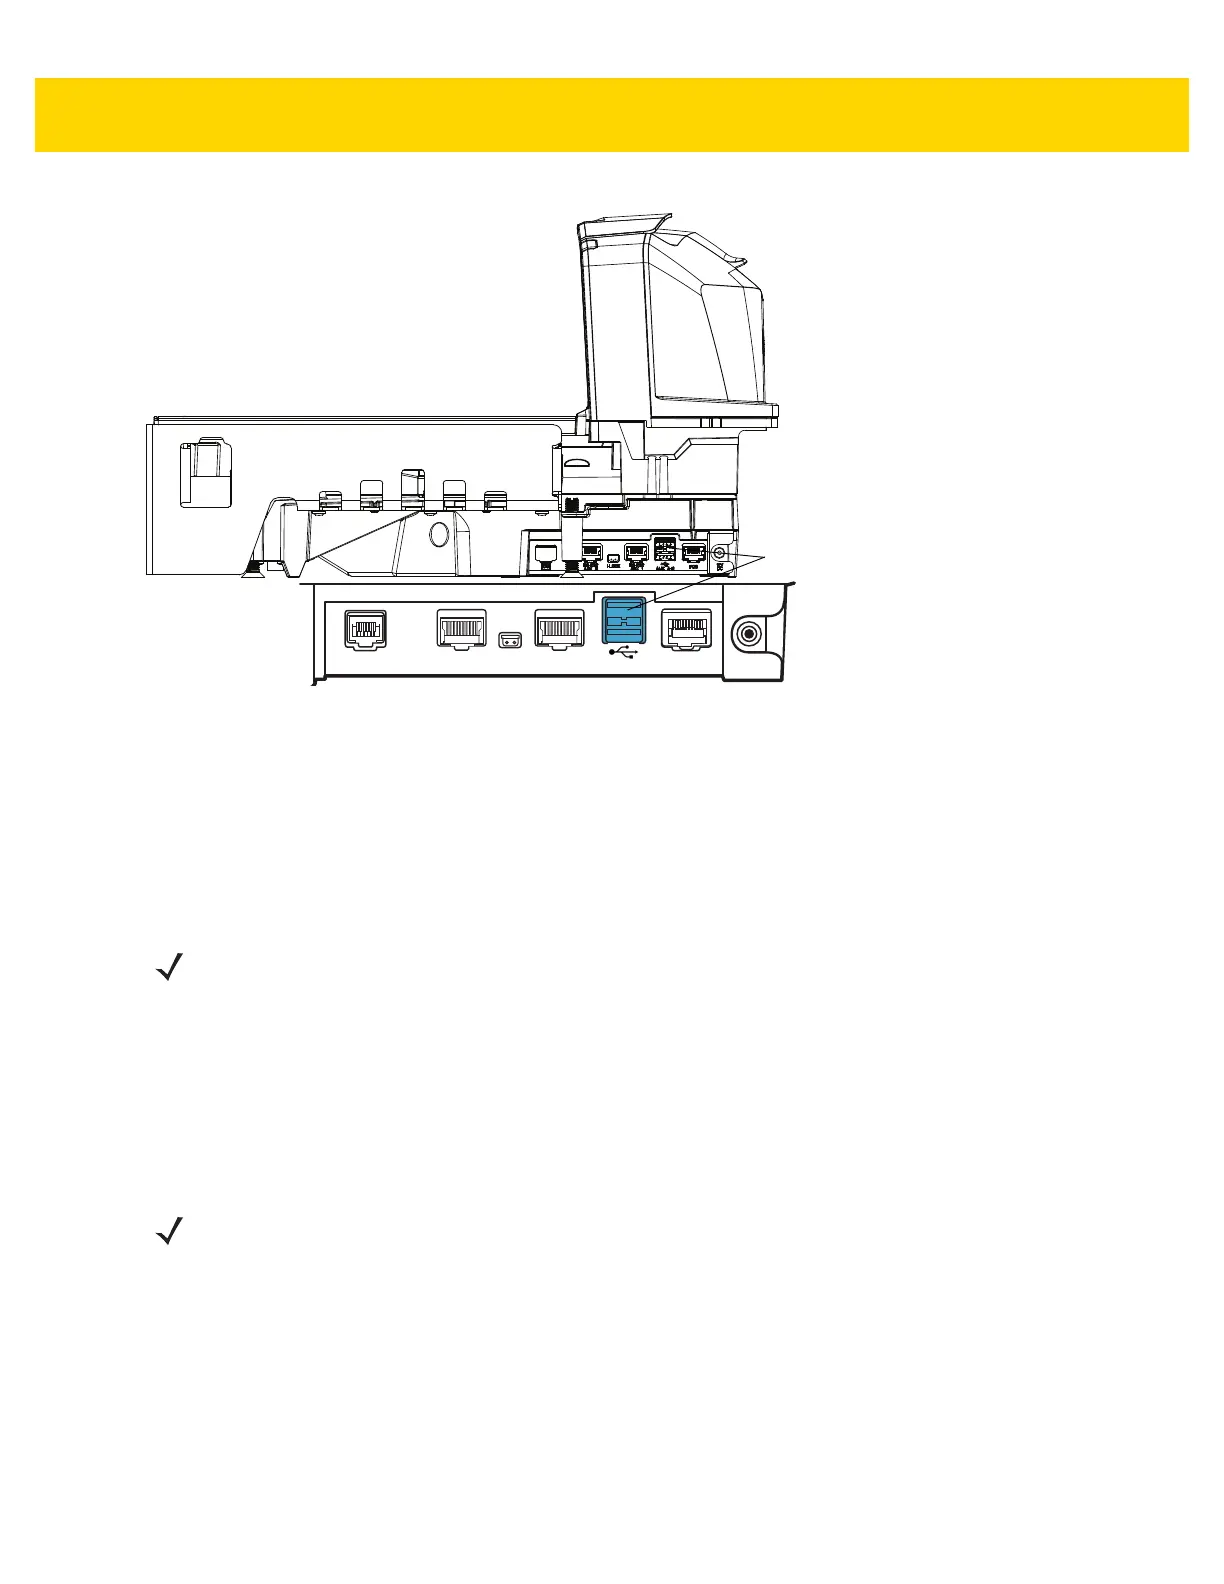
Figure 5-13 External USB Port
Loading Cloning Files
Cloning files can be loaded to the staging flash drive two ways:
• Insert the staging flash drive into one of the MP70XX USB ports (
Figure 5-12), and select Option 1 - Load
Files (see
Step 3).
• Use 123Scan to create and export files to the staging flash drive. (See
123Scan Staging Flash Drive
Configuration for more information.)
Follow the steps below to clone data.
1. Insert the staging flash drive in the USB port under the MP70XX platter.
2. When the staging flash drive inserts correctly, the MP70XX detects the drive, and sounds two beeps (low/high).
NOTE The USB flash drive must be at least 2.5 in. (63.5 mm) long to be accessible for removal after insertion into the
internal MP70XX flash drive well. Alternatively, some USB flash drives include an opening in their rear covers
into which a paper clip can be looped to help achieve the minimal length dimension.
See
Approved USB Flash Drives for the Flash Drive Well on page 5-13 for the recommended flash drive
dimensions for use in the internal USB port.
It is recommended to start with a clean flash drive.
NOTES1. If EAS was installed and operational, the EAS button remains lit. If EAS was not installed, and/or not
operational, the EAS button on the front panel of the MP70XX lights when the staging flash drive is
inserted.
2. While the staging flash drive is inserted:
a) Do not remove power.
b) Do not remove, or connect any cables.
c) Do not press the Volume or Scale buttons.
These actions may interfere with the staging flash drive process.
External USB Port
AUX A - B