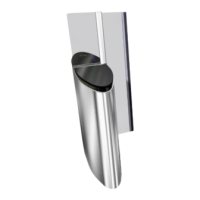
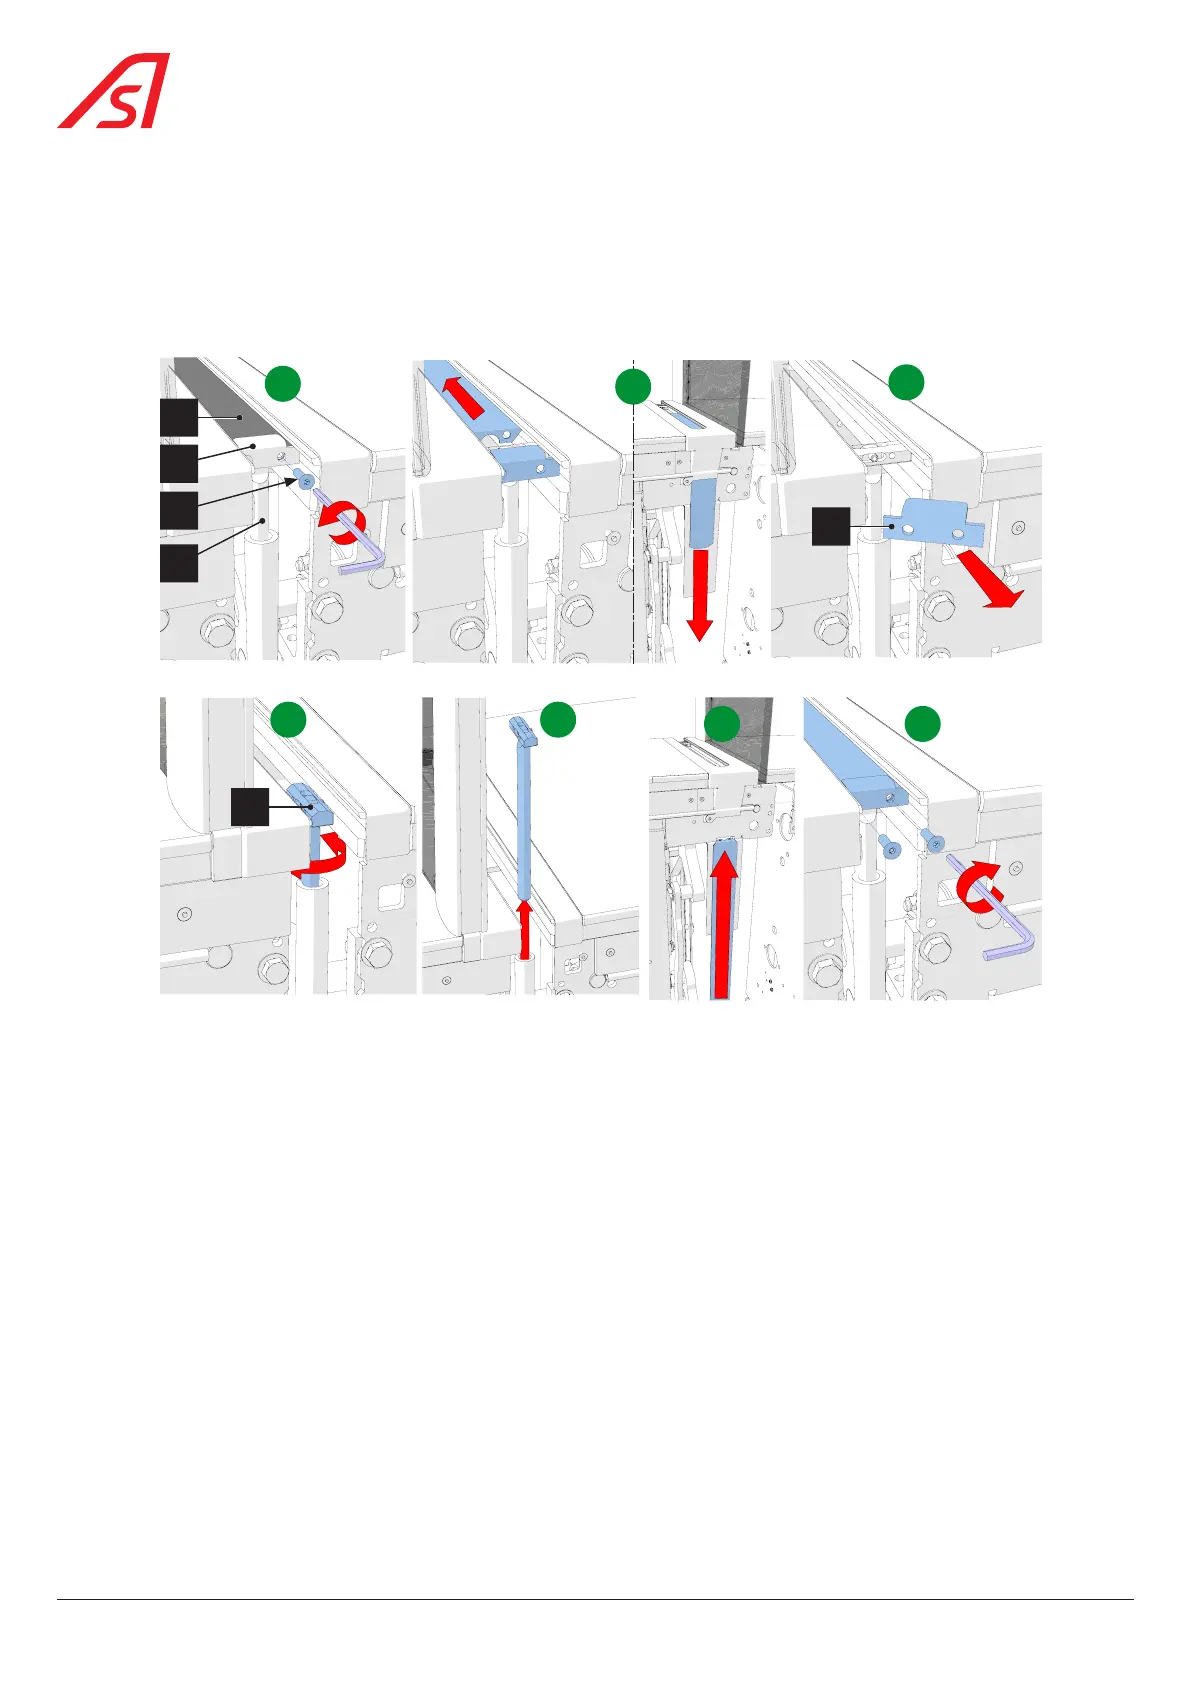
8.12. REMOVAL / INSTALLATION OF THE CLOSING FLAP
1. Switch off the equipment ( Chap. 8.3, page 54);
2. Then remove all side panels ( Chap. 8.3.1, page 54);
3. Lock the relevant kinematics in the maintenance position and remove the relevant mobile obstacle ( Chap. 8.10,
page 62);
A
1
4
3
2
B
F G
E
C
2
D
3
Fig. 72 - Removal / replacement of the closing flap
4. Remove the two fixing screws (4) holding the closing flap (1) and the clamp (2) to the tie rod (3); [A]
5. Slide the closing flap (1) backwards and pull it out; [B]
6. Pull out the fixing clamp (2); [C]
7. Rotate the tie rod (2) so that it can be pulled out; [D] & [E]
8. Grease the tie rod and reinstall it, ensuring that it is properly seated in the side guides;
9. Insert the new closing flap from the rear, making sure it is properly seated in the side guides; [F]
10. Place it between the tie rod and the fixing clamp and fix it (screw 4)); [G]
11. Unlock the kinematics and make a few movements to check that the closing flap slides properly;
12. Reinstall the mobile obstacle ( Chap. 8.10, page 62);
13. Reinstall the side panels except for the right side panel - direction A ( Chap. 8.6, page 57)
14. Switch on the unit ( Chap. 8.3, page 54) and replace the right side panel - direction A.
66
SmartLane