8.14. ADJUSTING THE POSITION OF THE CLOSING FLAP GUIDE
For ease of installation, the flap guide fixing screws can be pre-mounted on the frame before fitting the flap
guide.
1. Switch off the equipment ( Chap. 8.3, page 54).
2. Then remove all side panels ( Chap. 8.3.1, page 54).
3. Lock the relevant kinematics in the closed position ( Chap. 8.5, page 56).
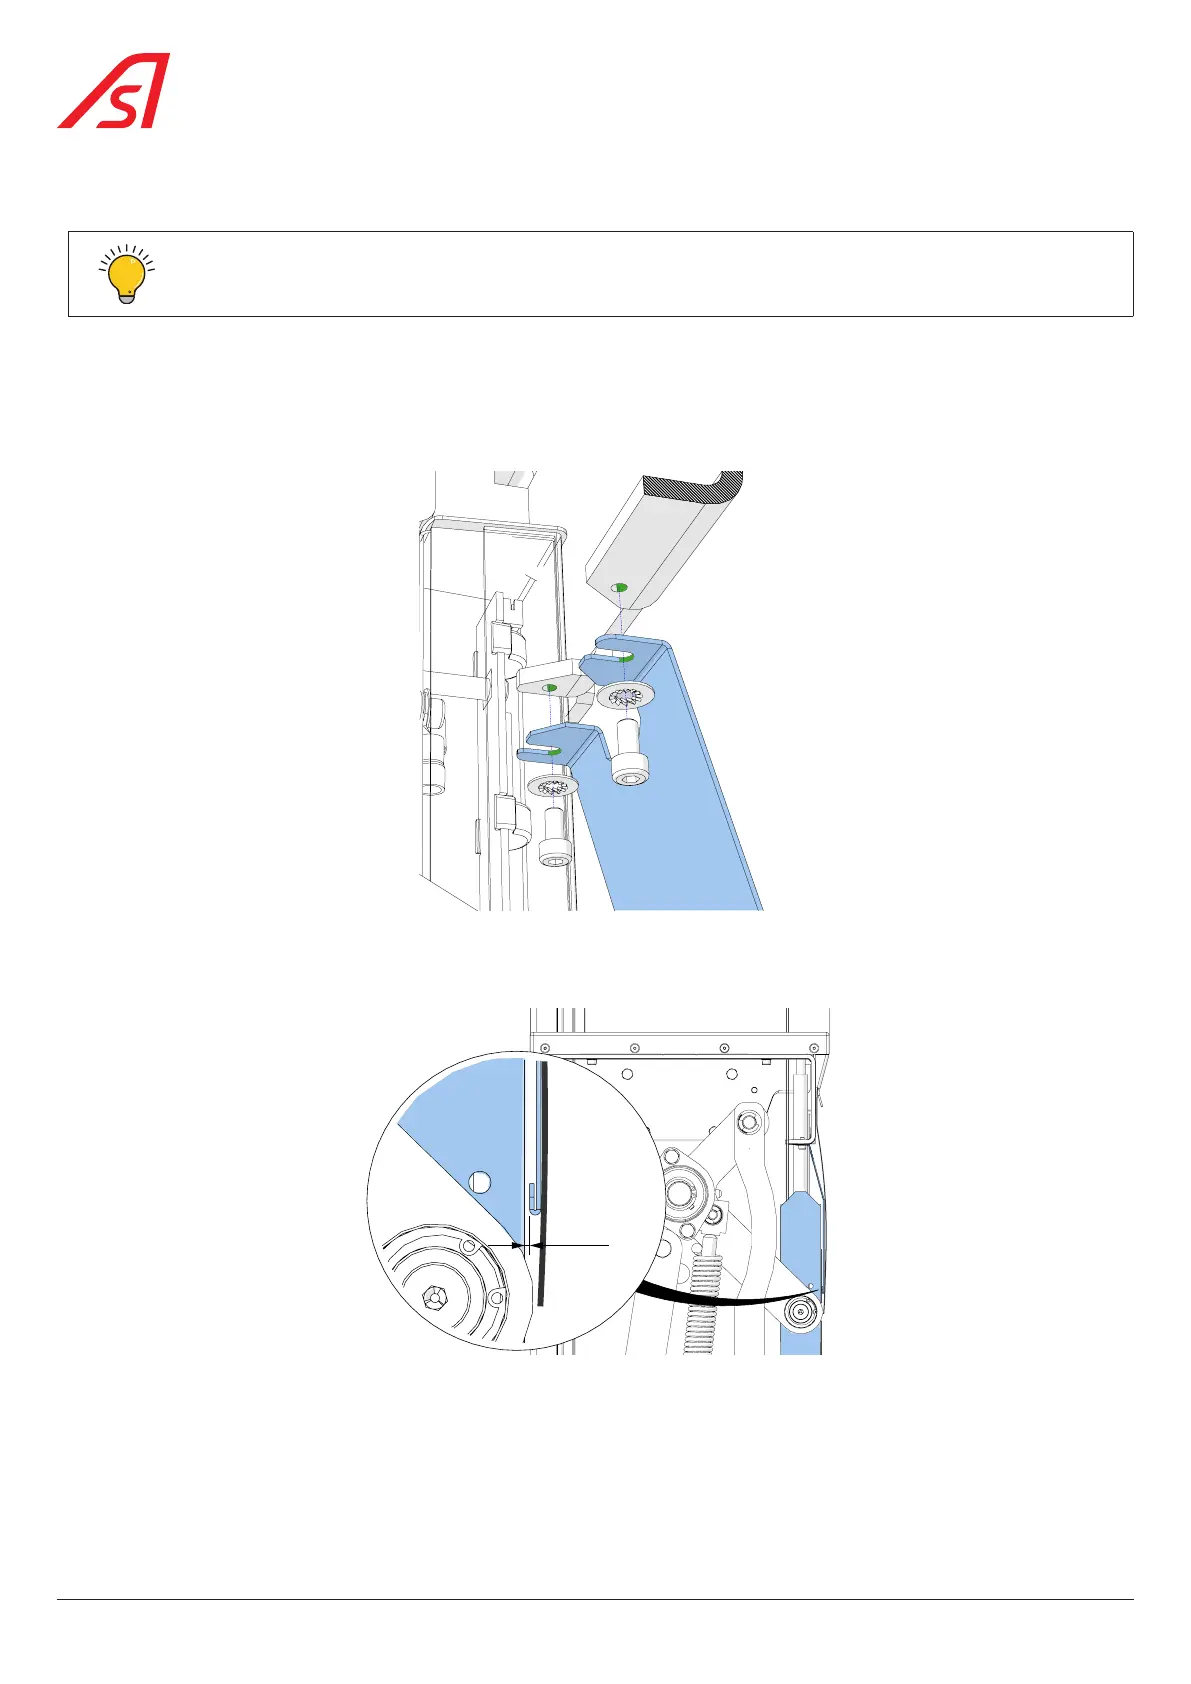
4. Position the flap guide fully in the slit and tighten the 2 fixing screws.
Fig. 74 - Flap guide adjustment (Fixing)
5. When the obstacle is retracted, check that the flap guide is 1mm ±1mm from the baseboard of the kinematics.
1 mm
± 1 mm
Fig. 75 - Flap guide adjustment (Clearance)
6. If necessary, manually straighten the flap guide to correct the adjustment.
68
SmartLane