Phone Based Administration Page 75
- Issue 6a (Thursday, February 22, 2018)IP Office Basic Edition
Comments on this document? infodev@avaya.com
Line Settings:
4.1 Number of Lines
This feature should only be used during initial system configuration before any other button programming
has been performed. If used at any other time, it will override that other button programming.
Use this feature to determine the number of outside lines that should be automatically assigned to buttons on all
extensions. For example, entering 06 means that all extensions are assigned lines 01 through 06. For DS and ETR
phones, the lines are assigned to the buttons after the intercom (key system mode) or call appearance buttons (PBX
system mode). For BST phones the buttons used will depend on the phone model.
·
By default the system will assign either 5 lines or, if installed, the number of analog trunks installed when the
system is first started.
·
You can use this procedure to limit the number of lines that are automatically assigned to all extensions. For
example, if there are ten lines connected to the system, you can use this procedure to set the number of lines to
eight, so that only the first eight lines are assigned to all system extensions. You can then use Line Assignment to
assign lines 9 and 10 to specific extensions.
·
To change line assignments without affecting other extensions and settings, use Line Assignment .
·
On systems running in key system mode, Automatic Line Selection for all extensions is updated to match the
same set of lines in sequence followed by the intercom lines.
·
If an extension is assigned as a doorphone extension , its automatic line selection is reset to select intercom
buttons first.
·
Key System Mode Only
IP Office Basic Edition systems can be installed in either key or PBX system mode. This feature is only supported
by systems running in key system mode. The setting is ignored by systems running in PBX system mode.
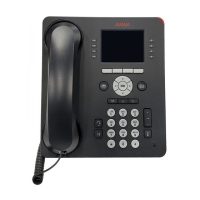
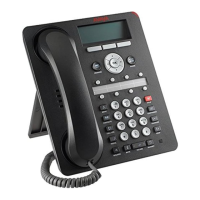
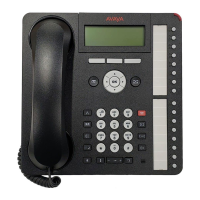
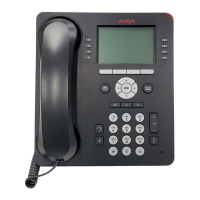
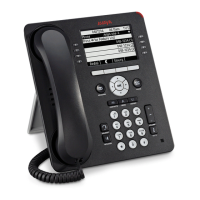
1408/1416/9504/9508 Phone
1. At either of the first two extensions on the system, press Admin.
·
To do the above during a call, you may need to press the PHONE button to display the Admin soft key
option. If you access phone administration during a call, only the SPEAKER, MUTE and HEADSET
buttons still affect the connected call.
2. Use the up or down arrow buttons to scroll the display to System Administration. When highlighted, press
Select.
3. Use the up or down arrow buttons to scroll the display to System Parameters. When highlighted, press
Select.
·
Alternatively, dial # and the system administration code.
4. Use the up or down arrow buttons to scroll the display to Number of Lines. When highlighted, press
Select.
5. The current setting is displayed.
6. Enter two digits for the number of lines.
·
Alternatively use the left or right arrow icons to toggle through the settings or Default to return to the
default setting.
·
Exit programming by pressing PHONE. Alternatively use the Back button to move to another menu.
M7324/M7324N/M7310/M7310N/T7316/T7316E Phone
1. At either of the first two extensions on the system, press Feature **config (ie. Feature **266344).
·
If the system has a system password set, it is requested. Enter the password.
2. The phone displays System Admin.
3. Dial #104.
4. Enter two digits for the number of lines.
·
Alternatively use the Next Data or Previous Data buttons to change the setting or press Remove to return
to the default setting.
·
To exit phone based administration at any time, press the Release button. To select a different process use the
Next Procedure or Previous Procedure buttons or dial another feature code.
28
77
86
125
10
114
 Loading...
