Phone Based Administration Page 82
- Issue 6a (Thursday, February 22, 2018)IP Office Basic Edition
Comments on this document? infodev@avaya.com
4.5 Group Call Distribution
Use this feature to assign outside lines to Hunt Groups. Doing this allows outside calls to ring directly into a Hunt Group
instead of being answered and transferred by the receptionist. You can assign lines to Hunt Groups 1 to 6.
·
Each outside line can be assigned to a Hunt Group.
·
Incoming calls hunt for an available extension in a circular manner.
·
If a Hunt Group that has outside lines assigned receives an outside call and all members of that Hunt Group are
busy or have Do Not Disturb on, the caller hears ringing which continues until the call is answered.
·
Use Hunt Group Extensions to assign extensions to Hunt Groups.
·
You should not assign T1 lines with Direct Inward Dialing (DID) to Hunt Groups. If a Hunt Group contains T1 lines
with Direct Inward Dialing (DID), callers will receive busy signal when all extensions in the Hunt Group are busy
(for example, off-hook), have Do Not Disturb activated or are in programming mode.
·
Example
Place the extensions of employees who work in a department in a Hunt Group and assign one or more outside lines
to the group. This lets outside callers ring the group directly without being transferred by the receptionist. For
example, a mail-order company assigns the extensions of its sales representatives to a Hunt Group and assigns a
line to the group. The company then publishes the number as its customer service number so that a caller can
reach a sales representative directly to place an order.
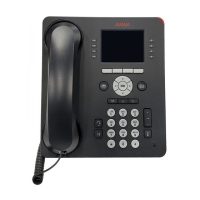
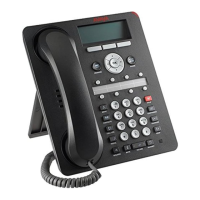
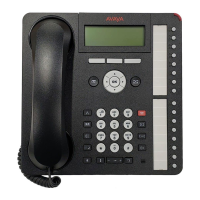
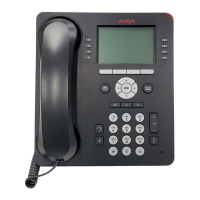
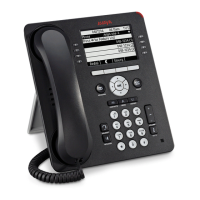
1408/1416/9504/9508 Phone
1. At either of the first two extensions on the system, press Admin.
·
To do the above during a call, you may need to press the PHONE button to display the Admin soft key
option. If you access phone administration during a call, only the SPEAKER, MUTE and HEADSET
buttons still affect the connected call.
2. Use the up or down arrow buttons to scroll the display to System Administration. When highlighted, press
Select.
3. Use the up or down arrow buttons to scroll the display to Lines. When highlighted, press Select.
·
Alternatively, dial # and the system administration code.
4. Use the up or down arrow buttons to scroll the display to Group Call Distribution. When highlighted, press
Select.
5. At the Group: prompt enter the list entry you want to change by entering 01 to 10.
6. At the Line: prompt, enter the desired line number 01 to 64.
7. The current setting is displayed.
8. Enter 1 (assigned) or 2 (not assigned). The default is 2 (not assigned).
·
Alternatively use the left or right arrow icons to toggle through the settings or Default to return to the
default setting.
9. Use the up or down arrow buttons to select another line to adjust if required.
·
Exit programming by pressing PHONE. Alternatively use the Back button to move to another menu.
185
10
 Loading...
