Phone Based Administration Page 169
- Issue 6a (Thursday, February 22, 2018)IP Office Basic Edition
Comments on this document? infodev@avaya.com
Account Codes: Forced Account Code List
11.2 Forced Account Code Extensions
These processes allow you to set which extensions must enter an account code before making outside calls. The account
code can be used to charge telephone calls to a department or client.
·
Extensions set to forced account code entry can still dial numbers on the Emergency Phone Number List
without entering an account code.
·
In addition to dialing the account code, extension users can also enter an account code using a number stored on
an auto dial button , system speed dial or personal speed dial .
·
Automatic Line Selection is not used for extensions set to forced account code entry.
·
Do not assign forced account code entry to an external hotline extension.
·
If a System Password is required to override dialing restrictions for an extension, you must enter it before
entering the account code.
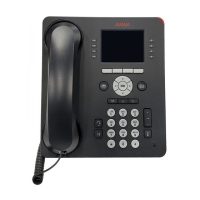
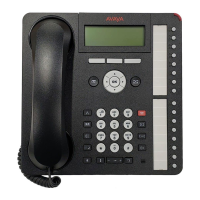
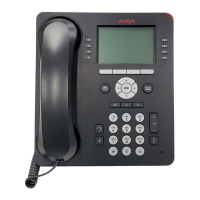
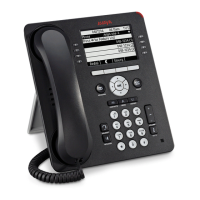
1408/1416/9504/9508 Phone
1. At either of the first two extensions on the system, press Admin.
·
To do the above during a call, you may need to press the PHONE button to display the Admin soft key
option. If you access phone administration during a call, only the SPEAKER, MUTE and HEADSET
buttons still affect the connected call.
2. Use the up or down arrow buttons to scroll the display to System Administration. When highlighted, press
Select.
3. Use the up or down arrow buttons to scroll the display to Extensions. When highlighted, press Select.
4. Use the up or down arrow buttons to scroll the display to Forced Account Code. When highlighted, press
Select.
5. At the Extension: prompt enter the extension you want to edit.
6. The current setting is displayed.
7. Enter 1 (assigned) or 2 (not assigned). The default is 2 (not assigned).
·
Alternatively use the left or right arrow icons to toggle the setting or Default to return to the default
setting.
8. Use the up or down arrow buttons to select another extension to adjust if required.
·
Exit programming by pressing PHONE. Alternatively use the Back button to move to another menu.
M7324/M7324N/M7310/M7310N/T7316/T7316E Phone
1. At either of the first two extensions on the system, press Feature **config (ie. Feature **266344).
·
If the system has a system password set, it is requested. Enter the password.
2. The phone displays System Admin.
3. Dial #307. The phone will display Forced Account Code.
4. At the Extension: prompt, enter the number of the extension to be programmed.
5. Enter 1 (assigned) or 2 (not assigned). The default is 2 (not assigned).
·
Alternatively use the Next Data or Previous Data buttons to change the setting or press Remove to return
to the default setting.
6. Press the Next Item or Previous Item button for the next or previous extension respectively.
·
To exit phone based administration at any time, press the Release button. To select a different process use the
Next Procedure or Previous Procedure buttons or dial another feature code.
108
234 139 141
86
155
114
114
 Loading...
