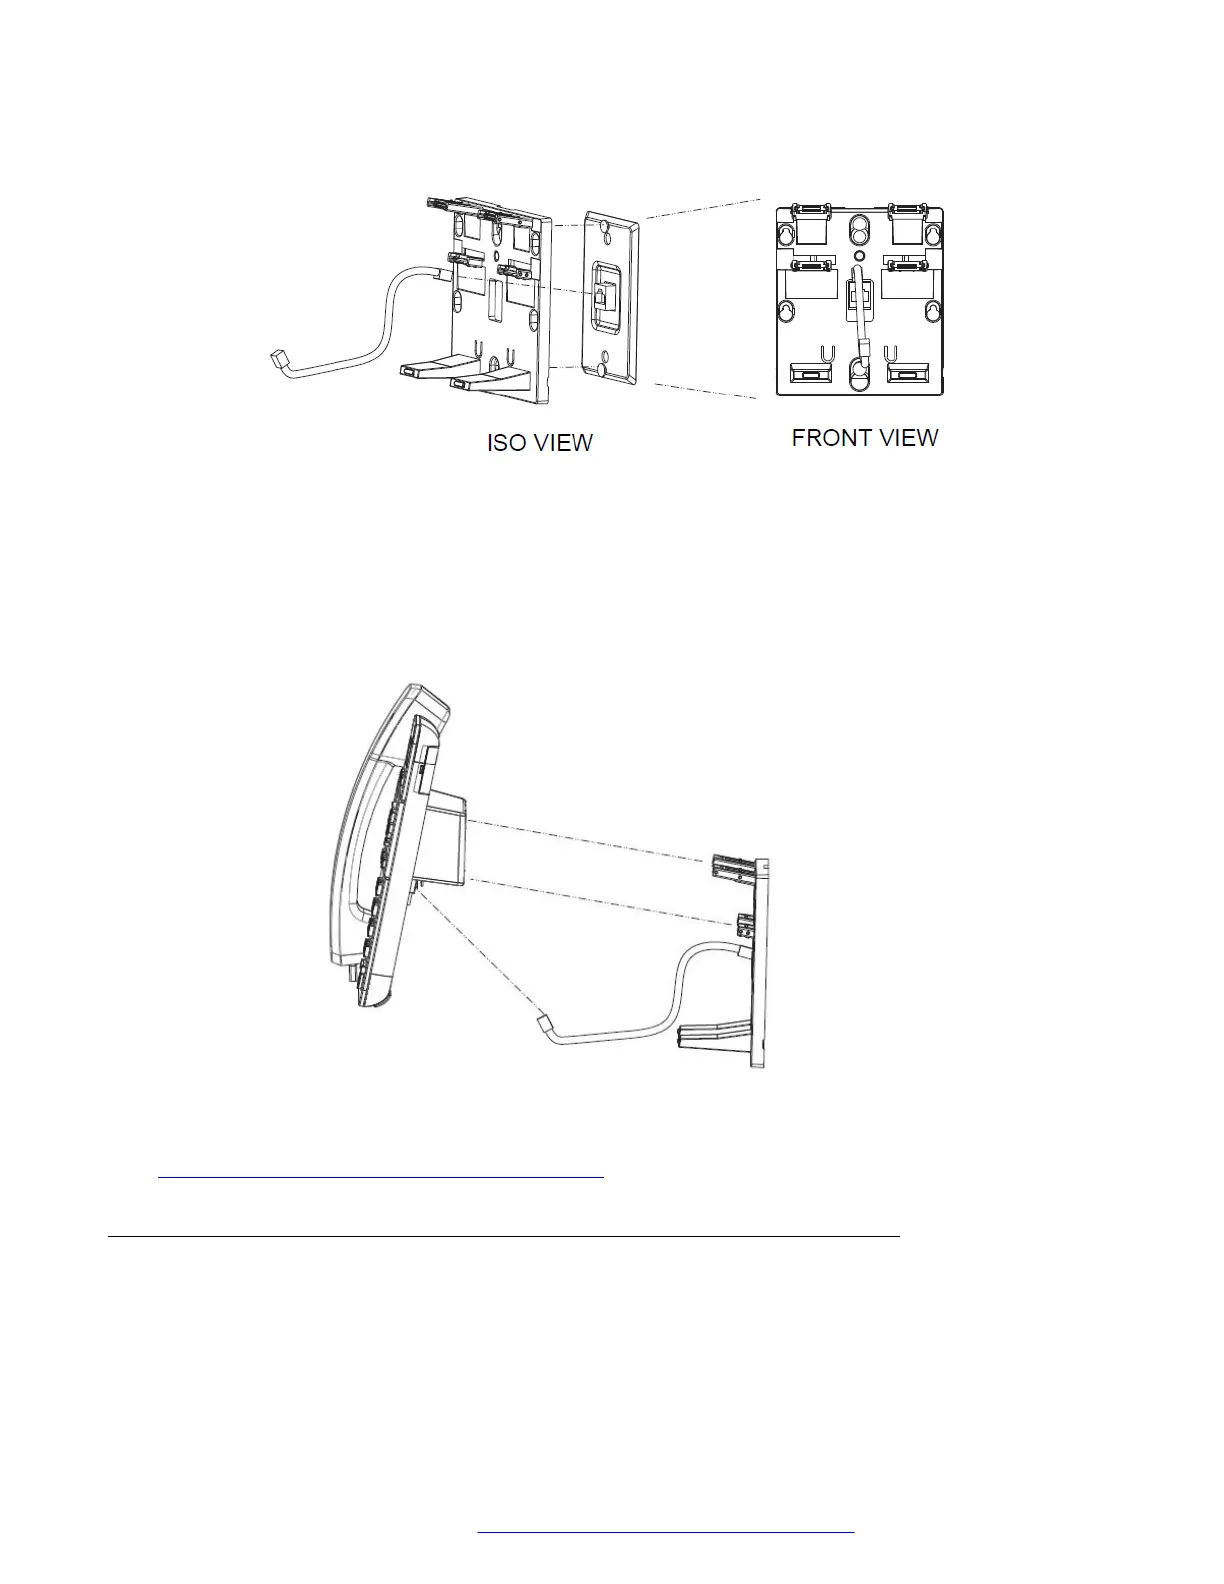
2. Attach an Ethernet cable to the network port of the phone and to the wall jack.
3. Attach the phone to the wall mount bracket by inserting the two upper tabs of the wall
mount bracket into the slots on the back of the phone. The lower pair of tabs rest against
the back of the phone and ensure that the phone does not move when the keys are
pressed.
Related links
Wall mounting Avaya J100 Expansion Module on page 29
Wall mounting Avaya J100 Expansion Module
About this task
Wall mounting procedure for an Avaya J100 Expansion Module is similar to the one for Avaya
J100 Series IP Phones.
Hardware setup
December 2018 Installing and Administering Avaya J100 Series IP Phones 29
Comments on this document? infodev@avaya.com
 Loading...


