152 Chapter 6: Infant Non-invasive Ventilation Operator's manual
L2786 Rev. M
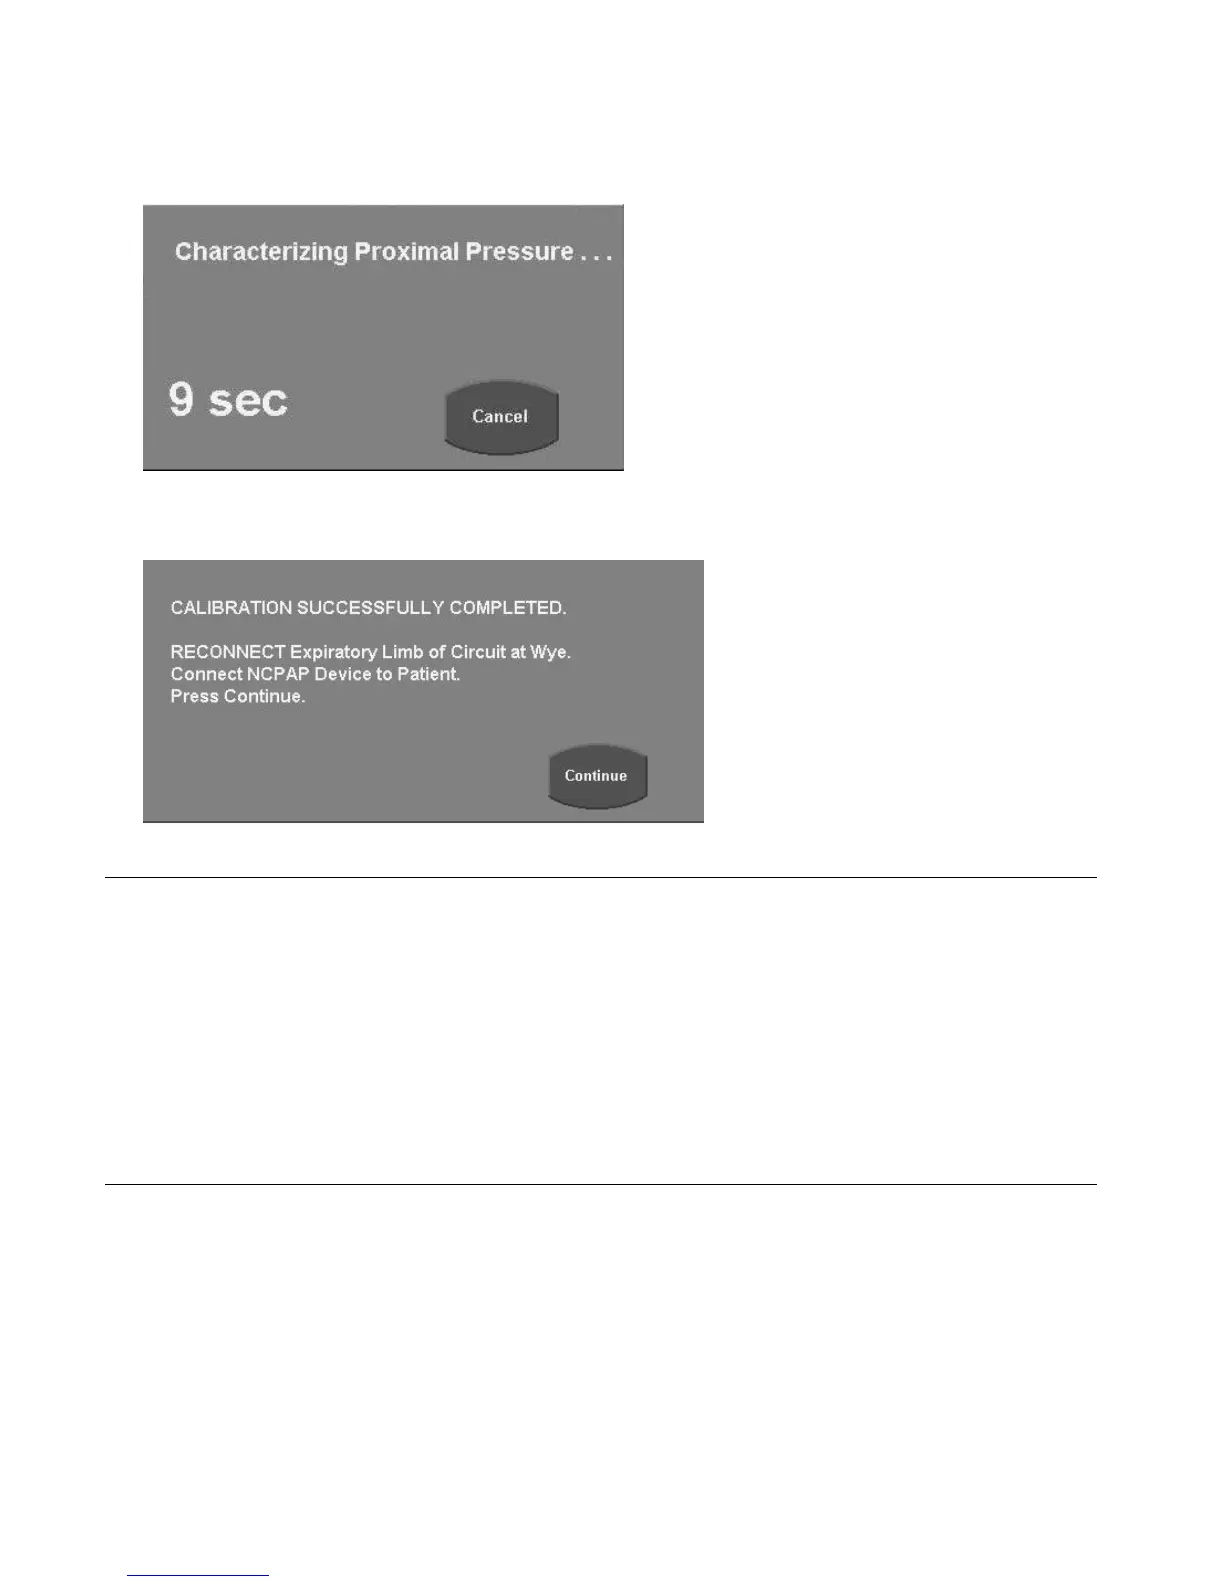
4. Touch Continue; the following message appears.
Figure 6–4: Calibration Progress Message
If calibration is successful, the following message appears.
Figure 6–5: Calibration Successfully Completed Screen
Note:
If the calibration test fails, check the following:
Ensure the patient was disconnected during the calibration.
Ensure the circuit connections are secure.
Ensure there was no movement of the circuit during the calibration.
Ensure the prongs are open during the test.
Ensure the expiratory limb of the circuit was disconnected before starting the calibration.
If failure of the calibration persists after checking all of the above, remove the ventilator from service and have it checked by
a qualified technician.
5. Reconnect the expiratory limb of the circuit at the patient wye.
6. Connect the Nasal CPAP device to the patient and touch Continue. The patient will be supported initially by the default value
of 2 cmH
2
O of continuous positive airway pressure.
7. Set the prescribed level for nCPAP Pressure and/or F
IO
2
by touching the primary control, turning the Data Dial until the
desired value is displayed and by either touching the primary control again or by touching the ACCEPT membrane key
adjacent to the Data Dial to activate the new setting.