Programmable DC Power Supply (with Solar Array Simulation) 62000H Series
Operating & Programming Manual
Connect the cables on the rear panel as shown in Figure 3-34 when set to SERIES and
as shown in Figure 3-35 when set to PARALLEL.
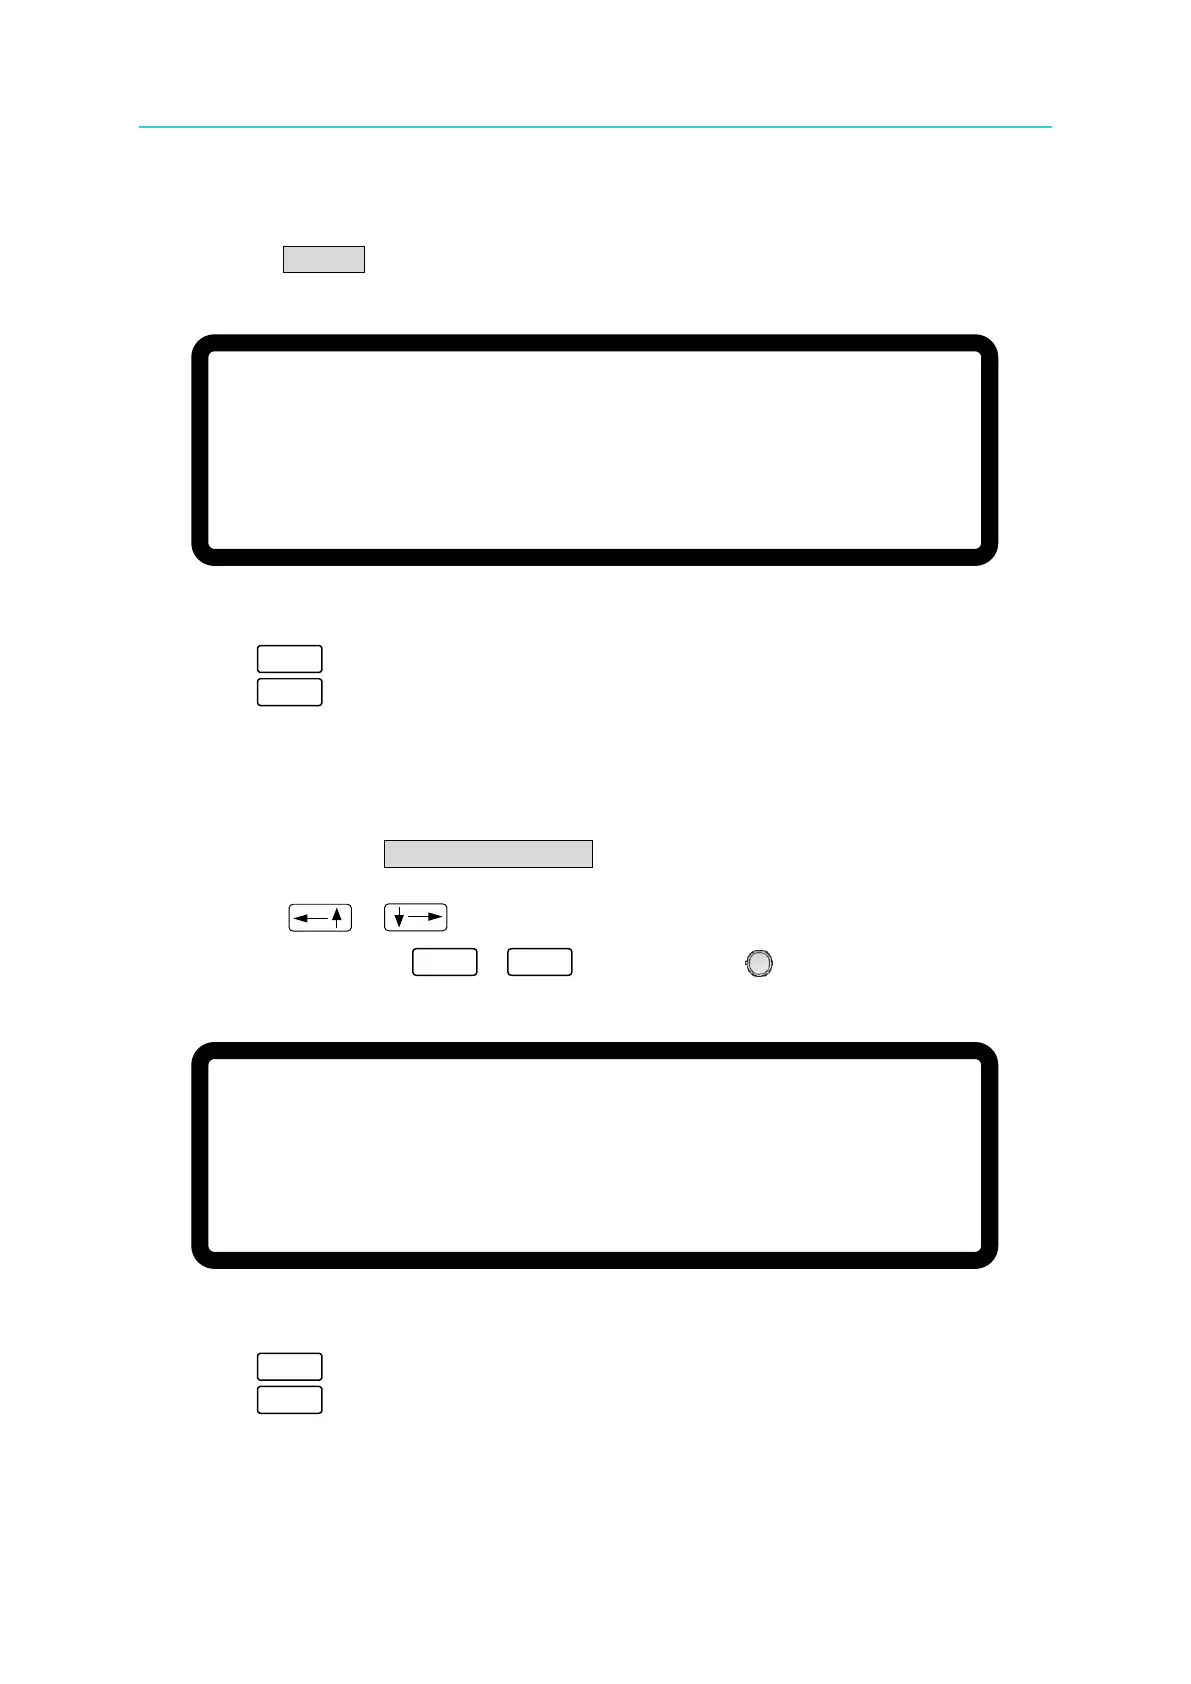
Selecting SERIES will display the window shown in Figure 3-42 to remind the user to
disconnect the CURRENT SHARING cable on the rear panel.
[ S E R I E S / P A R A L L E L
]
M A S T E R O R S L A V E = M A S T E R
M / S T E R M I N A T O R = D I S A B L E
P A R A L L E L O R S E R I E S = S E R I E S _
N U M . O F S L A V E = 1
M A S T E R & S L A V E C O N T R O L = N O
D I S C O N N E C T T H E C U R R E N T S H A R I N G C A B L E T O
P R E V E N T D A M A G E A T S E R I E S
Figure 3-42
3. Press “ ” to confirm.
4. Press “ ” to return to the MAIN PAGE.
3.3.3.3.4 Setting NUM. OF SLAVE
When a DC Power Supply is set to MASTER, the number of SLAVEs must be set as well. If
there are 4 SLAVEs, set NUM. OF SLAVE = 4 as shown below in Figure 3-43.
1. Use the “
”, “ ” keys to move the cursor to the column to be set.
2. Use the numeric keys (
-
) or the “Rotary” ( ) knob to set the number of
SLAVEs.
[
S E R I E S /
P A R A L L E L ]
M A S T E R O R S L A V E = M A S T E R
M / S T E R M I N A T O R
= D I S A B L E
P A R A L L E L O R S E R I E S
= P A R A L L E L
N U M . O F S L A V E
= 4 _
M A S T E R & S L A V E C O N T R O L =
N O
Figure 3-43
3. Press “ ” to confirm.
4. Press “ ” to return to the MAIN PAGE.